Fudge is a beloved treat during the holiday season, and this Easy Christmas Fudge recipe takes the hassle out of holiday baking. With its rich chocolate flavor and smooth texture, this fudge quickly becomes a favorite among family and friends. It’s wonderfully versatile, allowing you to add your own twist, whether through toppings or mix-ins. You’ll find that this simple yet satisfying recipe will have you spreading cheer and delighting taste buds all season long.
Why We Love This Easy Christmas Fudge Recipe
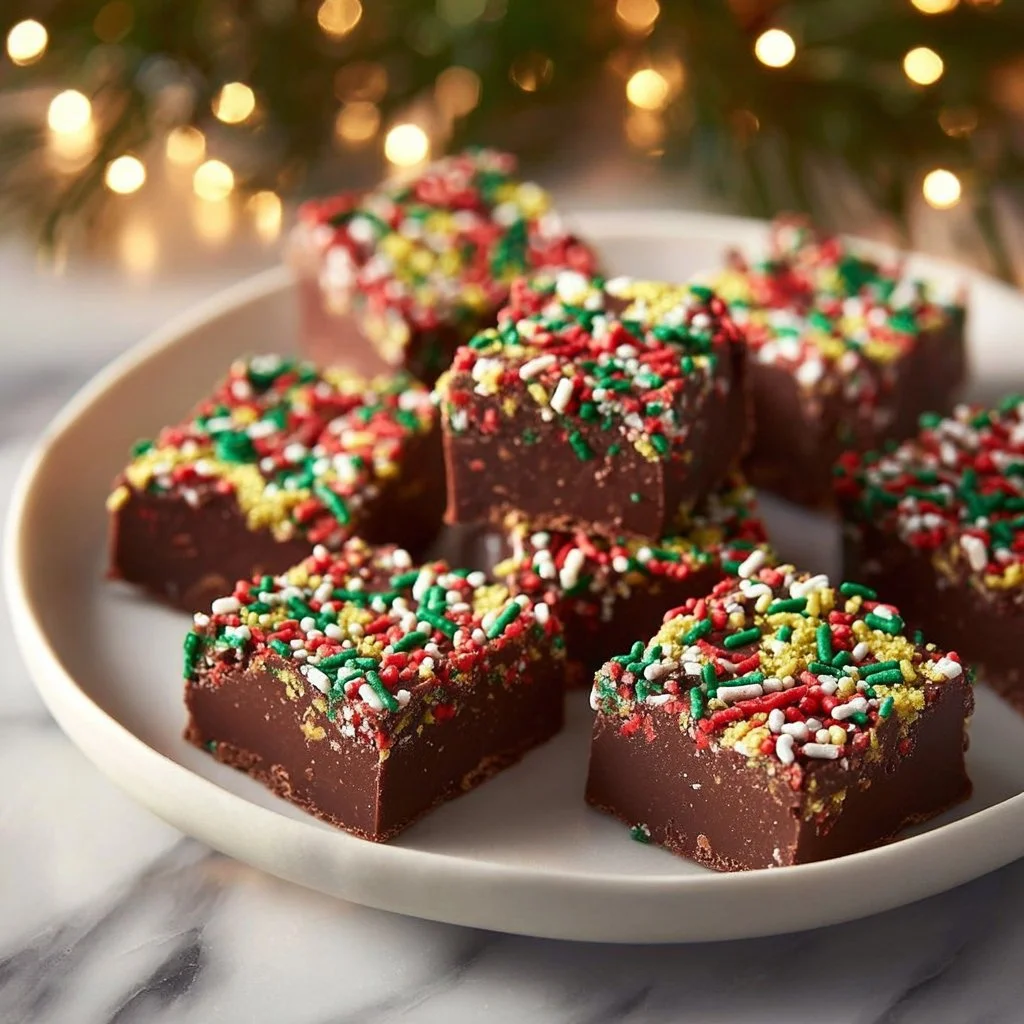
What makes this Easy Christmas Fudge so special? For one, it’s incredibly quick to whip up, making it perfect for those busy days leading up to the holidays. The combination of chocolate chips and sweetened condensed milk creates a creamy, decadent texture that melts in your mouth. Plus, you can customize it to suit your tastes, whether you prefer it plain or adorned with toppings like nuts, sprinkles, or crushed candy canes. Not only is it a treat for your taste buds, but this fudge also makes for fantastic gifts. Wrapped in festive packaging, it’s a delightful way to share the sweetness of the season with friends and loved ones.
Ingredients about Easy Christmas Fudge
To create this Easy Christmas Fudge, you will need the following ingredients:
List of ingredients with measurements
- 2 cups chocolate chips (semi-sweet or dark)
- 1 cup sweetened condensed milk
- 1 teaspoon vanilla extract
- 1/2 cup walnuts or pecans (optional)
- Sprinkles or crushed candy canes for topping (optional)
These simple ingredients come together to create a treat that’s sure to be a hit during your holiday celebrations. The beauty of this recipe lies not only in its simplicity but also in the fact that most of these ingredients can be found in your pantry or local grocery store.
How to Make Easy Christmas Fudge Directions
Follow these straightforward steps to create your own batch of Easy Christmas Fudge:
- Prepare the Baking Dish: Start by preparing an 8×8 inch baking dish. Line it with parchment paper, allowing some paper to hang over the edges. This will help you lift the fudge out of the dish once it’s set.
- Melt the Chocolate Mixture: In a saucepan, add the chocolate chips and sweetened condensed milk. Place it over low heat. Stir continuously until the mixture melts smoothly, creating a rich, chocolatey blend. Be cautious not to let it burn, so keep the heat low and steadily stir.
- Add the Flavor: Once the mixture is completely smooth, remove the saucepan from heat and stir in the vanilla extract. This step enhances the fudge’s flavor, providing that warm, inviting aroma that signifies the holiday season.
- Incorporate the Nuts: If you’re choosing to add nuts, fold them into the chocolate mixture now. Their crunchy texture contrasts beautifully with the creamy fudge, giving you added flavor and satisfaction in every bite.
- Pour and Spread: Carefully pour the chocolate fudge mixture into the prepared baking dish. Use a spatula to spread it evenly across the dish, ensuring every corner is filled with luscious fudge.
- Add Toppings: While the fudge is still warm, sprinkle your desired toppings on top. Whether you prefer vibrant sprinkles or the festive crunch of crushed candy canes, this step adds a personal touch to your fudge.
- Cool and Set: Now it’s time to let the fudge cool. Allow it to sit at room temperature until it is no longer warm, and then transfer it to the refrigerator. For best results, refrigerate for at least two hours or until it is fully set.
- Cut and Serve: Once the fudge is firm, use the parchment paper to lift it out of the baking dish. Place it on a cutting board and slice it into squares. You can now serve it immediately, or package it for gifting.
By following these simple steps, you’ll have a delightful treat that showcases the flavors of Christmas in a way that’s easy and enjoyable.


How to Serve Easy Christmas Fudge
Now that you’ve made your Easy Christmas Fudge, it’s time to think about serving it. There are many cute and festive ways to display your fudge, making it an inviting treat at any holiday gathering.
Consider placing the fudge squares on a colorful holiday plate, arranging them neatly to show off their beautiful layers and toppings. You could also use decorative cupcake liners to provide individual servings, which makes it easy for guests to grab their own treat.
If you’re hosting a holiday party, set up a dessert table with other festive treats alongside the fudge. Think cookies, peppermint bark, and seasonal fruits. This not only creates a stunning visual display but also offers guests a variety of options to choose from.
For gift-giving, cut your fudge into bite-sized pieces, and place them in small kraft boxes or festive tins. You can even tie them with ribbons to add a special touch. Including a handwritten note or a label can personalize the gift even more, bringing a warm, homemade feel that friends and family will appreciate.
Expert Tips: Easy Christmas Fudge
To ensure your Easy Christmas Fudge turns out perfectly, consider these expert tips:
- Choose Quality Chocolate: The type of chocolate chips you use greatly impacts the flavor of your fudge. Opt for high-quality semi-sweet or dark chocolate chips for a richer taste.
- Melt Slowly: Patience is key when melting chocolate. Keeping the heat low and stirring constantly will prevent burning, ensuring a smooth final product.
- Don’t Skip the Vanilla: Adding vanilla extract enhances the overall flavor of your fudge. It brings out the chocolate notes while adding warmth and depth to the sweetness.
- Experiment with Toppings: Feel free to get creative with your toppings! Besides nuts and sprinkles, consider crushed cookies, coconut flakes, or even a drizzle of white chocolate to elevate your fudge.
- Cutting Technique: For clean edges, use a sharp knife dipped in hot water when slicing your fudge. Wipe the knife clean between cuts for perfectly shaped squares.
By following these tips, you’ll ensure that your Easy Christmas Fudge stands out during the festive season and becomes a favorite among those who try it.
How to Store Easy Christmas Fudge
Properly storing your Easy Christmas Fudge ensures it remains fresh and delicious. Once your fudge has set and you’ve cut it into squares, follow these guidelines for storage:
- Room Temperature: If you plan to enjoy the fudge within a week, you can store it in an airtight container at room temperature. Make sure it’s kept away from direct sunlight and heat to maintain its texture.
- Refrigeration: For longer storage, keep your fudge in the refrigerator. An airtight container can help preserve its freshness for about two weeks. Just remember to let it sit at room temperature for a few minutes before serving to soften slightly.
- Freezing: You can also freeze your fudge if you want to keep it for an extended period. Wrap each piece tightly in plastic wrap and place them in a freezer-safe container. When you’re ready to enjoy some, simply thaw it in the fridge or at room temperature.
Storing your fudge correctly allows you to savor the flavors of the holiday season even after the celebrations are over.
Variation of Easy Christmas Fudge
One of the beautiful aspects of fudge is its versatility. Here are several modifications you can make to your Easy Christmas Fudge recipe to personalize it to your taste:
- Flavored Fudge: Instead of vanilla extract, experiment with different extracts like almond or peppermint for a unique twist on the classic flavor.
- Nut Mix: Use cashews, hazelnuts, or even crushed almonds for a different nutty experience. Each type of nut brings its own character and crunch to the fudge.
- Fruit Add-ins: Incorporate dried fruits like cranberries, cherries, or apricots for a chewy texture and a hint of tartness to balance the sweetness of the fudge.
- Chocolate Variants: Use white chocolate or milk chocolate chips to create different flavor profiles. You can even swirl different types of melted chocolate together for a marbled appearance.
- Spicy Kick: Add a pinch of cinnamon or a dash of cayenne pepper for those who enjoy a spicy undertone in their sweets. This unexpected flavor can make your fudge stand out.
Each variation opens up a new world of flavor, making it easy to find the perfect combination for your family gatherings or individual cravings.
FAQs
What is Easy Christmas Fudge?
Easy Christmas Fudge is a quick and simple recipe that combines chocolate chips, sweetened condensed milk, and optional mix-ins to create a creamy, rich treat that’s perfect for the holiday season.
How do you store Easy Christmas Fudge?
You can store Easy Christmas Fudge in an airtight container at room temperature for up to a week, in the refrigerator for up to two weeks, or freeze it for longer storage.
Can I make variations of Easy Christmas Fudge?
Absolutely! You can customize this fudge by adding different extracts, nuts, fruits, or even using various types of chocolate to create unique flavors.
Is this Easy Christmas Fudge gluten-free?
Yes, the ingredients in this Easy Christmas Fudge recipe are generally gluten-free. However, always check labels to ensure there are no gluten-containing additives in your chocolate chips or toppings.
How long does Easy Christmas Fudge take to set?
Easy Christmas Fudge typically takes about two hours in the refrigerator to set completely. For best results, allow it to cool at room temperature first before refrigerating.
With this comprehensive guide, you’re all set to create your own Easy Christmas Fudge. Whether you keep it for yourself or share it with loved ones, it’s sure to be a delightful addition to any holiday celebration!

Easy Christmas Fudge
Ingredients
Fudge Base
- 2 cups chocolate chips (semi-sweet or dark) Use high-quality chocolate for best flavor.
- 1 cup sweetened condensed milk
- 1 teaspoon vanilla extract Do not skip for enhanced flavor.
Optional Add-ins
- 1/2 cup walnuts or pecans Optional, for a crunchy texture.
- to taste Sprinkles or crushed candy canes For topping, optional.
Instructions
Preparation
- Start by preparing an 8x8 inch baking dish. Line it with parchment paper, allowing some paper to hang over the edges.
- In a saucepan, add the chocolate chips and sweetened condensed milk. Place it over low heat and stir continuously until the mixture melts smoothly.
- Once smooth, remove the saucepan from heat and stir in the vanilla extract.
- If using, fold in the nuts into the mixture.
- Carefully pour the mixture into the prepared baking dish and spread it evenly with a spatula.
- While still warm, add desired toppings on top of the fudge.
- Let it cool at room temperature, then transfer to the refrigerator for at least two hours or until set.
- Once firm, lift the fudge out of the baking dish using the parchment paper, slice into squares, and serve or package for gifting.
Send me this recipe!
Just enter your email below and get it sent straight to your inbox!