Mini Easter cheesecake jars are a delightful way to celebrate the season with a sweet treat that is both festive and easy to make. Layered with creamy cheesecake filling, a crumbly crust, and topped with seasonal decorations, these individual desserts will impress your guests while providing a fun way to enjoy dessert. Whether you’re planning a gathering or just a family treat, these jars bring a charming touch to any table and make for an adorable presentation.
Why We Love This Mini Easter Cheesecake Jars
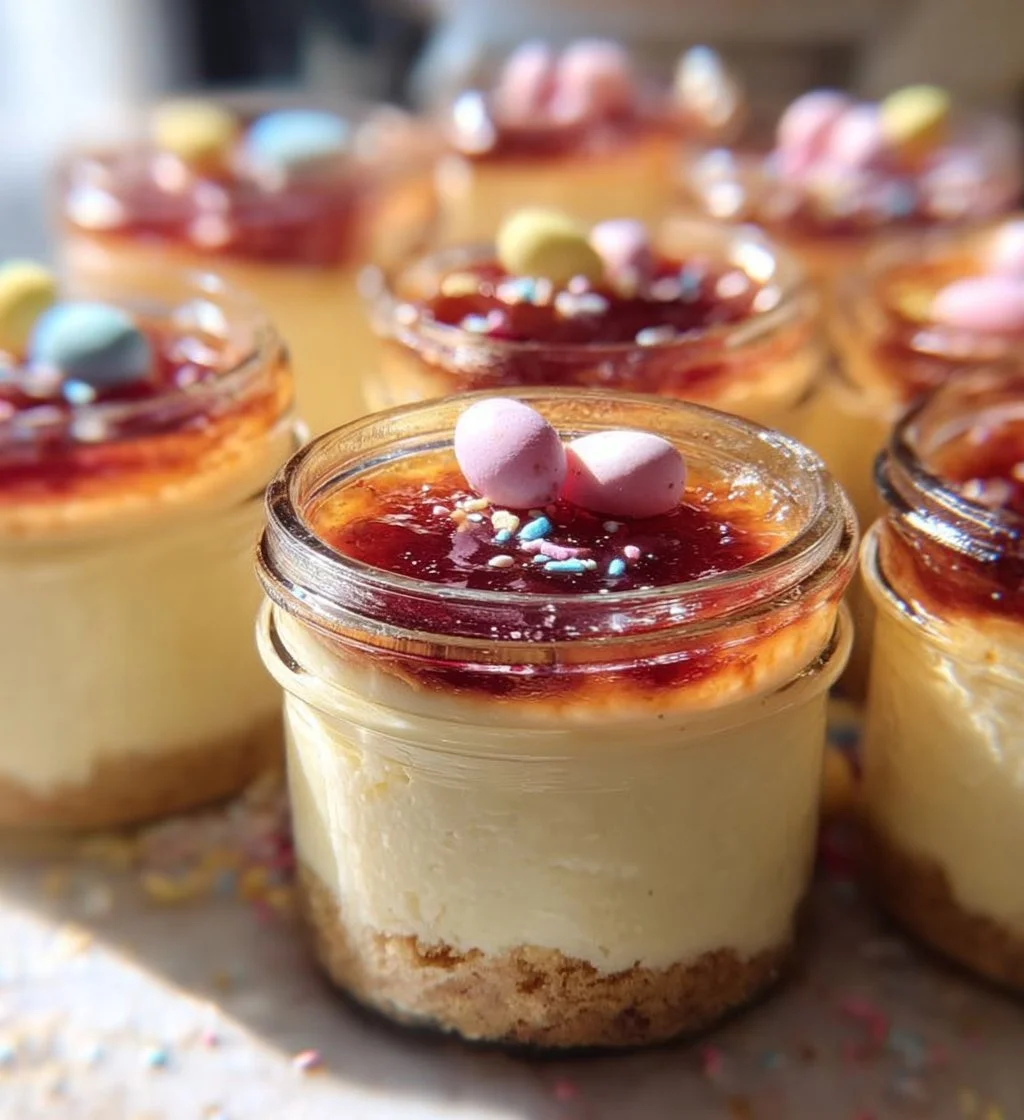
Mini Easter cheesecake jars blend the classic cheesecake flavor with the fun of a personal serving. The jars allow for easy portion control, making them perfect for gatherings where guests can help themselves. You get all the creamy goodness of cheesecake layered with a buttery crust, and the seasonal decorations add a pop of color and whimsy. These little treats are not only tasty but also visually appealing, making them a hit with both kids and adults alike.
The versatility of these jars also shines through; you can customize the toppings and flavors to suit your preferences. Plus, they require minimal prep time, and you can prepare them in advance, leaving you with more time to enjoy the festivities. Imagine the smiles you’ll see when each person gets their own jar filled with all the delicious layers of a cheesecake, crafted just for them.
Ingredients for Mini Easter Cheesecake Jars
- 8 ounces cream cheese, softened
- 1/2 cup granulated sugar
- 1 teaspoon vanilla extract
- 1 cup whipped cream or cool whip
- 1 cup graham cracker crumbs
- 1/4 cup unsalted butter, melted
- 1/4 cup powdered sugar
- Food coloring (optional)
- Assorted Easter-themed candies or decorations for topping
Directions
- Start by preparing the crust. In a mixing bowl, combine the graham cracker crumbs and melted butter. Stir until the mixture resembles wet sand.
- Spoon about 2 tablespoons of the crumb mixture into the bottom of each mason jar or serving dish. Press down firmly to create a sturdy layer.
- In a separate bowl, beat the softened cream cheese until smooth. Gradually add the granulated sugar and continue to mix until combined.
- Stir in the vanilla extract and mix well.
- Fold the whipped cream into the cream cheese mixture gently until well combined. This creates a light and fluffy filling.
- If you want to add color to your cheesecake, divide the mixture into separate bowls and mix in food coloring as desired.
- Layer the cheesecake filling over the crust in each jar, adding about 1/4 cup or as preferred.
- Repeat the layering process with any remaining crust and cheesecake filling until you nearly reach the top of the jars.
- Finish with a final layer of graham cracker crumbs for texture and visual appeal.
- Chill the jars in the fridge for at least 2 hours to allow the flavors to meld and set.
How to Serve Mini Easter Cheesecake Jars
Serving mini Easter cheesecake jars can be just as fun as making them! Bring out the jars beautifully arranged on a platter or individual dessert stands. You can place them alongside some seasonal decor, such as vibrant flowers or colorful napkins, to enhance their presentation. Just before serving, add your favorite Easter-themed toppings, such as chocolate eggs, pastel sprinkles, or edible flowers on top of each jar.
Let your guests know that they can enjoy them straight from the jar for a fun and casual experience, or you can provide small spoons for a more traditional way to savor the layers. The ease of serving makes these jars ideal for any gathering; you won’t have to worry about cutting or plating slices of cheesecake. This makes clean-up much simpler as well. If you’re looking to create a more festive atmosphere, consider pairing these jars with matching drinks, like lemonades or fruit punch, to complement the sweetness of the cheesecake.
Expert Tips for Mini Easter Cheesecake Jars
Creating the perfect mini cheesecake jars is simple with a few expert tips. First, make sure your cream cheese is softened well before mixing. This helps avoid lumps in your filling and ensures a creamy texture. If possible, use a hand mixer or stand mixer to blend your ingredients for a smoother consistency. Always taste your filling before you layer it into the jars; you might want to adjust sweetness by adding a touch more sugar if necessary.


When it comes to layering, you can get creative! Alternate layers between plain cheesecake and flavored versions, or add in layers of fruit puree, like strawberry or raspberry, for a fresh twist. Also, set a little bit of graham cracker crumbs aside to sprinkle on top after chilling; this gives a nice finish and texture to each jar. Finally, allow the jars to chill overnight if you can. This helps the flavors develop fully and makes the jars even more refreshing when served.
How to Store Mini Easter Cheesecake Jars
Storing mini Easter cheesecake jars correctly ensures that you maintain their freshness and flavor. Once you’ve made the jars, cover each one tightly with a lid or plastic wrap. Store them in the refrigerator if you’re not serving them right away. They will stay fresh for up to 4 days, making them an excellent make-ahead option for gatherings or enjoyable treats throughout the week.
Freezing mini cheesecake jars is also an option if you want to save some for later; however, be mindful that the texture may change slightly upon thawing. To freeze, ensure they are completely set, then wrap them tightly in plastic wrap and aluminum foil. Store them in the freezer for up to 2 months. When you’re ready to enjoy, thaw them in the refrigerator for several hours or overnight before serving.
Variations of Mini Easter Cheesecake Jars
If you’re feeling adventurous, mini Easter cheesecake jars offer numerous possibilities for variation. Consider experimenting with different flavors for the cheesecake filling. Instead of vanilla, try using lemon or almond extract to give your jars a unique twist. You could also add melted chocolate or fruit puree to the filling for a richer taste. For those who love a little crunch, adding crushed nuts or candy to the crust could enhance texture and flavor.
Toppings can also be a fun area to play with; instead of traditional candy decorations, try fresh fruit like strawberries, blueberries, or slices of kiwi for a refreshing touch. Swap out graham crackers for different cookies such as Oreos or gingersnaps for a different flavor profile in the crust. You can also incorporate layers of fruit or curd for added zing throughout the jar; the possibilities are endless!
FAQ about Mini Easter Cheesecake Jars
What are mini Easter cheesecake jars?
Mini Easter cheesecake jars are individual servings of cheesecake layered in jars, often decorated with colorful toppings and seasonal elements for Easter celebrations.
How long can I keep mini Easter cheesecake jars in the fridge?
You can keep mini Easter cheesecake jars in the refrigerator for up to four days as long as they are tightly covered.
Can I freeze mini Easter cheesecake jars?
Yes, you can freeze mini Easter cheesecake jars, but keep in mind that the texture might change slightly when thawed. Store them tightly wrapped for up to two months.
What variations can I make for mini Easter cheesecake jars?
You can experiment with different flavors, fillings, and toppings, such as using different extracts, adding fruit purees, or changing the crust type.
Do mini Easter cheesecake jars need to be chilled before serving?
Yes, mini Easter cheesecake jars should be chilled for at least two hours, but overnight is even better. This helps set the filling and enhance the flavors.