Making cheeseburger hot pockets might just be your new favorite kitchen adventure. These delightful handheld treats combine the classic flavors of a cheeseburger with the convenience of a portable snack. Whether you’re preparing a quick meal for your family or hosting a casual gathering with friends, these hot pockets are sure to satisfy your cravings and impress your guests.
Why We Love This Cheeseburger Hot Pockets
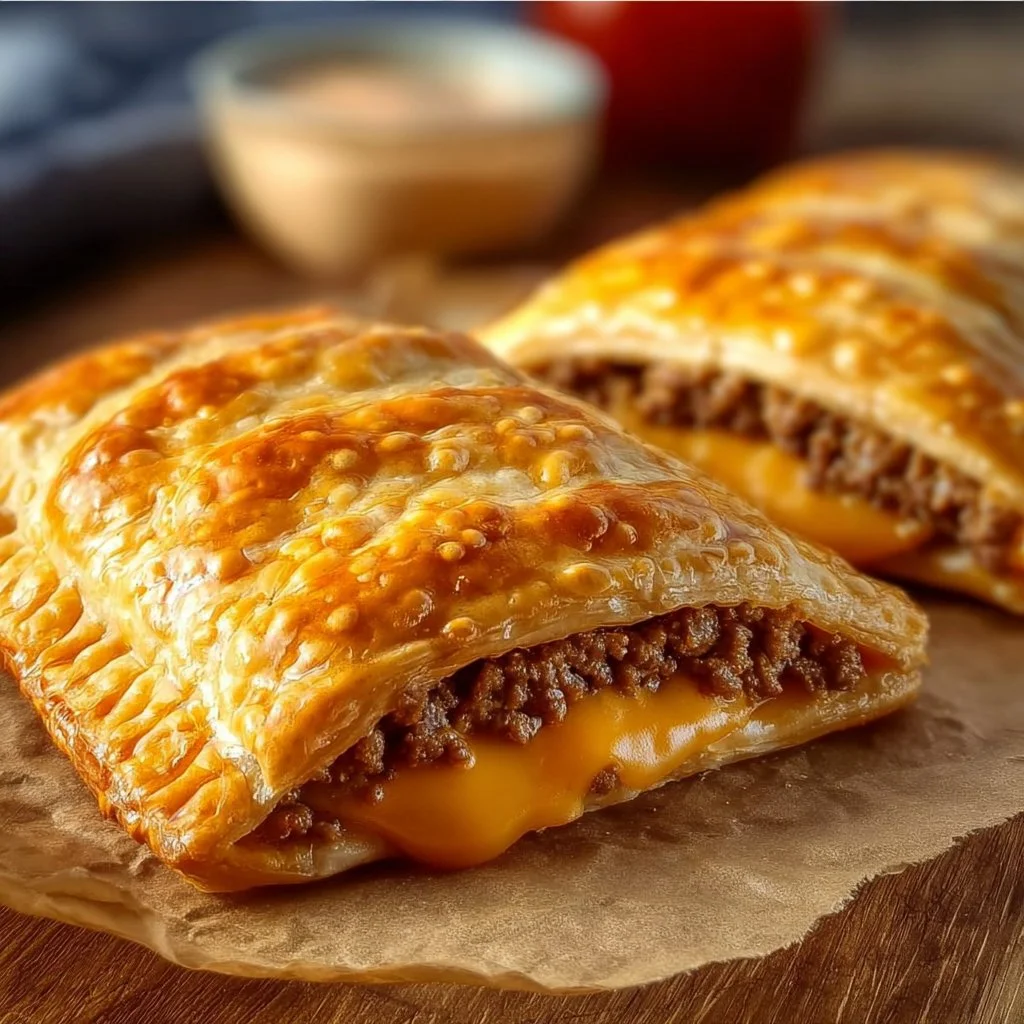
Cheeseburger hot pockets offer a fun twist on a well-loved classic. Imagine biting into a warm, flaky crust that envelops a savory filling of juicy ground beef, melted cheese, and your favorite burger toppings. They are customizable and make for a perfect meal solution, being quick to prepare while still delivering on flavor and comfort. Plus, they are great for kids and adults alike, making them an ideal option for family meal prep or game-day snacks. You can also enjoy them as lunch boxes or after-school bites, providing a satisfying treat that everyone will love.
Ingredients for Cheeseburger Hot Pockets
- 1 pound ground beef
- 1 tablespoon olive oil
- 1 small onion, diced
- 2 cloves garlic, minced
- 1 cup shredded cheddar cheese
- 1 tablespoon ketchup
- 1 tablespoon mustard
- Salt, to taste
- Pepper, to taste
- 1 package refrigerated pie crusts (2 crusts)
- 1 egg, beaten (for egg wash)
- Optional toppings: pickles, lettuce, tomatoes, or special sauce
Directions
- Preheat your oven to 400°F (200°C).
- In a large skillet, heat the olive oil over medium heat. Add the diced onion and cook until soft and translucent, about 4-5 minutes.
- Stir in the minced garlic and cook for an additional minute until fragrant.
- Add the ground beef to the skillet, breaking it apart with your spatula. Cook until the meat is brown and cooked through, about 6-8 minutes. Drain any excess fat.
- Remove the skillet from heat and stir in the ketchup, mustard, salt, and pepper. Mix in the shredded cheddar cheese until it melts and everything is well combined.
- On a floured surface, roll out one pie crust. Cut it into four equal squares.
- Place a generous spoonful of the cheeseburger mixture onto one half of each square, leaving enough space to fold.
- Fold the other half over the filling, creating a pocket. Press the edges with a fork to seal.
- Repeat with the second pie crust and remaining filling.
- Place the hot pockets on a baking sheet lined with parchment paper. Brush the tops with the beaten egg for a golden finish.
- Bake for 15-20 minutes, or until golden brown and puffed up.
- Remove from the oven and let them cool slightly before serving.
How to Serve Cheeseburger Hot Pockets
You can enjoy cheeseburger hot pockets in several ways, making them versatile for any occasion. Serve them hot right out of the oven for maximum enjoyment. Consider pairing them with sides like French fries or a fresh green salad for a balanced meal. You can also set up a toppings bar, allowing everyone to customize their hot pockets with pickles, lettuce, diced tomatoes, or their favorite sauces. For a casual gathering or a game day, these hot pockets can be served alongside dips like ranch, barbecue sauce, or a spicy mustard. The fun of adding different toppings makes this dish even more appealing, especially for kids who love to create their own unique flavors.
Expert Tips for Cheeseburger Hot Pockets
To ensure your cheeseburger hot pockets turn out perfectly, consider a few expert tips. First, finely chop your onions and garlic to create a smoother filling that fits nicely inside the pockets. If you prefer a healthier option, you can substitute lean ground turkey or chicken for the beef. Be sure to drain any excess fat after cooking to keep the filling from becoming greasy. Another tip is to not overfill the pockets; a couple of tablespoons of filling is usually just right. This avoids any spillage during baking. Additionally, if you want more of an herbaceous flavor, consider adding chopped fresh parsley or dill to the meat mixture. Finally, let your hot pockets rest for a few minutes after baking; this cooling time allows the filling to set, making them easier to eat without falling apart.
How to Store Cheeseburger Hot Pockets
Storing cheeseburger hot pockets is simple and convenient. If you have leftover hot pockets, place them in an airtight container and store them in the refrigerator for up to three days. To reheat, simply pop them in the oven at 350°F (175°C) for about 10-15 minutes until warmed through. If you want to store them for longer, consider freezing them. Allow the hot pockets to cool completely, then place them in a freezer-safe bag or container. They can be frozen for up to three months. For reheating from frozen, bake them in the oven at 375°F (190°C) for about 20-25 minutes. Enjoying this delicious treat later is both easy and satisfying!
Variations of Cheeseburger Hot Pockets
The beauty of cheeseburger hot pockets lies in their versatility. You can easily switch up the flavors by experimenting with different fillings. For instance, you might try adding crumbled blue cheese in place of cheddar for a bold taste. Mixing in sautéed mushrooms or jalapeños can add extra depth and heat. If you’re looking for a vegetarian option, replace the meat with black beans, lentils, or finely chopped vegetables like bell peppers and zucchini. You can also make these hot pockets more gourmet by adding toppings right into the filling, such as caramelized onions or roasted garlic. Feel free to explore new cheese varieties like pepper jack or Gouda for a fun twist. With so many variations, you’ll never run out of ideas to suit your taste!


FAQ about Cheeseburger Hot Pockets
When it comes to cheeseburger hot pockets, many people have questions about preparation and customization. One common inquiry is, "Can I use pre-cooked beef for the filling?" Yes, you can! Using leftover beef or store-bought cooked meat can save time, just ensure to mix it with cheese and condiments to maintain moisture. Another frequently asked question is, "How can I make these hot pockets spicier?" You can add hot sauce to your meat mixture or use pepper jack cheese for a kick. Some also wonder if these hot pockets freeze well; they do! Just follow the storage tips outlined to enjoy them later. Lastly, many people ask, "What are the best dip options for serving?" Dipping sauces like ketchup, mustard, or even a creamy ranch dressing pair perfectly well with the flavors of cheeseburger hot pockets. Enjoy experimenting with different combinations to find your favorite!

Cheeseburger Hot Pockets
Ingredients
For the Filling
- 1 pound ground beef
- 1 tablespoon olive oil For sautéing
- 1 small onion, diced For sweetness
- 2 cloves garlic, minced For flavor
- 1 cup shredded cheddar cheese Can use other cheese varieties
- 1 tablespoon ketchup
- 1 tablespoon mustard
- Salt, to taste
- Pepper, to taste
- 1 package refrigerated pie crusts (2 crusts)
- 1 egg beaten (for egg wash)
Optional Toppings
- pickles
- lettuce
- tomatoes
- special sauce
Instructions
Preparation
- Preheat your oven to 400°F (200°C).
- In a large skillet, heat the olive oil over medium heat. Add the diced onion and cook until soft and translucent, about 4-5 minutes.
- Stir in the minced garlic and cook for an additional minute until fragrant.
- Add the ground beef to the skillet, breaking it apart with your spatula. Cook until the meat is brown and cooked through, about 6-8 minutes. Drain any excess fat.
- Remove the skillet from heat and stir in the ketchup, mustard, salt, and pepper. Mix in the shredded cheddar cheese until it melts and everything is well combined.
- On a floured surface, roll out one pie crust. Cut it into four equal squares.
Assembly
- Place a generous spoonful of the cheeseburger mixture onto one half of each square, leaving enough space to fold.
- Fold the other half over the filling, creating a pocket. Press the edges with a fork to seal.
- Repeat with the second pie crust and remaining filling.
- Place the hot pockets on a baking sheet lined with parchment paper. Brush the tops with the beaten egg for a golden finish.
Cooking
- Bake for 15-20 minutes, or until golden brown and puffed up.
- Remove from the oven and let them cool slightly before serving.
Send me this recipe!
Just enter your email below and get it sent straight to your inbox!