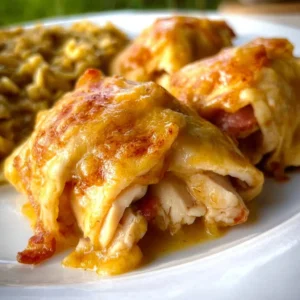
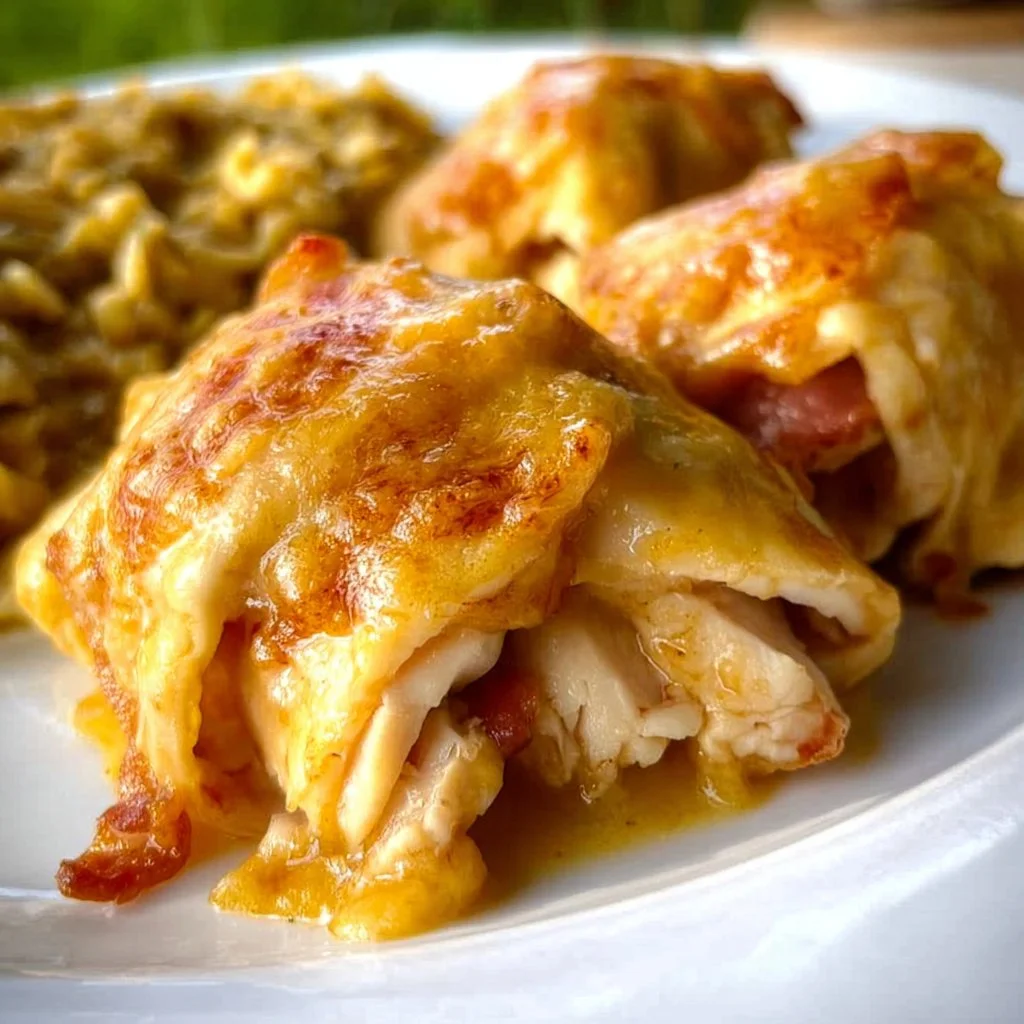
When it comes to comfort food, few dishes can match the warmth and satisfaction of Chicken Roll Ups. This delightful recipe blends tender, seasoned chicken with creamy soup, enveloped in flaky crescent rolls, creating a dish that’s both comforting and delicious.
Why We Love This Chicken Roll Ups Recipe
One of the reasons Chicken Roll Ups resonates with many home cooks is its simplicity. You can whip up this delightful dish with just a handful of ingredients, many of which you might already have in your pantry. It’s the kind of recipe that requires minimal prep time but delivers maximum flavor. The combination of tender chicken and rich, creamy sauce wrapped in warm, flaky crescents is hard to resist!
Moreover, Chicken Roll Ups are incredibly versatile. You can customize them based on your preferences, adding different spices or vegetables to the filling. They also make wonderful leftovers and can be enjoyed in many ways, whether reheated or served cold. There’s something for everyone in this dish, making it perfect for family dinners or potlucks.
Ingredients for Chicken Roll Ups
To make your Chicken Roll Ups, you will need the following ingredients:
- 6 oz cooked chopped chicken breast (approximately 1 to 1½ cups)
- 1 (8 oz) can refrigerated crescent rolls
- 1 (10.5 oz) can unsalted cream of chicken soup
- ½ cup milk
- ½ cup shredded cheddar cheese
Having these ingredients at hand will allow you to create a royal feast for your family or guests. Chicken Roll Ups are not just tasty; they are also a visual treat!
How to Make Chicken Roll Ups Directions
Creating Chicken Roll Ups is a straightforward process, perfect even for those who are new to cooking. Follow these simple steps to bring your delicious dish to life:
-
Preheat Your Oven: Begin by preheating your oven to 350°F. This ensures your roll-ups will cook evenly and come out perfectly golden brown.
-
Prepare Your Baking Dish: Take a 9×13-inch baking dish and lightly spray it with cooking spray. This will prevent your roll-ups from sticking to the pan and make cleanup a breeze.
-
Mix the Filling: In a bowl, combine the cream of chicken soup, milk, and shredded cheddar cheese. Mix well until the ingredients are blended into a smooth sauce. Set this mixture aside; this will be the flavor-packed filling for your roll-ups.
-
Assemble the Crescent Rolls: Open the package of crescent rolls and separate the dough into eight triangles. Lay each triangle flat on a clean surface.
-
Fill the Rolls: At the large end of each triangle, place a generous amount of chopped chicken. Top the chicken with about 1 teaspoon of the soup mixture you prepared earlier.
-
Roll Them Up: Starting from the large end, carefully roll each crescent triangle towards the point, wrapping the chicken filling inside. Ensure they are secure but not overly tight.
-
Create a Base: Spread approximately ⅓ cup of the soup mixture evenly across the bottom of your prepared baking dish. This first layer will add flavor to the roll-ups as they bake.
-
Place the Roll-Ups: Arrange the rolled crescent rolls in the dish, placing them seam side down to prevent them from unraveling during baking.
-
Top with Soup Mixture: Pour the remaining soup mixture over the top of the crescent rolls. This will create a lovely creamy sauce that complements the dish perfectly.
-
Bake: Place the baking dish in the preheated oven and bake for about 30 minutes. Keep an eye on them until they are bubbly and golden brown, indicating they’re ready to serve.
As you fill your kitchen with the heavenly aroma of baking Chicken Roll Ups, it’ll be hard to resist sneaking a taste before they’re even out of the oven!
How to Serve Chicken Roll Ups
When it comes to serving Chicken Roll Ups, there are several delicious options to consider. They can be the main event of your dinner table, complemented with a side of crisp salad or roasted vegetables. Place the roll-ups directly on a serving platter, spooning any leftover sauce from the baking dish over the top for added flavor.
You may also serve these roll-ups alongside some garlic bread or breadsticks to soak up every last bit of the creamy sauce. If you enjoy a sprinkle of freshness, consider garnishing your plate with freshly chopped parsley or even a dash of paprika for a pop of color.
For a fun twist, you might offer some dipping options, such as ranch dressing or a spicy hot sauce, allowing your guests to personalize their meal even further. With so many serving ideas, Chicken Roll Ups is designed to be enjoyed any way you like!
Expert Tips for Making Chicken Roll Ups
To ensure your Chicken Roll Ups come out perfectly every time, here are some expert tips to consider:
-
Chicken Preparation: Use leftover cooked chicken, rotisserie chicken, or even grilled chicken for a smoky flavor. Make sure it’s chopped into small pieces for easy wrapping.
-
Use Fresh Ingredients: If you have some fresh herbs like thyme or parsley, consider adding them to the filling for an extra layer of flavor.
-
Customize the Filling: Feel free to add vegetables like spinach or bell peppers to the chicken mixture for additional nutrition and taste.
-
For Extra Crispiness: If you love a crispy texture, you can brush the tops of the crescent rolls with melted butter before baking them for a golden, flaky crust.
-
Monitor Cooking Time: Baking times may vary slightly based on your oven’s calibration. Keep a close eye on your roll-ups towards the end of the cooking time to avoid overbaking.
With these simple tips, your Chicken Roll Ups will not only taste better but also impress anyone lucky enough to enjoy them.
How to Store Chicken Roll Ups
Should you find yourself with leftover Chicken Roll Ups, storing them properly will ensure they remain delicious. Allow the roll-ups to cool to room temperature before transferring them to an airtight container. Store them in the refrigerator if you plan to eat them within a few days. They can typically last 3 to 4 days stored this way.
If you want to keep your Chicken Roll Ups for a longer period, consider freezing them. Wrap each roll-up tightly in plastic wrap before placing them in a freezer-safe container or bag. They can be stored in the freezer for up to three months. To reheat, simply bake them from frozen at 350°F until heated through, typically 25-30 minutes.
Variations of Chicken Roll Ups
While the classic Chicken Roll Ups recipe is delicious, there are numerous variations you can explore based on your preferences or dietary needs. Here are a few ideas to get you started:
-
Buffalo Chicken Roll Ups: Add some buffalo sauce to the chicken mixture for a spicy kick! The spicy flavor pairs beautifully with the creaminess of the soup and cheese.
-
Vegetable Chicken Roll Ups: Incorporate additional vegetables such as sautéed mushrooms, diced onions, or zucchini into the filling for added nutrition and flavor.
-
Cheesy Chicken Roll Ups: Increase the amount of cheese used, or try mixing different types such as pepper jack or mozzarella for a gooey, cheesy delight.
-
Herbed Chicken Roll Ups: Mix herbs such as dill, garlic powder, or Italian seasoning into the filling for a burst of flavor with every bite.
With these variations, you can easily adapt your Chicken Roll Ups recipe to suit your mood or the ingredients you have available, ensuring a satisfying meal every time.
Frequently Asked Questions about Chicken Roll Ups
What kind of chicken works best for Chicken Roll Ups?
You can use any cooked chicken, such as rotisserie chicken, grilled chicken, or even leftover chicken from another meal. Just make sure to chop it into bite-sized pieces for easy wrapping.
Can I make Chicken Roll Ups ahead of time?
Absolutely! You can prepare the roll-ups up to a day in advance. Just store them in the fridge before baking. When you’re ready to cook them, simply pop them in the oven!
Are Chicken Roll Ups kid-friendly?
Yes, they are! Chicken Roll Ups are both delicious and fun to eat, making them appealing to kids. Plus, they are easy to customize with different flavors.
How do I know when Chicken Roll Ups are done?
Keep an eye on the roll-ups as they bake. They are done when the crescent dough is golden brown and the filling is bubbly; this usually takes about 30 minutes at 350°F.
Can I freeze Chicken Roll Ups?
Yes! After cooking and cooling, you can freeze Chicken Roll Ups for up to three months. Just reheat from frozen in the oven when you’re ready to enjoy them.

Chicken Roll Ups
Equipment
- 9×13-inch Baking Dish
- Mixing Bowl
- Oven
Ingredients
- 6 oz cooked chopped chicken breast (approximately 1 to 1½ cups)
- 1 can refrigerated crescent rolls (8 oz)
- 1 can unsalted cream of chicken soup (10.5 oz)
- ½ cup milk
- ½ cup shredded cheddar cheese
Instructions
- Preheat your oven to 350°F.
- Lightly spray a 9×13-inch baking dish with cooking spray.
- In a bowl, mix cream of chicken soup, milk, and shredded cheddar cheese until smooth.
- Open the crescent roll package and separate the dough into eight triangles.
- At the large end of each triangle, place a generous amount of chopped chicken and top with about 1 teaspoon of the soup mixture.
- Roll each triangle from the large end toward the point, wrapping the filling inside.
- Spread ⅓ cup of the soup mixture on the bottom of the prepared baking dish.
- Arrange the rolled crescent rolls seam side down in the dish.
- Pour the remaining soup mixture over the top of the crescent rolls.
- Bake for about 30 minutes, until bubbly and golden brown.
Send me this recipe!
Just enter your email below and get it sent straight to your inbox!


