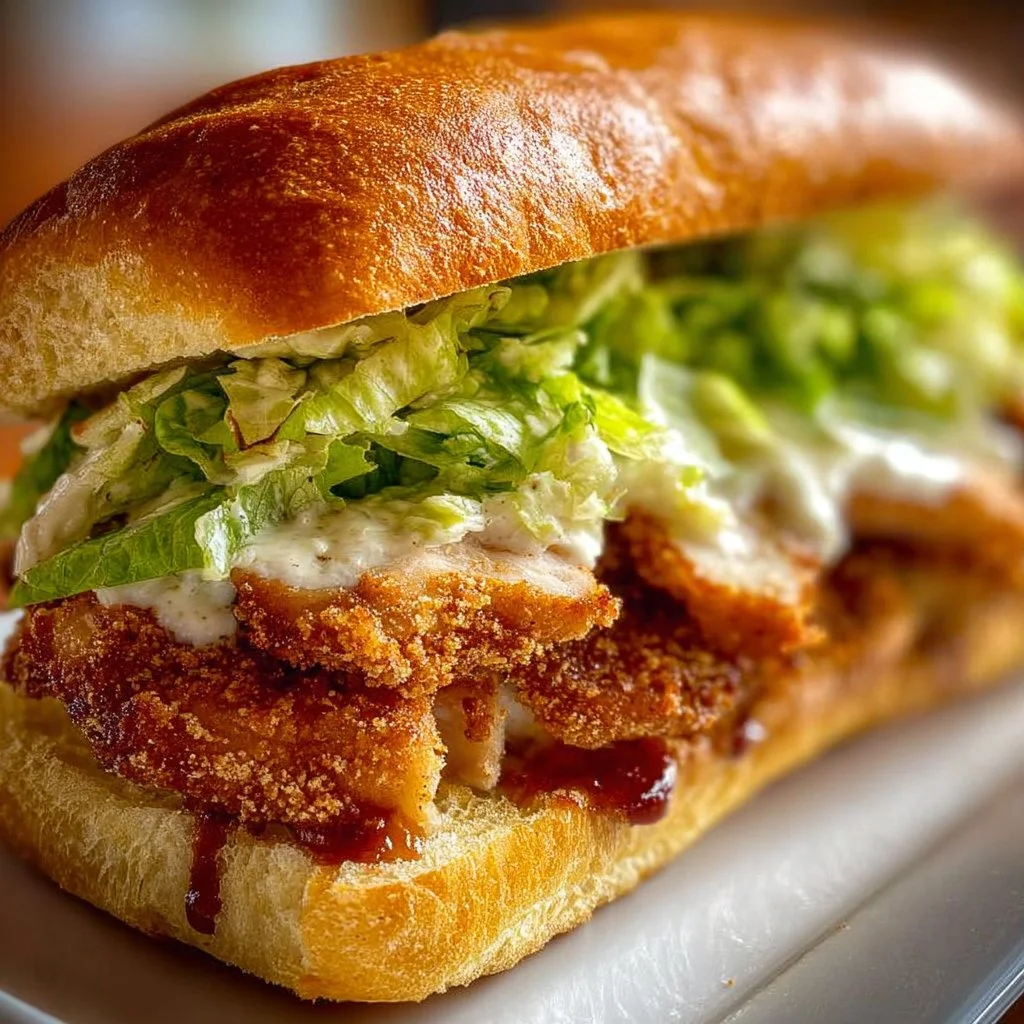
The Crispy Chicken Caesar Sandwich brings together the classic flavors of the traditional Caesar salad and the satisfying crunch of fried chicken, all packed between fresh sandwich rolls. This delightful creation is not just a meal; it’s an experience. With perfectly seasoned chicken breasts coated in crispy panko, combined with crunchy romaine, and drizzled with rich Caesar dressing, this sandwich is sure to tantalize your taste buds and satisfy your hunger.
Why We Love This Crispy Chicken Caesar Sandwich Recipe
What makes the Crispy Chicken Caesar Sandwich stand out is its combination of textures and flavors. The crunchy exterior of the chicken offers a lovely contrast to the creamy Caesar dressing and the crispness of the lettuce. This sandwich is equally satisfying for a simple lunch or a family dinner. You can customize it to suit your taste—add more toppings or adjust the dressing level, making it a favorite for everyone at the table. Plus, it’s a breeze to prepare, making it an ideal recipe to whip up on a busy evening.
Ingredients about Crispy Chicken Caesar Sandwich
List of ingredients with measurements
- 4 boneless, skinless chicken breasts
- 1 cup all-purpose flour
- Salt, to taste
- Black pepper, to taste
- 1 teaspoon garlic powder
- 1 teaspoon onion powder
- 1 cup buttermilk
- 2 cups panko breadcrumbs
- 1/2 cup grated Parmesan cheese
- 1/4 cup olive oil, for frying
- 4 large sandwich rolls, split
- 1 cup Romaine lettuce, shredded
- 1/2 cup Caesar dressing
- 1/4 cup shaved Parmesan cheese
- 2 tablespoons melted butter
- 1 clove, minced
How to Make Crispy Chicken Caesar Sandwich Directions
To start making your Crispy Chicken Caesar Sandwich, preheat your oven to 400°F (200°C). This step is vital as it prepares the cooking environment for the chicken after frying, leading to a perfect crispy texture.
Next, take each chicken breast and pound them to an even thickness. This not only helps with cooking evenly but also creates a tender bite.
For the breading, prepare three shallow dishes. In the first one, mix together the flour, salt, black pepper, garlic powder, and onion powder. This seasoned flour adds a flavorful layer to the chicken.
In the second dish, pour the buttermilk. This will add moisture to the chicken and help the breadcrumbs adhere well.


Finally, in the third dish, combine panko breadcrumbs with grated Parmesan cheese. The panko will provide that deliciously crispy texture, while the cheese adds a rich flavor.
Now, it’s time for the chicken to take a dip! Begin by dredging each chicken breast in the seasoned flour, shaking off any excess. Next, immerse them in the buttermilk, ensuring they are fully coated. Finally, press each piece into the breadcrumb mixture, ensuring they are fully covered for that extra crunch.
Heat olive oil in a skillet over medium heat. Once hot, add the coated chicken breasts. Fry them for about 4 minutes on each side or until they achieve a beautiful golden brown color. Once the chicken is browned, transfer them to a baking sheet and pop them in the preheated oven for about 15 minutes. This step ensures they are thoroughly cooked and come out juicy.
While the chicken bakes, melt the butter and mix in the minced garlic. This garlic butter will elevate the flavor of your sandwich rolls. Brush the melted butter mixture on the split sides of the rolls and place them in the oven for about 5 minutes to toast.
Now it’s time to assemble your Crispy Chicken Caesar Sandwich! Take the toasted rolls and place the crispy chicken on the bottom half. Top it with a generous handful of shredded romaine lettuce. Drizzle the Caesar dressing on top, followed by a sprinkle of shaved Parmesan cheese. Finally, place the top halves of the rolls on your creations.
And there you have it! Serve your Crispy Chicken Caesar Sandwich warm and watch everyone enjoy this delightful treat.
How to Serve Crispy Chicken Caesar Sandwich
When serving your Crispy Chicken Caesar Sandwich, presentation matters. Consider serving it with a side of crispy fries or a fresh salad. These accompaniments not only complement the sandwich but also enhance the overall meal experience. For a fun and casual dinner setting, you might consider wrapping each sandwich in parchment paper, allowing for easy handling.
Feel free to offer additional Caesar dressing on the side for those who enjoy a little extra flavor. You could also add some sliced tomatoes or pickles for a burst of freshness.
As for beverages, a refreshing iced tea or a homemade lemonade pairs wonderfully with the savory flavors of this sandwich, creating a rounded meal that’s sure to please both family and friends.
Expert Tips: Crispy Chicken Caesar Sandwich
To elevate your Crispy Chicken Caesar Sandwich even further, here are some expert tips:
- Chicken Prep: When pounding the chicken breasts, use plastic wrap to cover them. This minimizes mess and keeps your chicken intact.
- Seasoning: Don’t be shy with the seasoning in the flour mix. The more flavor you build at this stage, the tastier your sandwich will be.
- Frying Technique: Ensure your oil is hot enough before adding the chicken. If it’s not hot enough, the chicken may absorb excess oil and become greasy rather than crispy.
- Parmesan Cheese: Using freshly grated Parmesan in the breadcrumb mix will enhance the flavor significantly compared to pre-shredded options.
- Assemble at the Last Minute: To maintain crispiness, assemble the sandwiches just before serving. This ensures the chicken remains crunchy and doesn’t get soggy.
- Garnishing: Consider adding a small wedge of lemon on the side. A squeeze of fresh lemon juice adds brightness to each bite of your sandwich.
How to Store Crispy Chicken Caesar Sandwich
If you have leftovers of your Crispy Chicken Caesar Sandwich, don’t worry; they can be stored! Place any uneaten sandwiches in an airtight container. You can refrigerate them for up to 2 days.
When you’re ready to enjoy them again, consider reheating the chicken in the oven to restore some of the original crispiness. Avoid using the microwave, as it may make the sandwich soggy. If necessary, reassemble the sandwich with fresh toppings to ensure it tastes just as good as the first time you made it.
Variation of Crispy Chicken Caesar Sandwich
Feel free to get creative with your Crispy Chicken Caesar Sandwich. There are several variations you can try:
- Spicy Twist: Add a layer of spicy aioli or a swoosh of hot sauce to give your sandwich a kick and enhance those comforting flavors.
- Vegetarian Version: Swap the chicken for crispy fried zucchini or eggplant slices. Coat these vegetables in the same flour and breadcrumb mixture and fry them up for a delicious vegetarian option.
- Grilled Chicken: For a healthier twist, grill your chicken instead of frying it. Marinate the chicken breasts ahead of time for added flavor before grilling.
- Different Greens: Instead of romaine lettuce, try using kale or spinach for added nutrients and slightly different textures.
- Tasty Add-ons: Add sliced avocado or heirloom tomatoes to the sandwich for extra freshness and flavor.
- Fresh Herbs: Sprinkle some fresh herbs like basil or cilantro on top of the dressing for added depth and freshness.
FAQ
What is a Crispy Chicken Caesar Sandwich?
A Crispy Chicken Caesar Sandwich is a delicious meal that features a breaded and fried chicken breast, fresh romaine lettuce, creamy Caesar dressing, and Parmesan cheese, all nestled inside a soft sandwich roll.
How do I make the chicken crispy?
To achieve the perfect crispiness, ensure you properly coat the chicken in seasoned flour, buttermilk, and panko breadcrumbs. Frying at the right temperature and finishing in the oven also help to create that crunchy texture.
Can I make this sandwich in advance?
While the components can be prepared in advance, it is best to assemble the sandwich right before serving to keep the chicken crispy.
What ingredients can I substitute?
You can substitute chicken with plant-based alternatives, or swap out romaine lettuce for other greens like kale or mixed salad greens. Feel free to experiment with different dressings or cheeses to suit your taste.
Is the Crispy Chicken Caesar Sandwich healthy?
The healthiness of your sandwich largely depends on your portion sizes and ingredients. For a healthier version, consider grilling the chicken instead of frying and loading up on fresh veggies.

Crispy Chicken Caesar Sandwich
Ingredients
For the Chicken
- 4 pieces boneless, skinless chicken breasts
- 1 cup all-purpose flour
- to taste Salt
- to taste Black pepper
- 1 teaspoon garlic powder
- 1 teaspoon onion powder
- 1 cup buttermilk
- 2 cups panko breadcrumbs
- 1/2 cup grated Parmesan cheese
- 1/4 cup olive oil, for frying
For Assembly
- 4 large sandwich rolls, split
- 1 cup Romaine lettuce, shredded
- 1/2 cup Caesar dressing
- 1/4 cup shaved Parmesan cheese
- 2 tablespoons melted butter
- 1 clove minced garlic
Instructions
Preparation
- Preheat your oven to 400°F (200°C).
- Pound each chicken breast to an even thickness.
- In the first shallow dish, mix flour, salt, pepper, garlic powder, and onion powder.
- In the second dish, pour the buttermilk.
- In the third dish, combine panko breadcrumbs with grated Parmesan cheese.
Breading and Frying
- Dredge each chicken breast in the seasoned flour, then in the buttermilk, and finally coat in the breadcrumb mixture.
- Heat olive oil in a skillet over medium heat. Fry chicken breasts for about 4 minutes on each side until golden brown.
- Transfer the browned chicken to a baking sheet and bake in the preheated oven for about 15 minutes.
Toasting and Assembling
- In a small bowl, mix melted butter with minced garlic and brush onto the split sides of the rolls.
- Place rolls in the oven for about 5 minutes to toast.
- Assemble the sandwich: place crispy chicken on the bottom half of the toasted roll, top with shredded romaine, Caesar dressing, and shaved Parmesan cheese, then add the top half of the roll.
Send me this recipe!
Just enter your email below and get it sent straight to your inbox!