Gender reveal parties have surged in popularity in recent years, and what better way to share the exciting news than with delicious, beautifully decorated cookies? These Gender Reveal Cookies not only taste amazing but can also serve as a fun and memorable centerpiece for the celebration. With a hidden surprise inside, they create a delightful moment of anticipation and joy for everyone involved.
Why We Love This Gender Reveal Cookies
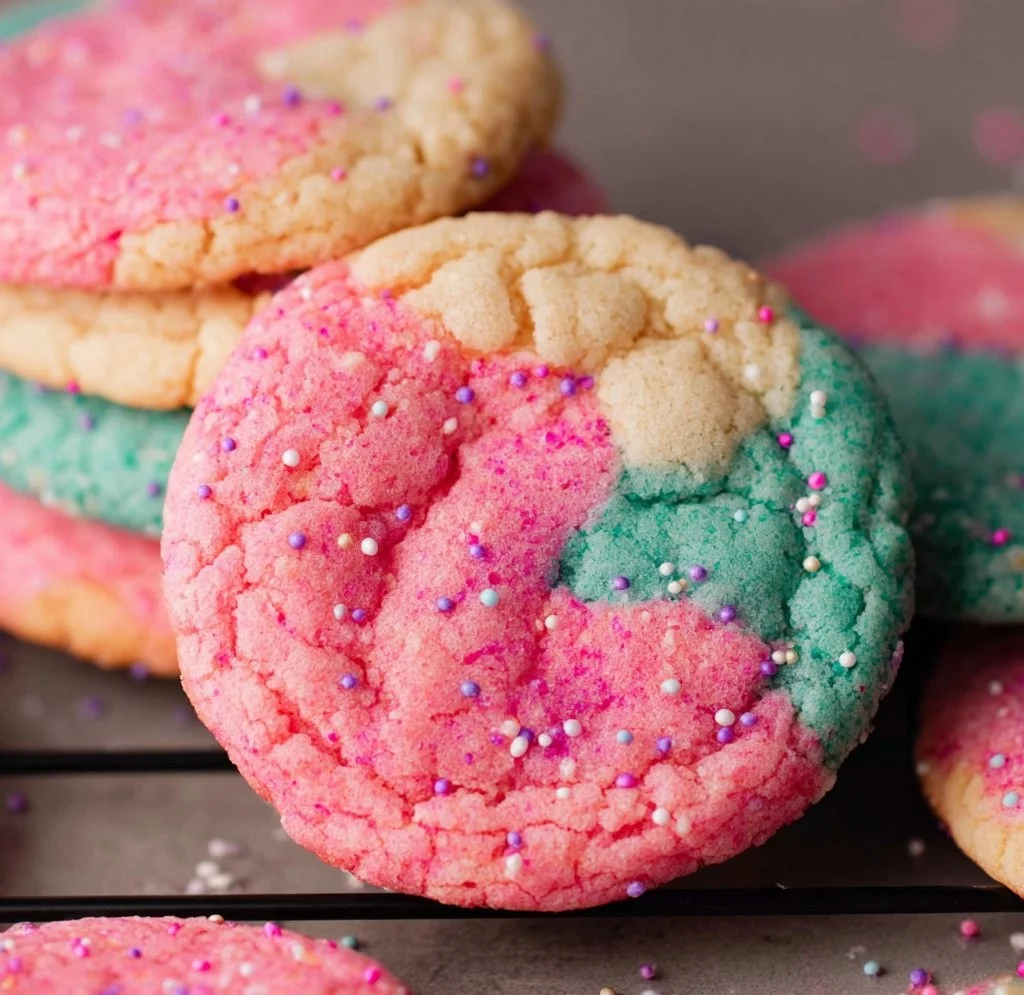
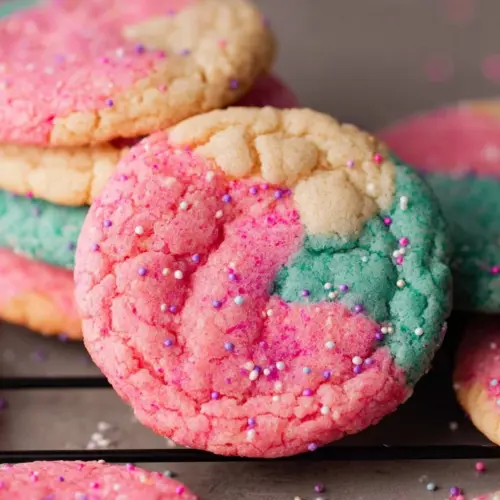
These cookies stand out as a perfect treat for gender reveal parties due to their interactive nature. Each cookie hides a colorful surprise inside that reveals whether you’re expecting a boy or a girl. The act of breaking open the cookie adds an element of thrill and joy, making the moment unforgettable. Plus, you can customize the colors and decorations, adding your personal touch to the celebration. The cookies are not only visually appealing but also delicious, making them a favorite among guests of all ages. You can also prepare them with ease, involving family members or friends in the process, which can make the experience even more special.
Ingredients for Gender Reveal Cookies
- 2 ½ cups all-purpose flour
- 1 teaspoon baking powder
- ½ teaspoon baking soda
- ½ teaspoon salt
- 1 cup unsalted butter, softened
- 1 ½ cups granulated sugar
- 1 large egg
- 2 teaspoons vanilla extract
- 1 teaspoon almond extract
- Food coloring (blue and pink)
- Royal icing for decoration
- Sprinkles (optional)
Directions
Preheat your oven to 350°F (175°C). Line baking sheets with parchment paper.
In a bowl, mix the flour, baking powder, baking soda, and salt. Set aside.
In a large mixing bowl, cream together the softened butter and granulated sugar until light and fluffy.
Add the egg, vanilla extract, and almond extract to the butter-sugar mixture. Mix until well combined.
Gradually blend the dry ingredients into the wet mixture, stirring until a dough forms.
Divide the dough into two separate bowls. Color one bowl with blue food coloring and the other with pink food coloring, mixing until you achieve the desired shade.
Roll out each colored dough into a flat sheet, about ¼ inch thick. Use cookie cutters to cut out shapes from each color.
Take a piece of the blue dough and a piece of the pink dough, and mold them together to create a cookie shape. Repeat this for the remaining dough until you’ve made all the cookies.
Place the cookies on the lined baking sheets and bake for 8-10 minutes, or until edges are lightly golden.
Let the cookies cool completely before decorating them with royal icing and any additional sprinkles you wish to use.


How to Serve Gender Reveal Cookies
When it comes to serving these delightful Gender Reveal Cookies, presentation makes all the difference. Start by arranging them on a decorative platter that matches your party theme. You can group the cookies based on the colors for a visually appealing effect. If you want to add a little flair, consider adding some decorative elements from the party, such as balloons or themed tableware, to the serving area.
For the reveal moment, hold a special time during your party to make the cookie reveal more exciting. You can gather your guests, explain the activity, and encourage everyone to take a bite of their cookie at the same time. This adds an air of suspense and allows everyone to share in the joy of discovering the gender together. Pair the cookies with beverages like lemonade, punch, or iced tea for a complete snack table experience.
Lastly, give guests cute takeaway boxes to take home any extra cookies they want to enjoy later. This not only provides a sweet treat for them but also serves as a beautiful reminder of the special day.
Expert Tips for Gender Reveal Cookies
To make the best Gender Reveal Cookies possible, consider these expert tips. First, ensure your butter is softened but not melted. This helps achieve the right texture in the cookies. Another key tip is to chill the dough for about 30 minutes before rolling it out. This makes it easier to handle and shapes the cookies neatly, preventing them from spreading too much while baking.
When it comes to coloring your dough, start with a small amount of food coloring. You can always add more if you need to achieve the desired vibrancy. This helps maintain control over the color intensity. For the reveal aspect, make sure you’ve hidden enough colored dough within the cookie so that it’s evident once bitten into.
Additionally, consider experimenting with different shapes like stars or hearts to match your party theme. Finally, decorate the cookies shortly after they cool to ensure the royal icing sets beautifully. If you want to save time, you can prepare the cookies in advance and freeze them until the big day. Just remember to thaw them completely before serving for the best texture.
How to Store Gender Reveal Cookies
Storing your Gender Reveal Cookies properly ensures they stay fresh and delicious. Once your cookies are completely cool, you should place them in an airtight container. This helps prevent them from becoming stale. If you have already decorated the cookies, be cautious of stacking them to avoid smudging the icing. You can use parchment paper between layers to keep the decoration intact.
If you need to store the cookies for a longer period, you can freeze them. Wrap the cookies individually in plastic wrap and then place them in a freezer-safe bag or container. This prevents freezer burn and helps maintain their flavor. When you’re ready to enjoy them, simply take out the desired number of cookies and allow them to thaw at room temperature. This method keeps them fresh for weeks.
For best results, consume the cookies within a week if stored at room temperature, or they can last for up to three months in the freezer. Enjoy the delightful flavors any time you crave a sweet treat!
Variations of Gender Reveal Cookies
Get creative with your Gender Reveal Cookies by trying out various variations. You can change up the shapes you use for the cookie cutters to suit different themes. For added fun, consider using initials of the baby’s name or combining different shapes into one cookie.
Another great variation is to incorporate extracts into your dough. For example, you could use lemon or coconut extracts to impart distinct flavors. You can also add colorful sprinkles directly into the dough for a fun surprise in every bite.
To tailor the cookies for different dietary needs, you can experiment with gluten-free flour blends or plant-based butter alternatives. These adaptations can make your celebration inclusive for everyone. Furthermore, consider making mini cookies for a delightful treat that can be enjoyed in one bite and offer an option for parting favors.
If you’re adventurous, why not create an assortment of gender reveal treats? Include cake pops or cupcakes alongside your cookies for a diverse dessert table that keeps your guests talking long after the party is over.
FAQ about Gender Reveal Cookies
When you’re preparing for a gender reveal party, you likely have questions about making Gender Reveal Cookies. One common question is how you can hide the colored dough inside the cookies. The answer lies in shaping the dough correctly. Start with a small amount of colored dough that you flatten and place in the center of the cookie dough. Encase it carefully to ensure it does not leak during baking.
Another frequent inquiry is whether royal icing is necessary for decorating. While royal icing enhances the appearance of the cookies and helps with decorative techniques, you can use simple glaze or fondant if you prefer. The focus is on the reveal, so choose what works best for you.
People also often wonder about the best time to bake the cookies. Ideally, you want to prepare them the day before your party. This gives them enough time to cool and for the icing to set if you’re decorating.
Lastly, whether you can prepare the dough in advance is a common question. Yes, you can prepare the dough and store it in the refrigerator for up to two days before baking, or freeze it for future use. Just remember to allow it to soften slightly before rolling it out. This allows for easy handling and ensures that your cookies are a hit at your celebration.
Gender Reveal Cookies
Ingredients
Cookie Ingredients
- 2.5 cups all-purpose flour
- 1 teaspoon baking powder
- 0.5 teaspoon baking soda
- 0.5 teaspoon salt
- 1 cup unsalted butter, softened Make sure butter is softened but not melted.
- 1.5 cups granulated sugar
- 1 large egg
- 2 teaspoons vanilla extract
- 1 teaspoon almond extract
- as needed Food coloring (blue and pink) Color the dough using food coloring.
- to taste Royal icing for decoration
- optional as needed Sprinkles Add for decoration.
Instructions
Preparation
- Preheat your oven to 350°F (175°C) and line baking sheets with parchment paper.
- In a bowl, mix together flour, baking powder, baking soda, and salt. Set aside.
- In a large mixing bowl, cream together the softened butter and granulated sugar until light and fluffy.
- Add the egg, vanilla extract, and almond extract to the butter-sugar mixture, mixing until well combined.
- Gradually blend the dry ingredients into the wet mixture, stirring until a dough forms.
- Divide the dough into two separate bowls. Color one bowl with blue and the other with pink food coloring.
- Roll out each colored dough into a flat sheet, about ¼ inch thick, and use cookie cutters to cut out shapes.
- Take a piece of blue dough and a piece of pink dough, and mold them together to form a cookie shape. Repeat until all the dough is used.
Baking
- Place the cookies on the lined baking sheets and bake for 8-10 minutes until edges are lightly golden.
- Let the cookies cool completely before decorating with royal icing and optional sprinkles.
Send me this recipe!
Just enter your email below and get it sent straight to your inbox!