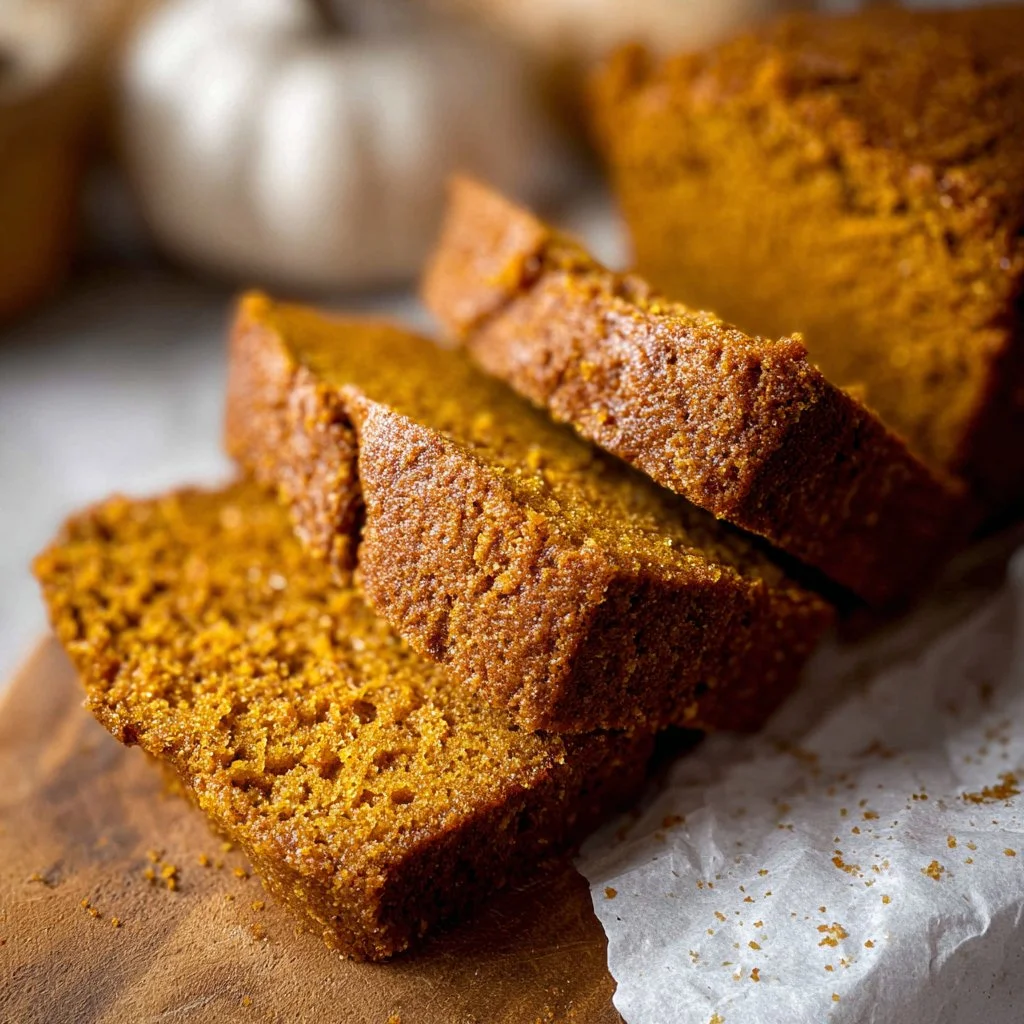
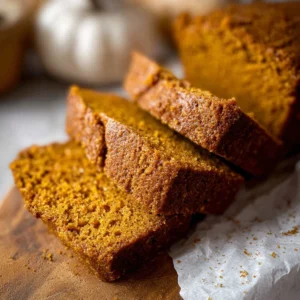
This gluten-free pumpkin bread is moist, warmly spiced, and full of rich pumpkin flavor. It’s easy to make, perfect for fall, and a treat everyone can enjoy — whether you’re gluten-free or not.
Why We Love This Gluten Free Pumpkin Bread Recipe
First and foremost, this gluten-free pumpkin bread is incredibly delicious. It’s fluffy yet dense, perfectly moist, and packed with autumn flavors that warm your soul. The use of pumpkin puree keeps the bread moist, while the spices blend harmoniously to create a taste profile that’s irresistible.
Another reason to love this recipe is its simplicity. You can whip it up with minimal effort using just a few common ingredients. There’s no need for fancy techniques or complicated steps. With one bowl and a whisk, you can have a moist loaf ready for baking in no time. Plus, it’s perfect for sharing with family and friends during fall gatherings or simply enjoying it with your morning coffee.
This gluten-free pumpkin bread is versatile too! You can customize it to fit your taste. Feel free to add chocolate chips for a touch of sweetness or nuts for that delicious crunch. You can adjust the spices according to your preferences, making it as comforting as you desire.
Ingredients for Gluten Free Pumpkin Bread
Here are the ingredients you will need to make your delicious gluten-free pumpkin bread:
List of ingredients with measurements
- 1 cup pumpkin puree: This is the star ingredient that gives the bread its moist texture and rich flavor.
- 3 large eggs: These will help bind the ingredients together and add moisture.
- 2/3 cup white sugar: This will sweeten the bread beautifully.
- 2/3 cup light brown sugar: Adding depth to the sweetness and a hint of molasses flavor.
- 1/2 cup melted butter or coconut oil: This adds richness and moisture.
- 2 teaspoons vanilla extract: For an aromatic touch.
- 1 1/2 cups gluten-free all-purpose baking flour: The base of the bread.
- 3 teaspoons cinnamon: A classic spice that infuses warmth into the bread.
- 1 teaspoon ginger: For a zesty kick.
- 3/4 teaspoon nutmeg: Adding to the warm, comforting flavors.
- 1/4 teaspoon cloves: These add a hint of spice that’s perfect for fall.
- 1 teaspoon baking soda: To help the bread rise and create that fluffy texture.
- 1/2 teaspoon baking powder: For additional lift.
- 1/4 teaspoon salt: To balance out the sweetness.
How to Make Gluten Free Pumpkin Bread Directions
Now that you have gathered all the ingredients, let’s walk through the steps to create this delightful gluten-free pumpkin bread.


-
Preheat the Oven: Begin by preheating your oven to 350 degrees Fahrenheit. This ensures that your bread starts baking at the right temperature for optimal texture.
-
Prepare Your Pan: Take a standard loaf pan (you can use a 9×5 inch or an 8 1/2 x 4 1/2 inch pan) and line it with parchment paper. This will help the bread release easily once it’s baked.
-
Mix Your Wet Ingredients: In a large mixing bowl, combine the pumpkin puree, eggs, white sugar, brown sugar, melted butter or coconut oil, and vanilla extract. Whisk these ingredients together until everything is well combined and smooth.
-
Combine Dry Ingredients: In a separate bowl, mix your gluten-free flour, cinnamon, ginger, nutmeg, cloves, baking soda, baking powder, and salt. This allows the spices and leavening agents to distribute evenly throughout the bread.
-
Combine Wet and Dry Ingredients: Gradually add the dry ingredient mixture into the wet ingredients. Whisk gently until you achieve a smooth batter. Be careful not to over-mix; a few lumps are perfectly fine.
-
Add Extras (Optional): If you want to add chocolate chips or crushed nuts, gently fold them into the batter at this stage.
-
Transfer to Pan: Pour your batter into the prepared loaf pan. If desired, sprinkle some cinnamon sugar on top for added flavor and a beautiful finish.
-
Bake the Bread: Place the loaf pan in your preheated oven and bake for 55-65 minutes. The bread is done when a toothpick inserted into the center comes out clean.
-
Cool Down: Once baked, remove the loaf from the oven and let it cool in the pan for about 15 minutes. After that, carefully lift it out and transfer it to a cooling rack to cool completely. Ideally, let it cool for 1-2 hours before slicing.
-
Slice and Enjoy: Once cooled, slice your delicious gluten-free pumpkin bread and enjoy it plain, or smear a bit of butter on top for extra indulgence!
How to Serve Gluten Free Pumpkin Bread
Serving your gluten-free pumpkin bread can be as simple or as creative as you like. For breakfast, enjoy a warm slice with a pat of butter or some cream cheese for a creamy contrast to the spice. You might also consider serving it with a drizzle of honey or maple syrup for added sweetness.
For an afternoon snack, try pairing the bread with a cup of your favorite tea or coffee. The warmth of the drink complements the warm spices of the bread perfectly. If you’re hosting a gathering, slice the bread into bite-sized pieces and arrange them on a platter for everyone to enjoy.
Don’t forget that gluten-free pumpkin bread is incredibly versatile. You can transform it into a decadent dessert by serving it with a scoop of vanilla or cinnamon ice cream on top. For extra flair, add a sprinkle of toasted pumpkin seeds or walnuts to elevate both the taste and presentation.
Expert Tips for Making Gluten Free Pumpkin Bread
Creating the perfect gluten-free pumpkin bread requires just a bit of know-how. Here are some expert tips to ensure your bread turns out fantastic every time:
-
Use Fresh Pumpkin: If possible, opt for fresh pumpkin puree. You can make your own by roasting pumpkin and pureeing it. This adds richer flavor compared to canned versions.
-
Let the Bread Cool: Patience is key! Allowing the pumpkin bread to cool completely will help it slice more neatly and retain its moisture.
-
Check for Doneness: Ovens can vary, so start checking your bread around the 55-minute mark. It should be golden brown on top, and a toothpick should come out clean when inserted into the center.
-
Don’t Skip the Salt: Even if the recipe seems sweet, don’t skip the salt. It helps balance the flavors and enhances the sweetness.
-
Experiment with Spices: Feel free to adjust the spice measurements according to your preference. If you love cinnamon, add a bit more; if you want a milder flavor, reduce the spices slightly.
How to Store Gluten Free Pumpkin Bread
Proper storage will keep your gluten-free pumpkin bread fresh and delicious for longer. Here are some simple tips on how to store it:
-
Room Temperature: Once completely cooled, store the bread in an airtight container at room temperature for up to 2-3 days. This will keep it moist without drying out.
-
Refrigeration: If you want to extend its life a bit more, you can keep the bread in the refrigerator, where it will last for about a week. Make sure it is wrapped tightly to prevent it from absorbing odors.
-
Freezing: For longer storage, freeze your gluten-free pumpkin bread. Slice it first, then wrap it individually in plastic wrap and place it in a freezer-safe bag. It can last for up to 3 months. Just thaw it at room temperature when you’re ready to enjoy it!
Variations of Gluten Free Pumpkin Bread
There are many creative ways to switch up your gluten-free pumpkin bread recipe. Here are a few variations you might enjoy trying:
-
Chocolate Chip Pumpkin Bread: Add 1 cup of gluten-free chocolate chips to the batter for a sweet twist. The chocolate pairs beautifully with the spices.
-
Nutty Pumpkin Bread: Fold in 1 cup of chopped walnuts or pecans to give your bread a lovely crunch.
-
Pumpkin Spice Swirl: Create a pumpkin spice swirl by reserving a small amount of the batter and mixing it with an extra scoop of pumpkin puree and more spices. Swirl it into the loaf before baking for an impressive look.
-
Dairy-Free Version: Substitute the butter with coconut oil and use a dairy-free chocolate chip option. This way, you can make this bread completely dairy-free!
-
Added Fruit: Consider incorporating dried cranberries or raisins for an added sweet and chewy bite.
FAQs About Gluten Free Pumpkin Bread
Is gluten-free pumpkin bread healthy?
Absolutely! It’s a great source of vitamins and nutrients, especially if you use fresh pumpkin. The spices also add antioxidants.
How can I make gluten-free pumpkin bread less sweet?
You can reduce the sugar content slightly according to your taste without compromising the moisture of the bread. Just remember to keep the balance of dry and wet ingredients in mind.
Can I make mini loaves with this recipe?
Yes! You can easily divide the batter into mini loaf pans and adjust the baking time accordingly. Mini loaves typically bake faster, so start checking at 30-40 minutes.
What can I use if I don’t have gluten-free flour?
You might try a homemade blend of almond flour and arrowroot flour, or even a oat flour if you don’t have specific gluten-free all-purpose flour readily available.
Can I add cream cheese icing on top?
Of course! Cream cheese icing pairs beautifully with pumpkin bread and can be drizzled on top for an added layer of deliciousness.
Gluten-Free Pumpkin Bread
Ingredients
- 1 cup pumpkin puree
- 3 large eggs
- 2/3 cup white sugar
- 2/3 cup light brown sugar
- 1/2 cup melted butter or coconut oil
- 2 teaspoons vanilla extract
- 1 1/2 cups gluten-free all-purpose baking flour
- 3 teaspoons cinnamon
- 1 teaspoon ginger
- 3/4 teaspoon nutmeg
- 1/4 teaspoon cloves
- 1 teaspoon baking soda
- 1/2 teaspoon baking powder
- 1/4 teaspoon salt
Instructions
- Preheat your oven to 350°F (175°C) and line a loaf pan with parchment paper.
- In a large mixing bowl, combine pumpkin puree, eggs, white sugar, brown sugar, melted butter or coconut oil, and vanilla extract. Whisk until smooth.
- In a separate bowl, mix gluten-free flour, cinnamon, ginger, nutmeg, cloves, baking soda, baking powder, and salt.
- Gradually add the dry ingredients to the wet ingredients, whisking gently until just combined. Do not over-mix.
- If desired, fold in chocolate chips or nuts.
- Pour the batter into the prepared loaf pan and smooth the top.
- Bake for 55-65 minutes, or until a toothpick inserted into the center comes out clean.
- Let the bread cool in the pan for 15 minutes, then transfer to a cooling rack to cool completely before slicing.
Send me this recipe!
Just enter your email below and get it sent straight to your inbox!