Making your own Oreo cookies at home is a delightful experience that combines the joy of baking with the satisfaction of crafting a beloved treat. With a few simple ingredients and some time, you can create deliciously rich and creamy cookies that rival the store-bought versions. This recipe allows you to customize your Oreo experience, and it’s a fun activity that can involve family and friends.
Why We Love This Homemade Oreo Cookies
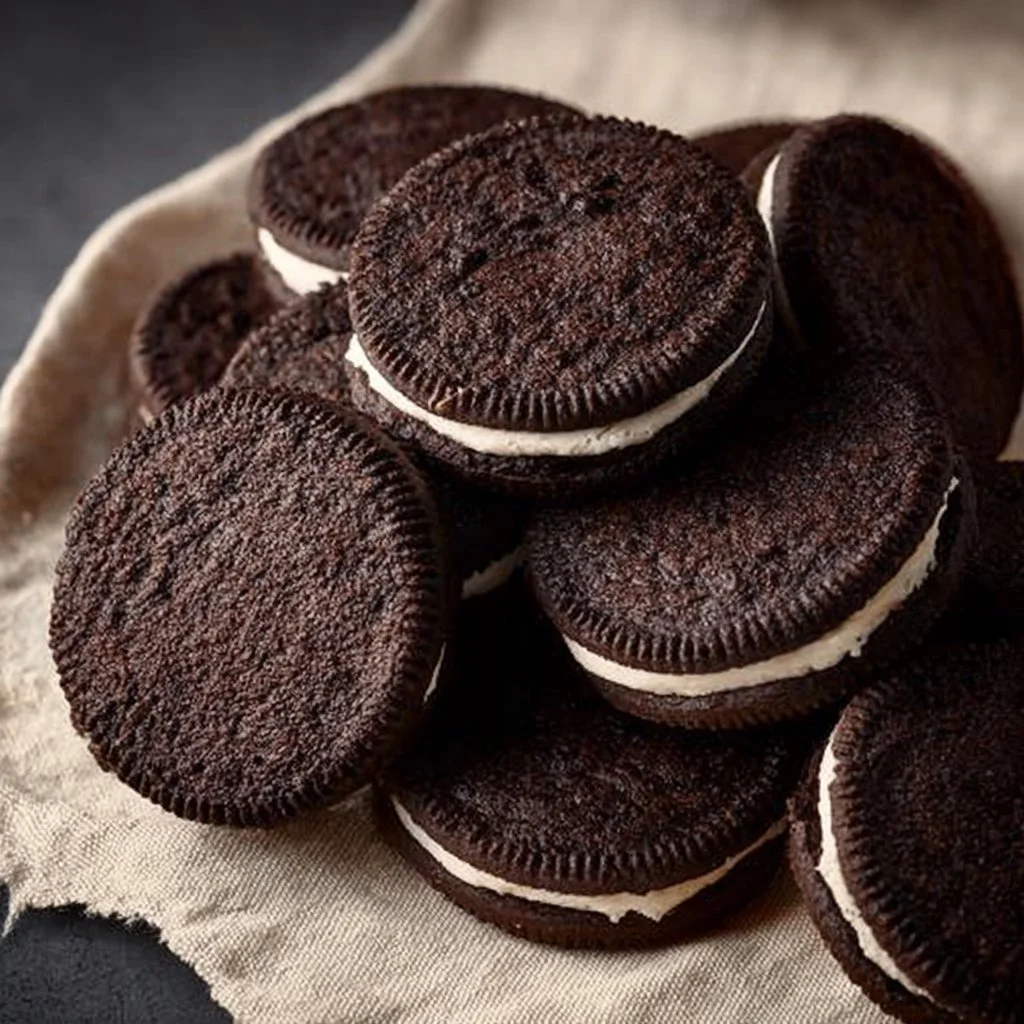
Homemade Oreo cookies bring a level of freshness and flavor that is hard to match. You control the ingredients, ensuring no preservatives or artificial flavors slip into your sweet creations. The taste is richer and more vibrant, as the chocolate cookies have a deep cocoa flavor that complements the sweet, creamy filling. Plus, there’s something special about biting into a cookie you made yourself, knowing every step of the process. Sharing these treats with loved ones makes them even sweeter, as they enjoy both the taste and the effort you put into making them. Whether for a party, a snack, or just because, homemade Oreo cookies never fail to delight.
Ingredients for Homemade Oreo Cookies
- 1 cup all-purpose flour
- 1/2 cup unsweetened cocoa powder
- 1 teaspoon baking soda
- 1/2 teaspoon baking powder
- 1/4 teaspoon salt
- 1/2 cup unsalted butter, softened
- 1 cup granulated sugar
- 1 large egg
- 1 teaspoon vanilla extract
- 2 cups powdered sugar
- 1/4 cup unsalted butter, softened (for filling)
- 2 teaspoons vanilla extract (for filling)
- 1-2 tablespoons milk (as needed for filling)
Directions
Preheat your oven to 350°F (175°C). Prepare two baking sheets by lining them with parchment paper.
In a mixing bowl, sift together the flour, cocoa powder, baking soda, baking powder, and salt. Set this mixture aside.
In a large mixing bowl, cream the softened butter and granulated sugar together until light and fluffy.
Add the egg and vanilla extract into the butter mixture. Mix well until fully combined.
Gradually incorporate the dry mixture into the wet ingredients. Stir until you form a smooth dough.
Using a tablespoon or a cookie scoop, drop balls of dough onto the prepared baking sheets, leaving about 2 inches between each one.
Bake for 10-12 minutes, or until the cookies look set and the edges are slightly firm. Remember that they will continue to firm up as they cool.
Remove the cookies from the oven and let them cool on the baking sheets for 5 minutes before transferring them to wire racks to cool completely.
While the cookies are cooling, prepare the filling. In a bowl, beat together the softened butter and powdered sugar until creamy. Add the vanilla extract and mix well. If the filling seems too thick, add milk one tablespoon at a time until you reach the desired consistency.
Once the cookies have cooled, spread a generous layer of filling on the flat side of one cookie and sandwich it with another cookie.


How to Serve Homemade Oreo Cookies
Serving your homemade Oreo cookies can be as simple or fancy as you like. For a classic touch, arrange the cookies on a beautiful plate. You might add a few cups of cold milk for dipping, inviting your friends and family to enjoy the nostalgic experience of pairing cookies with milk. For a more festive presentation, consider stacking them in a decorative jar or cake stand, which adds a homemade charm to any gathering.
If you want to elevate the dessert experience, consider serving these cookies alongside a scoop of vanilla ice cream. Sandwiching ice cream between two cookies creates a delightful dessert that’s perfect for summer. You can also crumble the cookies over a scoop of ice cream or yogurt for a crunchy topping. For a fun twist, place them in a homemade dessert trifle, layering cookie pieces, whipped cream, and chocolate or vanilla pudding for a visually stunning treat. No matter how you choose to serve them, homemade Oreo cookies are sure to be a hit.
Expert Tips for Homemade Oreo Cookies
To ensure your homemade Oreo cookies come out perfectly, consider these expert tips. First, make sure to measure your ingredients accurately. Baking is a science, so weighing flour and cocoa powder can lead to more consistent results. Also, always cream your butter and sugar thoroughly; this step incorporates air into the mixture, which helps the cookies rise and achieve the right texture.
Chilling the cookie dough for at least an hour before baking can improve the flavor and texture. This extra time allows the flavors to meld and prevents spreading during baking, ensuring the cookies hold their shape.
When baking, be mindful of your oven’s temperature. An oven thermometer can help you check if your oven is calibrated correctly, as some ovens may run hotter or cooler than indicated. If you notice browning on the edges, remove the cookies promptly, as they will continue cooking on the baking sheet. Lastly, don’t be afraid to experiment with the filling flavor by adding various extracts or even a hint of food coloring for a fun twist.
How to Store Homemade Oreo Cookies
Storing your homemade Oreo cookies is simple. Once they have fully cooled, place them in an airtight container to maintain their freshness. They can sit at room temperature for up to a week, but if you want to prolong their shelf life, consider refrigerating them. If you choose to refrigerate, allow them to come back to room temperature before serving to ensure their texture is perfect.
For longer storage, you can freeze the cookies. Place layers of cookies between parchment paper in a freezer-safe container to prevent them from sticking together. They can last in the freezer for up to three months. When you’re ready to enjoy them, simply remove the desired amount and let them thaw at room temperature for about 20-30 minutes.
Variations of Homemade Oreo Cookies
Getting creative with your homemade Oreo cookies can be a lot of fun. Start with the classic chocolate cookie and vanilla filling combo but feel free to experiment. Try adding a teaspoon of peppermint extract to the filling for a minty version that’s perfect around the holidays.
You can also play with the cookie base by incorporating different flours, like almond or coconut flour, for gluten-free options. Even integrate flavors like espresso powder or cinnamon into the dough for a unique twist.
For the filling, consider using cream cheese instead of butter for a tangy variation that mirrors store-bought cream-filled cookies. Alternatively, use flavored extracts or oils, such as almond or orange, to create distinct flavors that suit your taste.
Changing the shape of the cookie can also bring a fun variation. Use cookie cutters to make shapes for holidays or parties, or even roll the dough into logs and slice them for a different appearance. Use colored icing to decorate the tops for festive occasions and make them pop visually.
FAQ about Homemade Oreo Cookies
If you’re new to making homemade Oreo cookies, you might have a few questions. One common concern is whether you need special equipment. The good news is that you don’t need fancy kitchen gadgets; a good mixing bowl and a basic baking sheet will do just fine.
Another question often asked is how to avoid spreading cookies while baking. Chilling the dough before baking helps significantly. Additionally, ensure you’re using the correct amount of flour and properly creaming your butter and sugar to create the right structure.
Finally, many people wonder about substitutions. You can replace unsalted butter with coconut oil for a dairy-free version, and if you need a vegan option, swap the egg for a flaxseed egg or a commercial egg substitute. The flexibility in the recipe allows you to make cookies that fit your dietary needs while still enjoying the classic Oreo experience.

Homemade Oreo Cookies
Ingredients
For the cookies
- 1 cup all-purpose flour
- 1/2 cup unsweetened cocoa powder
- 1 teaspoon baking soda
- 1/2 teaspoon baking powder
- 1/4 teaspoon salt
- 1/2 cup unsalted butter, softened
- 1 cup granulated sugar
- 1 large egg
- 1 teaspoon vanilla extract
For the filling
- 2 cups powdered sugar
- 1/4 cup unsalted butter, softened
- 2 teaspoons vanilla extract
- 1-2 tablespoons milk as needed for filling
Instructions
Preparation
- Preheat your oven to 350°F (175°C). Prepare two baking sheets by lining them with parchment paper.
- In a mixing bowl, sift together the flour, cocoa powder, baking soda, baking powder, and salt. Set this mixture aside.
- In a large mixing bowl, cream the softened butter and granulated sugar together until light and fluffy.
- Add the egg and vanilla extract into the butter mixture. Mix well until fully combined.
- Gradually incorporate the dry mixture into the wet ingredients. Stir until you form a smooth dough.
Baking
- Using a tablespoon or a cookie scoop, drop balls of dough onto the prepared baking sheets, leaving about 2 inches between each one.
- Bake for 10-12 minutes, or until the cookies look set and the edges are slightly firm. Remember that they will continue to firm up as they cool.
- Remove the cookies from the oven and let them cool on the baking sheets for 5 minutes before transferring them to wire racks to cool completely.
Making the filling
- While the cookies are cooling, prepare the filling. In a bowl, beat together the softened butter and powdered sugar until creamy.
- Add the vanilla extract and mix well. If the filling seems too thick, add milk one tablespoon at a time until you reach the desired consistency.
Assembly
- Once the cookies have cooled, spread a generous layer of filling on the flat side of one cookie and sandwich it with another cookie.
Send me this recipe!
Just enter your email below and get it sent straight to your inbox!