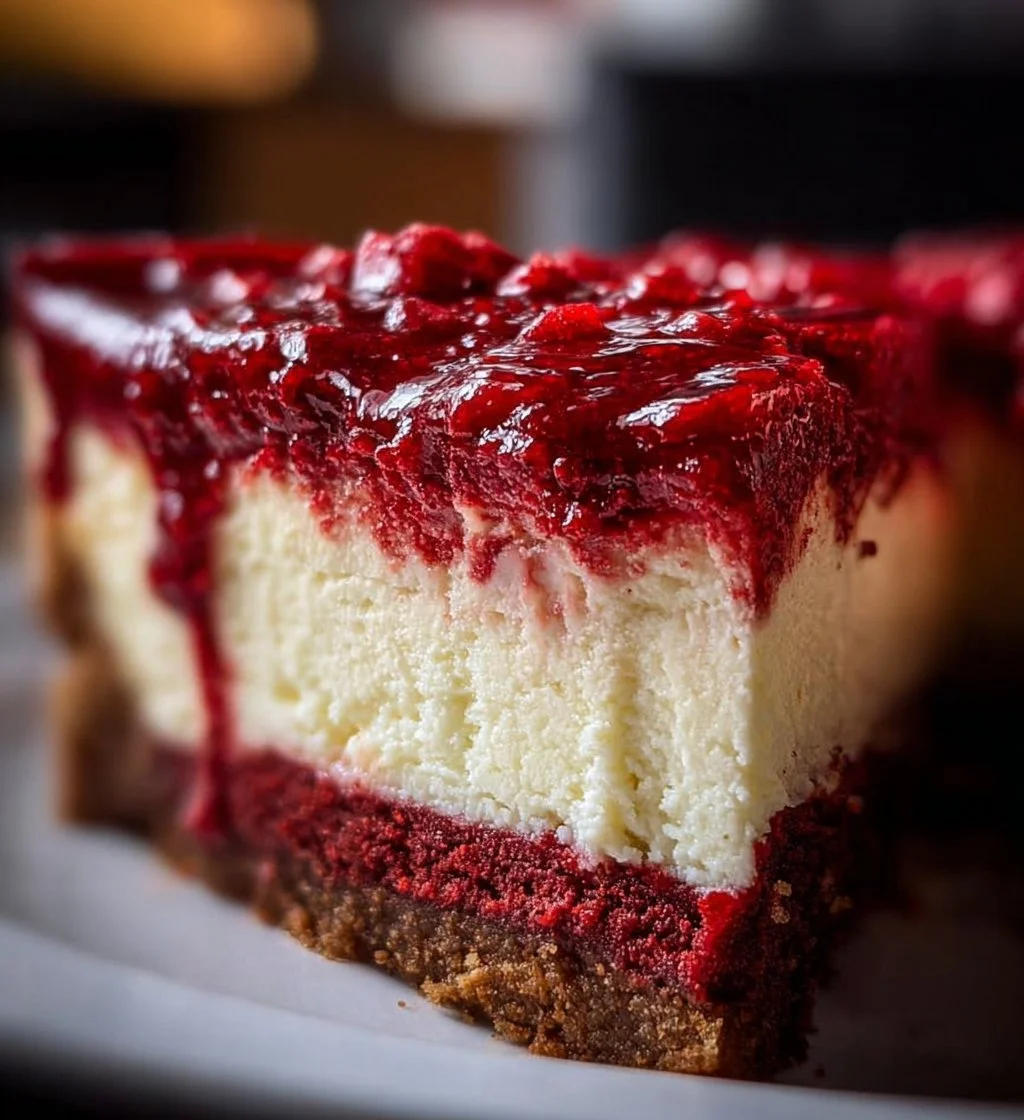
Knock You Naked Red Velvet Cheesecake tempts you with its rich colors, creamy texture, and a mix of flavors. This dessert balances the classic red velvet cake with the velvety richness of cheesecake, creating an indulgence that simply takes your breath away. Perfect for celebrations or a special treat, this dessert is bound to impress both family and friends alike.
Why We Love This Knock You Naked Red Velvet Cheesecake
This Knock You Naked Red Velvet Cheesecake is the epitome of dessert decadence. First, it combines two beloved desserts—red velvet cake and cheesecake—into one luscious creation, which means you get double the delight in every slice. The striking red color adds a festive touch, making it ideal for birthdays, holidays, or any gathering where you want to wow your guests. The cheesecake layer brings a smooth, rich texture that harmonizes beautifully with the subtle chocolate flavor of the red velvet. The creamy frosting that tops it off is simply the cherry on the cake, enhancing its visual appeal and taste. As if that wasn’t enough, the cheesecake also serves as a surprise center, delivering a unique experience with each bite. You’ll fall in love with this dessert not just for its taste but also for how it brings joy and satisfaction to any occasion.
Ingredients for Knock You Naked Red Velvet Cheesecake
- 1 box red velvet cake mix
- 1 cup all-purpose flour
- 1 cup granulated sugar
- 1 cup unsweetened cocoa powder
- 1 cup vegetable oil
- 1 cup water
- 3 large eggs
- 1 teaspoon vanilla extract
- 2 cups cream cheese, softened
- 1 cup powdered sugar
- 1 teaspoon vanilla extract (for cheesecake layer)
- 1 cup heavy cream
- 2 teaspoons vanilla extract (for whipped cream)
- 1 cup additional powdered sugar (for whipped cream)
- Red food coloring (optional for extra color)
Directions
Preheat your oven to 350°F (175°C). Grease and flour two 9-inch round cake pans.
In a large bowl, combine the red velvet cake mix, all-purpose flour, granulated sugar, cocoa powder, vegetable oil, water, eggs, and 1 teaspoon vanilla extract. Mix until the batter is smooth.
Divide the batter evenly into the prepared cake pans and bake for 25-30 minutes or until a toothpick inserted in the center comes out clean.
Allow the cakes to cool completely in the pans for about 10 minutes before transferring them to wire racks to cool fully.
While the cakes cool, prepare the cheesecake layer. In a mixing bowl, beat the softened cream cheese until smooth. Gradually add the powdered sugar and 1 teaspoon vanilla extract, mixing until well combined.
Once it’s creamy and smooth, set aside.
In another bowl, whip the heavy cream with 2 teaspoons vanilla extract and 1 cup powdered sugar until stiff peaks form.
Gently fold the whipped cream into the cream cheese mixture until thoroughly mixed.
When the cakes are completely cool, place one layer on a serving plate. Spread half of the cheesecake mixture on top of the first cake layer.
Place the second cake layer on top and repeat with the remaining cheesecake mixture.
Top the entire cake with extra whipped cream if desired and decorate with sprinkles or any toppings of your choice.
Chill the cake for at least 2 hours before serving to allow the layers to set.


How to Serve Knock You Naked Red Velvet Cheesecake
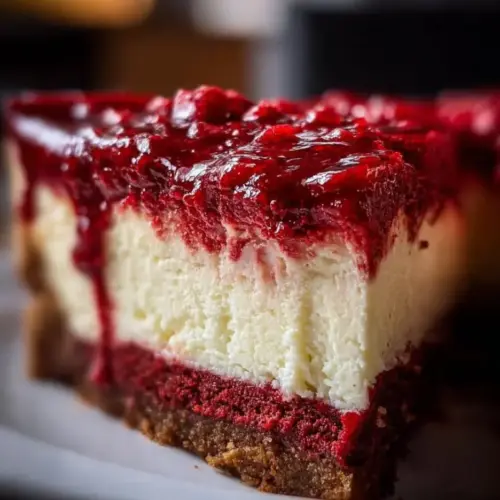
Serving Knock You Naked Red Velvet Cheesecake is as much about presentation as it is about taste. Start by slicing the cake into even wedges, ensuring each piece has both the red velvet and cheesecake layers exposed for visual impact. You can enhance the indulgence by drizzling chocolate sauce or a berry compote over each slice right before serving. If you love textures, consider serving it alongside fresh berries or a scoop of vanilla ice cream for a delightful contrast. Guests will appreciate the added flavor and freshness. For a special touch, garnish each slice with whipped cream swirls or chocolate shavings. Whether it’s at a birthday party, holiday gathering, or an intimate dinner, this dessert stands out. Its striking color and rich flavors will not only impress your diners but also create a memorable dessert moment.
Expert Tips for Knock You Naked Red Velvet Cheesecake
When making Knock You Naked Red Velvet Cheesecake, there are several tips to ensure that your dessert turns out perfectly. First, mix your cake batter just until the ingredients are combined. Overmixing can lead to a denser cake that loses its lightness. Also, it’s essential to let the cakes cool completely before adding the cheesecake layer. Warm cakes can cause the cheesecake layer to melt, resulting in an undesirable texture. If you want a more intense red color, feel free to add additional red food coloring to your batter, but keep in mind that a little goes a long way. For the cheesecake layer, room-temperature cream cheese will whip better and create a smoother texture, so take it out of the fridge ahead of time. Lastly, chilling the completed cake allows the flavors to meld beautifully, enhancing the overall taste. Remember, the longer it sits in the fridge, the better it will be, so make it a day ahead if possible.
How to Store Knock You Naked Red Velvet Cheesecake
To store your Knock You Naked Red Velvet Cheesecake, place it in an airtight container or cover it well with plastic wrap or aluminum foil. Keep it in the refrigerator, where it will stay fresh for about 4 to 5 days. If you anticipate not finishing it within this time frame, consider slicing it into individual pieces and freezing them. Make sure to wrap each slice tightly in plastic wrap and then place them in a freezer-safe container. When stored this way, the cheesecake can last up to 2 months in the freezer. When you’re ready to enjoy it, thaw in the fridge overnight before serving. The flavors remain exceptional, and you can still savor the indulgence of this delightful dessert.
Variations of Knock You Naked Red Velvet Cheesecake
There are numerous fun ways to customize Knock You Naked Red Velvet Cheesecake to suit various tastes and occasions. For a fluffier texture, try incorporating crushed peppermint candies into the cheesecake mixture for a festive touch. You can also swap out some of the cream cheese for mascarpone cheese for a richer, creamier flavor. If you’re looking for a fruity flavor, consider adding pureed strawberries or raspberries into the batter or as a layer in the cake. You can add them by swirling them gently into the cheesecake mixture before layering it on the cake. For a chocolate lover’s twist, fold in mini chocolate chips or experiment with a chocolate ganache topping instead of whipped cream. Gluten-free options can be achieved by using gluten-free cake mix and all-purpose flour, enabling everyone to enjoy this delightful dessert. With these variations, you can make this dessert your own while still delivering that classic Knock You Naked feeling.
FAQ about Knock You Naked Red Velvet Cheesecake
What is Knock You Naked Red Velvet Cheesecake?
Knock You Naked Red Velvet Cheesecake is a delightful dessert that combines layers of red velvet cake and creamy cheesecake, offering a unique and indulgent treat for any gathering.
How long does it take to prepare Knock You Naked Red Velvet Cheesecake?
Preparing Knock You Naked Red Velvet Cheesecake typically takes about 30 minutes, while baking may take an additional 25-30 minutes. Don’t forget to account for chilling time, which enhances the flavors.
Can I make Knock You Naked Red Velvet Cheesecake ahead of time?
Yes, you can prepare Knock You Naked Red Velvet Cheesecake ahead of time. It tastes even better when chilled for a few hours or overnight before serving.
Can I freeze Knock You Naked Red Velvet Cheesecake?
Absolutely! You can freeze slices of Knock You Naked Red Velvet Cheesecake. Just wrap them tightly in plastic wrap and store in a freezer-safe container. They’ll maintain their flavor for up to two months.
What can I substitute for cream cheese in Knock You Naked Red Velvet Cheesecake?
You can replace cream cheese with mascarpone cheese for a creamier texture, or use a dairy-free cream cheese alternative if you want a non-dairy version.
Knock You Naked Red Velvet Cheesecake
Ingredients
For the Red Velvet Cake
- 1 box red velvet cake mix
- 1 cup all-purpose flour
- 1 cup granulated sugar
- 1 cup unsweetened cocoa powder
- 1 cup vegetable oil
- 1 cup water
- 3 large eggs
- 1 teaspoon vanilla extract
For the Cheesecake Layer
- 2 cups cream cheese, softened
- 1 cup powdered sugar
- 1 teaspoon vanilla extract (for cheesecake layer)
For the Whipped Cream
- 1 cup heavy cream
- 2 teaspoons vanilla extract (for whipped cream)
- 1 cup additional powdered sugar (for whipped cream)
Optional
- Red food coloring for extra color
Instructions
Preparation
- Preheat your oven to 350°F (175°C). Grease and flour two 9-inch round cake pans.
- In a large bowl, combine the red velvet cake mix, all-purpose flour, granulated sugar, cocoa powder, vegetable oil, water, eggs, and 1 teaspoon vanilla extract. Mix until the batter is smooth.
- Divide the batter evenly into the prepared cake pans and bake for 25-30 minutes or until a toothpick inserted in the center comes out clean.
- Allow the cakes to cool completely in the pans for about 10 minutes before transferring them to wire racks to cool fully.
Cheesecake Layer
- While the cakes cool, prepare the cheesecake layer. In a mixing bowl, beat the softened cream cheese until smooth. Gradually add the powdered sugar and 1 teaspoon vanilla extract, mixing until well combined.
- Once it’s creamy and smooth, set aside.
Whipped Cream
- In another bowl, whip the heavy cream with 2 teaspoons vanilla extract and 1 cup powdered sugar until stiff peaks form.
- Gently fold the whipped cream into the cream cheese mixture until thoroughly mixed.
Assembly
- When the cakes are completely cool, place one layer on a serving plate. Spread half of the cheesecake mixture on top of the first cake layer.
- Place the second cake layer on top and repeat with the remaining cheesecake mixture.
- Top the entire cake with extra whipped cream if desired and decorate with sprinkles or any toppings of your choice.
- Chill the cake for at least 2 hours before serving to allow the layers to set.
Send me this recipe!
Just enter your email below and get it sent straight to your inbox!