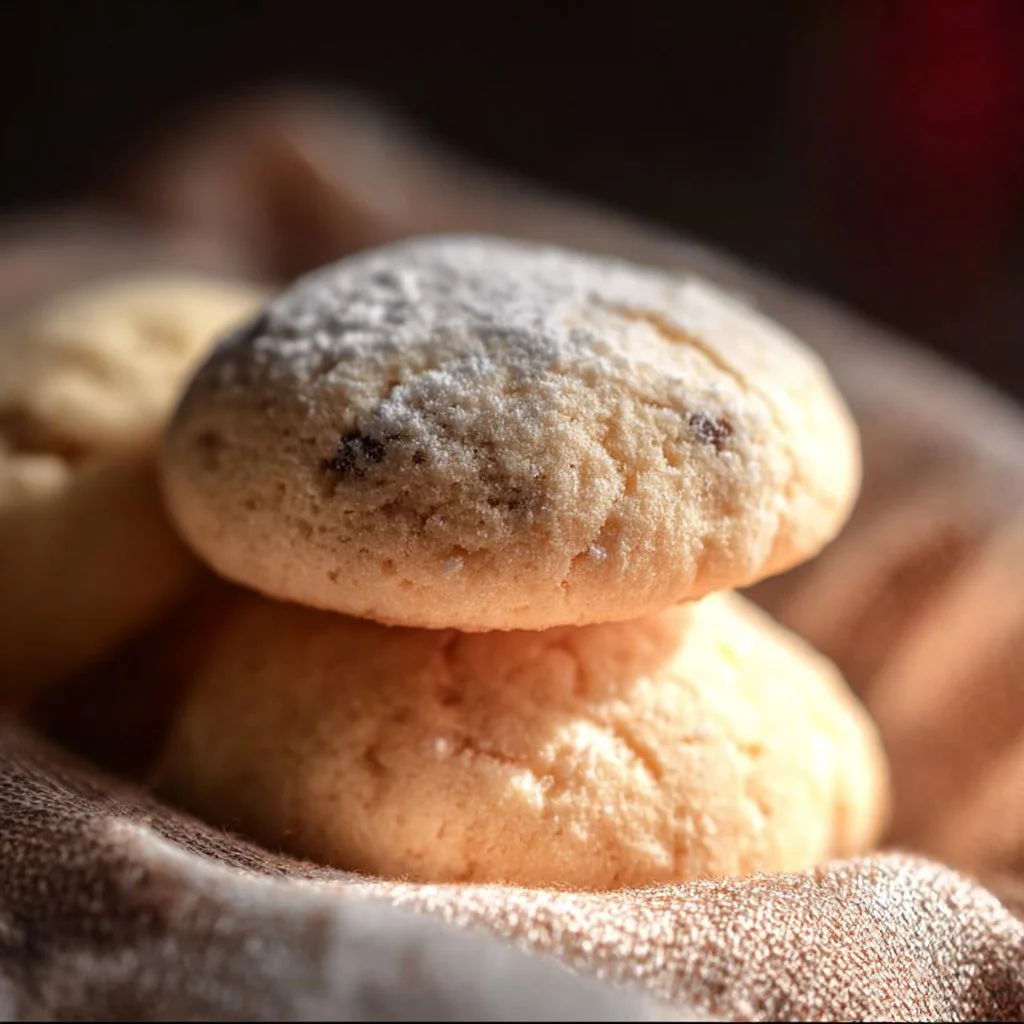
Melting Moments Cookies are a delightful treat that never fails to impress with their tender texture and rich buttery flavor. These cookies are buttery, easy to make, and perfect for any occasion, whether you want a sweet snack with tea or a charming dessert for a gathering. Their melt-in-your-mouth quality is truly irresistible, making them a favorite among both bakers and cookie lovers.
Why We Love This Melting Moments Cookies
You will fall in love with Melting Moments Cookies for several reasons. First, their texture is extraordinarily light and crumbly, making each bite feel luxurious. The combination of butter and cornstarch gives these cookies a unique melt-in-your-mouth sensation that feels delightful on the palate. Secondly, they are incredibly versatile. You can easily customize the flavors by adding your favorite extracts or fillings. This adaptability ensures that the cookies suit both traditional and modern tastes. Lastly, these cookies are straightforward to make, requiring minimal ingredients and effort. Whether you are an experienced baker or just beginning, you’ll find that the process is enjoyable and rewarding.
Ingredients for Melting Moments Cookies
- 1 cup unsalted butter, softened
- 2 cups all-purpose flour
- 1/2 cup cornstarch
- 1/2 cup powdered sugar
- 1 teaspoon vanilla extract
- A pinch of salt
Directions
- Preheat your oven to 350°F (175°C). Line a baking sheet with parchment paper.
- In a bowl, cream the softened butter and powdered sugar together until light and fluffy. You can use an electric mixer or whisk by hand.
- Add in the vanilla extract and mix until combined.
- In another bowl, combine the all-purpose flour, cornstarch, and salt.
- Gradually add the flour mixture to the butter mixture, mixing until everything is well blended. The dough should be soft and slightly crumbly.
- Scoop small amounts of dough and roll them into balls, about 1 inch in diameter. Place them on the lined baking sheet, leaving some space between each cookie.
- Gently press each ball to flatten it slightly, creating a round disc.
- Bake in the preheated oven for about 12-15 minutes, or until the edges are just beginning to turn golden.
- Remove from the oven and allow the cookies to cool on the baking sheet for a few minutes before transferring them to a wire rack to cool completely.
How to Serve Melting Moments Cookies
Melting Moments Cookies shine when served with a variety of accompaniments. You can sprinkle them with a light dusting of powdered sugar right before serving to enhance their visual appeal. A perfect pairing would be a cup of tea or coffee, as the warm beverages contrast delightfully with the cool, buttery cookies. For a more festive touch, consider filling them with a layer of buttercream or fruit preserves, creating a sweet sandwich. During the holiday season, you can also incorporate seasonal spices or flavors like cinnamon or orange zest into your serving suggestions to enhance their festive charm. Plating them on a decorative tray or cookie stand adds an elegant touch, making them great for sharing at gatherings and celebrations.
Expert Tips for Melting Moments Cookies
Achieving the perfect Melting Moments Cookies requires attention to some key details. First, make sure that your butter is at room temperature; this ensures it blends smoothly with the sugar and creates that light, fluffy texture. Measure your flour accurately; using too much flour can lead to dense cookies. A kitchen scale can help ensure you get the proportions right. Chill the dough for about 30 minutes before baking if you find it too soft to handle or shape. This will help the cookies maintain their shape while baking. During baking, keep an eye on the color; you want them to remain pale and golden around the edges. Finally, always allow the cookies to cool on a wire rack, as this prevents them from becoming soggy. With these tips, you’ll make perfect Melting Moments Cookies that everyone will love.
How to Store Melting Moments Cookies
Storing Melting Moments Cookies properly ensures they maintain their delightful texture and flavor. Once the cookies have completely cooled, place them in an airtight container. You can layer parchment paper between them if you want to prevent any sticking. They can be stored at room temperature for up to a week, making them perfect for snacks or quick desserts throughout the week. If you wish to store them for a longer period, consider freezing them. Place the cookies in a single layer on a baking sheet to freeze for a few hours, then transfer them to a freezer-safe container. They can last in the freezer for up to three months. When you’re ready to enjoy them, simply thaw at room temperature for a while.
Variations of Melting Moments Cookies
Melting Moments Cookies can easily be transformed to suit diverse tastes and occasions. One popular variation involves adding different extracts. For instance, try almond extract for a nutty flavor or lemon zest for a refreshing citrus twist. You can also fill your cookies with jam or curd. A sweet raspberry or lemon curd filling makes a lovely contrast to the buttery cookies. For those who enjoy a bit of crunch, incorporating finely chopped nuts like almonds or hazelnuts into the dough can offer a delightful texture. Another option is to dip half of each cookie in melted chocolate for a decadent touch. Whatever variation you choose, Melting Moments Cookies provide a perfect base for experimentation and creativity.


FAQ about Melting Moments Cookies
You might have some questions about Melting Moments Cookies and their intriguing attributes. One common inquiry revolves around their texture. Why are they called Melting Moments Cookies? Their name comes from the unique way they crumble and dissolve in your mouth, thanks to the mix of butter and cornstarch. Another common question is whether these cookies can be made ahead of time. Absolutely! You can prepare the dough and refrigerate it for a few days or freeze it for future baking. Many people also wonder about gluten-free options. While traditional Melting Moments Cookies use all-purpose flour, you can replace it with a gluten-free flour blend for a gluten-free version. Finally, some bakers ask how to prevent the cookies from spreading too much while baking. The key is to ensure that the butter is softened rather than melted and to chill the dough before baking. These insights help enhance your baking experience and ensure you enjoy the delightful taste of Melting Moments Cookies fully.

Melting Moments Cookies
Ingredients
Main Ingredients
- 1 cup unsalted butter, softened Make sure butter is at room temperature.
- 2 cups all-purpose flour Measure accurately to avoid dense cookies.
- 1/2 cup cornstarch
- 1/2 cup powdered sugar Use to cream with butter.
- 1 teaspoon vanilla extract Can be substituted with other extracts for flavor variations.
- a pinch salt
Instructions
Preparation
- Preheat your oven to 350°F (175°C) and line a baking sheet with parchment paper.
- In a bowl, cream the softened butter and powdered sugar together until light and fluffy.
- Add in the vanilla extract and mix until combined.
- In another bowl, combine the all-purpose flour, cornstarch, and salt.
- Gradually add the flour mixture to the butter mixture, mixing until well blended. The dough should be soft and slightly crumbly.
- Scoop small amounts of dough and roll them into balls, about 1 inch in diameter. Place them on the lined baking sheet, leaving some space between each cookie.
- Gently press each ball to flatten it slightly, creating a round disc.
Baking
- Bake in the preheated oven for about 12-15 minutes, or until the edges are just beginning to turn golden.
- Remove from the oven and allow the cookies to cool on the baking sheet for a few minutes before transferring them to a wire rack to cool completely.
Send me this recipe!
Just enter your email below and get it sent straight to your inbox!