Whether you’re planning a party, celebrating a birthday, or simply looking to treat yourself, Orange Cream Cake Pops bring a delightful burst of flavor in a fun and portable form. These sweet, citrus-infused goodies combine the lightness of cake with the creamy texture of a classic orange dessert, making them a hit for both kids and adults alike. With each bite, you’ll enjoy the refreshing taste and the nostalgia of orange creamsicle flavors, perfect for any occasion.
Why We Love This Orange Cream Cake Pops
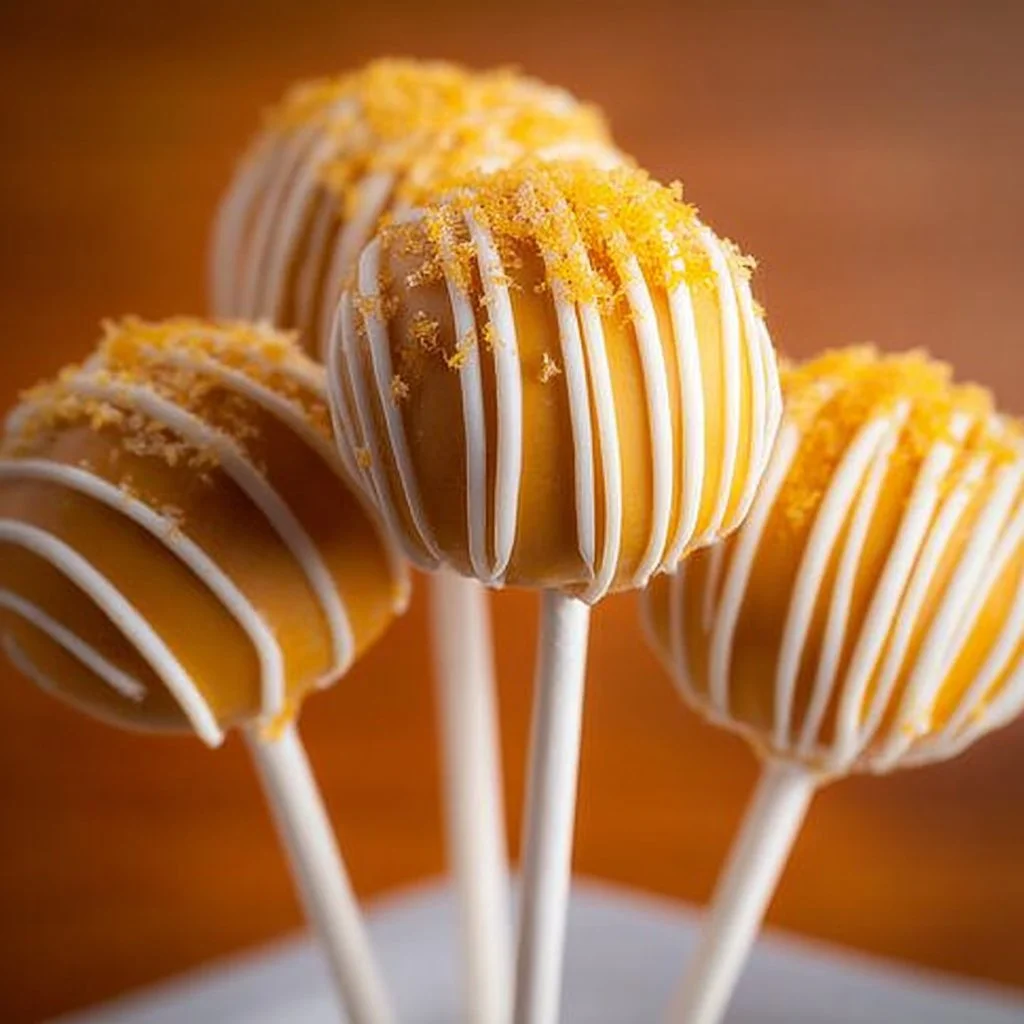
Orange Cream Cake Pops stand out for several reasons. First, their playful shape and vibrant color make them visually appealing, making them a perfect treat for parties and gatherings. Second, they encapsulate the joyful flavors of the season, reminiscent of sunny days and fresh fruit. The balance of sweetness with a hint of tanginess from the orange creates a delightful taste experience that keeps people coming back for more.
Additionally, these cake pops are incredibly versatile. You can customize them with different coatings, toppings, and dips to suit any theme or personal preference. They also offer a unique way to use leftover cake, showcasing creativity in the kitchen and minimizing waste. Finally, the process of making cake pops is a fun activity that brings family and friends together, whether you’re baking solo or involving little helpers.
Ingredients for Orange Cream Cake Pops
- 1 box of orange cake mix
- 1 cup of water
- 1/2 cup of vegetable oil
- 3 large eggs
- 1 teaspoon of orange zest
- 1/2 cup of orange cream cheese frosting
- 12 ounces of white chocolate chips
- 1 tablespoon of vegetable oil (for melting chocolate)
- Sprinkles (optional)
Directions
- Preheat your oven to 350°F (175°C) and grease a 9×13-inch baking pan.
- In a large mixing bowl, combine the orange cake mix, water, vegetable oil, and eggs. Use an electric mixer on medium speed for 2 minutes until the batter is well blended.
- Stir in the orange zest, and mix until combined. Pour the batter into the prepared baking pan.
- Bake the cake for about 25-30 minutes, or until a toothpick inserted into the center comes out clean.
- Let the cake cool completely in the pan on a wire rack.
- Once cooled, crumble the cake into a large mixing bowl until you achieve fine crumbs.
- Add the orange cream cheese frosting to the cake crumbs. Mix thoroughly until the mixture holds together when pressed.
- Using your hands, shape the mixture into small balls, about 1 inch in diameter. Place them on a baking sheet lined with parchment paper.
- Freeze the cake balls for at least 1 hour to firm them up.
- In a microwave-safe bowl, combine the white chocolate chips and 1 tablespoon of vegetable oil. Melt in 30-second intervals, stirring in between until smooth.
- Once the cake balls are firm, dip the end of each lollipop stick into the melted chocolate and insert it into a cake ball, about halfway through.
- Dip each cake pop into the melted chocolate, coating it evenly. Allow excess chocolate to drip off.
- If desired, decorate with sprinkles before the chocolate sets.
- Place the finished cake pops upright in a stand or styrofoam block to let the chocolate harden completely.
How to Serve Orange Cream Cake Pops
Serving Orange Cream Cake Pops can make any event feel special. Start by arranging your cake pops on a decorative plate or cake stand, showcasing their vibrant colors. You might want to consider themed decorations that complement the bright orange hue, such as citrus motifs or summer-inspired decor. For an outdoor gathering, set them on a picnic table with bright linens for a fun, festive feel.
If you’re hosting a party, craft a dessert table that features the cake pops alongside other treats. You can place small takeout boxes or bags nearby, encouraging your guests to grab a cake pop to go. For an added touch, label each cake pop with its flavor, or create a little tasting menu to showcase your culinary creativity.
You can also consider pairing these cake pops with complementary drinks, like refreshing lemonade or iced tea. They work beautifully as sweet bites after a meal or as a festive treat during a celebration. Don’t forget to snap some photos of your dessert table to capture the joyful moments, as these pops make great social media moments with their colorful presentation.


Expert Tips for Orange Cream Cake Pops
Making Orange Cream Cake Pops can be simplified by following a few expert tips. First, ensure that your cake is completely cooled before crumbling it; otherwise, the mixture may become too sticky and hard to shape. Use a sturdy cake mix for the best results. Orange cake mixes vary, so consider experimenting with different brands to find one that offers the perfect flavor and texture.
While shaping the cake balls, wet your hands with a little water or non-stick spray to prevent the mixture from sticking to your fingers. If you’re working with a warm kitchen, returning the cake balls to the freezer for a bit after shaping can help maintain their form.
When melting chocolate, always use a microwave-safe bowl and melt in small intervals. This prevents the chocolate from seizing, ensuring a smooth coating. Finally, for a professional touch, use quality chocolate and consider tempering it for a shinier finish. You can also mix different sprinkles and toppings to enhance the appeal, giving you room to express your creativity.
How to Store Orange Cream Cake Pops
Proper storage ensures that your Orange Cream Cake Pops stay fresh and enjoyable. If you need to store them after making, keep the cake pops in an airtight container to maintain their moisture. You can refrigerate them for up to a week, but if you want to extend their shelf life, freezing is the way to go.
To freeze, place the cake pops in a single layer in a container or on a baking sheet lined with parchment paper, ensuring they do not touch. Cover them tightly and store in the freezer. They can last up to 2 months when frozen. When you’re ready to enjoy them, defrost the pops in the refrigerator for a few hours before serving. Avoid thawing them at room temperature to prevent the chocolate coating from becoming too soft.
Variations of Orange Cream Cake Pops
The beauty of Orange Cream Cake Pops is their adaptability. You can vary them in multiple ways to keep your treats exciting. For a twist on flavor, consider substituting the orange cake mix with lemon or lime cake mix, pairing it with a corresponding fruit frosting. This creates a vibrant citrus assortment that’s perfect for summer gatherings.
If you want a gourmet touch, try adding flavored extracts such as almond or vanilla to the frosting or cake mixture to enhance the overall flavor. Alternatively, you can blend in different types of citrus zest, like grapefruit or tangerine, for unique notes in every bite.
For a festive twist, consider dipping your cake pops in colored candy melts and using edible glitter or themed decorations for holidays. You can even experiment with different toppings like crushed nuts, coconut flakes, or cookie crumbs to add texture and flavor contrast. This level of versatility allows your Orange Cream Cake Pops to suit any occasion, making them a go-to treat in your dessert rotation.
FAQ about Orange Cream Cake Pops
When making Orange Cream Cake Pops, you might have a few questions about the process and storage. One common question is: "How do I avoid cracking chocolate on my cake pops?" To prevent cracking, ensure that the cake balls are fully chilled before dipping. Dipping them in warm chocolate can also lead to cracks, so allow the melted chocolate to cool slightly before coating.
Another frequent question is: "Can I make Orange Cream Cake Pops in advance?" Absolutely! You can create the cake balls and freeze them several weeks ahead of time. Store them well-frozen and dip them closer to your event for the freshest flavor.
“How do I achieve a smooth coating on my cake pops?” To attain a beautiful finish, make sure to use high-quality chocolate and a little vegetable oil to thin it out for easier dipping. Finally, if you encounter any issues while dipping, feel free to tap the stick gently after dipping to remove excess chocolate before they set. These tips can help ensure your cake pops look as good as they taste.

Orange Cream Cake Pops
Ingredients
Cake Ingredients
- 1 box orange cake mix Use a sturdy cake mix.
- 1 cup water
- 1/2 cup vegetable oil
- 3 large eggs
- 1 teaspoon orange zest Fresh zest is recommended for best flavor.
Frosting and Coating
- 1/2 cup orange cream cheese frosting Store-bought or homemade.
- 12 ounces white chocolate chips High-quality chocolate is preferred.
- 1 tablespoon vegetable oil For melting chocolate.
- to taste optional sprinkles For decoration.
Instructions
Preparation
- Preheat your oven to 350°F (175°C) and grease a 9×13-inch baking pan.
- In a large mixing bowl, combine the orange cake mix, water, vegetable oil, and eggs. Use an electric mixer on medium speed for 2 minutes until the batter is well blended.
- Stir in the orange zest, and mix until combined. Pour the batter into the prepared baking pan.
Baking
- Bake the cake for about 25-30 minutes, or until a toothpick inserted into the center comes out clean.
- Let the cake cool completely in the pan on a wire rack.
Forming Cake Pops
- Once cooled, crumble the cake into a large mixing bowl until you achieve fine crumbs.
- Add the orange cream cheese frosting to the cake crumbs. Mix thoroughly until the mixture holds together when pressed.
- Using your hands, shape the mixture into small balls, about 1 inch in diameter. Place them on a baking sheet lined with parchment paper.
- Freeze the cake balls for at least 1 hour to firm them up.
Coating
- In a microwave-safe bowl, combine the white chocolate chips and 1 tablespoon of vegetable oil. Melt in 30-second intervals, stirring in between until smooth.
- Once the cake balls are firm, dip the end of each lollipop stick into the melted chocolate and insert it into a cake ball, about halfway through.
- Dip each cake pop into the melted chocolate, coating it evenly. Allow excess chocolate to drip off.
- If desired, decorate with sprinkles before the chocolate sets.
- Place the finished cake pops upright in a stand or styrofoam block to let the chocolate harden completely.
Send me this recipe!
Just enter your email below and get it sent straight to your inbox!