This Subway Bread recipe lets you make soft and fluffy sandwich rolls at home. The texture is light with a tender crust, just like the ones from the sandwich shop. You can keep them plain or add olive oil, herbs, and cheese for more flavor.
Why We Love This Subway Bread Recipe
This recipe captures everything you love about the real Subway bread—without the additives or preservatives. It’s light, pillowy, and holds up perfectly to any fillings you layer on. You’ll love how it smells while baking, and even more how it tastes fresh out of the oven.
What sets this bread apart is the simplicity. With a little patience for the rising and a short baking time, you’ll be rewarded with bakery-quality bread that elevates your homemade sandwiches. You can even customize it with your favorite toppings like grated cheese or Italian herbs, just like at the sandwich shop.
Plus, you don’t need any complicated tools. A bowl, a mixer (or your hands), and your oven are all it takes. From busy weekday lunches to weekend family meals, this bread becomes your go-to for comfort and satisfaction.
Ingredients about Subway Bread
- 2 teaspoons instant yeast
- 1 ½ teaspoons salt
- 2 tablespoons sugar
- 3 cups all-purpose white flour
- 1 cup lukewarm water
- 4 tablespoons olive oil (plus extra for brushing)
- Grated cheese (optional)
- Italian herbs mix or oregano (optional)
These ingredients will yield four large sandwich rolls that are as versatile as they are delicious.
How to Make Subway Bread Directions
Making Subway-style bread at home is easier than you might think. All it takes is a little preparation and a few hours of resting time for the dough to rise. Follow these clear and simple steps, and you’ll have warm, soft sub rolls ready for your next sandwich creation.


Start by gathering your dry ingredients. In a large bowl, combine the instant yeast, salt, sugar, and all-purpose flour. Mix them together so everything is evenly distributed. Now, add the lukewarm water and olive oil. This mixture forms the foundation of your dough.
Use a stand mixer with a dough hook if you have one. Let it knead the dough for about 6 minutes until it becomes smooth and elastic. If you’re doing it by hand, knead the dough on a clean surface for about 10 to 12 minutes. You’re aiming for a dough that’s soft and sticks just slightly to the bottom of the bowl or work surface—not to the sides or your hands.
Cover your dough with a damp towel or plastic wrap and let it rest in a warm spot. It should rise until doubled in size, which usually takes 1 to 1.5 hours. Don’t rush this step. The rise is key to developing flavor and that soft texture.
Once risen, gently punch the dough down and divide it into four equal portions. Lightly flour your work surface and shape each piece into a rectangle. Roll each rectangle over itself lengthwise, then pinch the edges to seal them. This gives the rolls their classic sub shape.
Line a baking sheet with parchment paper or a silicone mat and place the shaped rolls on it. Cover them loosely and let them rise again for about 40 minutes. They should look puffed and airy, but not necessarily double in size.
About 20 minutes before baking, preheat your oven to 350°F. If you’re going for the Italian-style rolls, brush the tops with olive oil and sprinkle on some grated cheese and dried herbs like oregano. This step adds both flavor and color to the final product.
Bake the rolls on the middle rack for 25 to 30 minutes. You’ll know they’re ready when the tops are golden brown and your kitchen smells like a bakery. Remove them from the oven and immediately brush the tops with olive oil or melted butter. This keeps the crust soft and gives the rolls a glossy finish.
Let them cool for about 20 minutes before serving. The rolls will still be warm but easier to slice without deflating.
Once you’ve done this process once or twice, it becomes second nature. Soon you’ll be making fresh sub rolls like a pro—perfect for sandwiches, hoagies, or even as a side to your favorite soup or salad.
How to Serve Subway Bread
Serving this homemade Subway-style bread gives you endless options. These rolls are the perfect base for all your favorite sandwich combinations. Whether you’re craving something classic or looking to build a hearty sub packed with flavor, this bread can handle it all.
Start with slicing each roll lengthwise, but not all the way through. This helps hold the filling without everything falling apart. For a cold sandwich, layer your favorite meats, veggies, and sauces. The soft yet sturdy bread hugs the ingredients just right and makes every bite satisfying.
For hot sandwiches, toast the roll lightly or pop it into the oven with your ingredients to melt the cheese and warm everything through. The bread holds up beautifully to warm fillings without becoming soggy.
These rolls also work great as a side to soups or as the base for a homemade meatball sub, veggie sandwich, or even a breakfast roll. You can cut them into halves or thirds for sliders, party sandwiches, or kids’ meals.
The beauty of this bread is its ability to adapt to your needs. Use it for meal prep, lunchboxes, or casual family dinners. You’ll love the flexibility and flavor it brings to your table.
Expert Tips: Subway Bread
To get the best result with your homemade Subway-style bread, keep a few practical tips in mind. These small details can make a big difference in the texture, flavor, and overall quality of your final rolls.
First, always use lukewarm water when activating the yeast. Too cold and it won’t rise well. Too hot and it might kill the yeast. Aim for a temperature around 100°F—warm to the touch but not hot.
Next, pay close attention to your dough texture while kneading. Whether you’re using a mixer or your hands, the dough should become soft, elastic, and smooth. If it feels dry, add a teaspoon of water at a time. If it’s too sticky, sprinkle in a bit of flour.
Let the dough rise in a warm, draft-free place. Cold kitchens or breezy areas will slow fermentation. You can use your oven with the light on (but heat off) as a proofing box.
When shaping the rolls, keep your hands and surface lightly floured to prevent sticking. Roll tightly and seal the seams well to help the bread hold its shape during baking.
After baking, brushing the hot rolls with olive oil locks in moisture and adds shine. Don’t skip the cooling step, as slicing them while too hot may cause them to deflate or become gummy.
Finally, feel free to experiment with toppings. A sprinkle of garlic powder, sesame seeds, or crushed red pepper flakes can add personality to your rolls.
How to Store Subway Bread
Once your Subway-style rolls are baked and cooled, storing them properly helps maintain their softness and flavor. First, make sure the rolls are completely cool before putting them away. Warm bread can release moisture that makes the crust soggy or causes mold faster.
For short-term storage, place the rolls in an airtight container or a zip-top bag. Keep them at room temperature for up to 3 days. If you want to keep them longer, freeze them.
To freeze, wrap each roll individually in plastic wrap or foil, then place them in a freezer bag. They’ll stay fresh for up to 2 months. When ready to use, just thaw at room temperature or reheat in the oven at 300°F for about 10 minutes to restore their just-baked feel.
Avoid refrigerating the rolls unless absolutely necessary, as it tends to dry them out. For best texture and taste, consume them within a few days or freeze right after baking and cooling.
Variation of Subway Bread
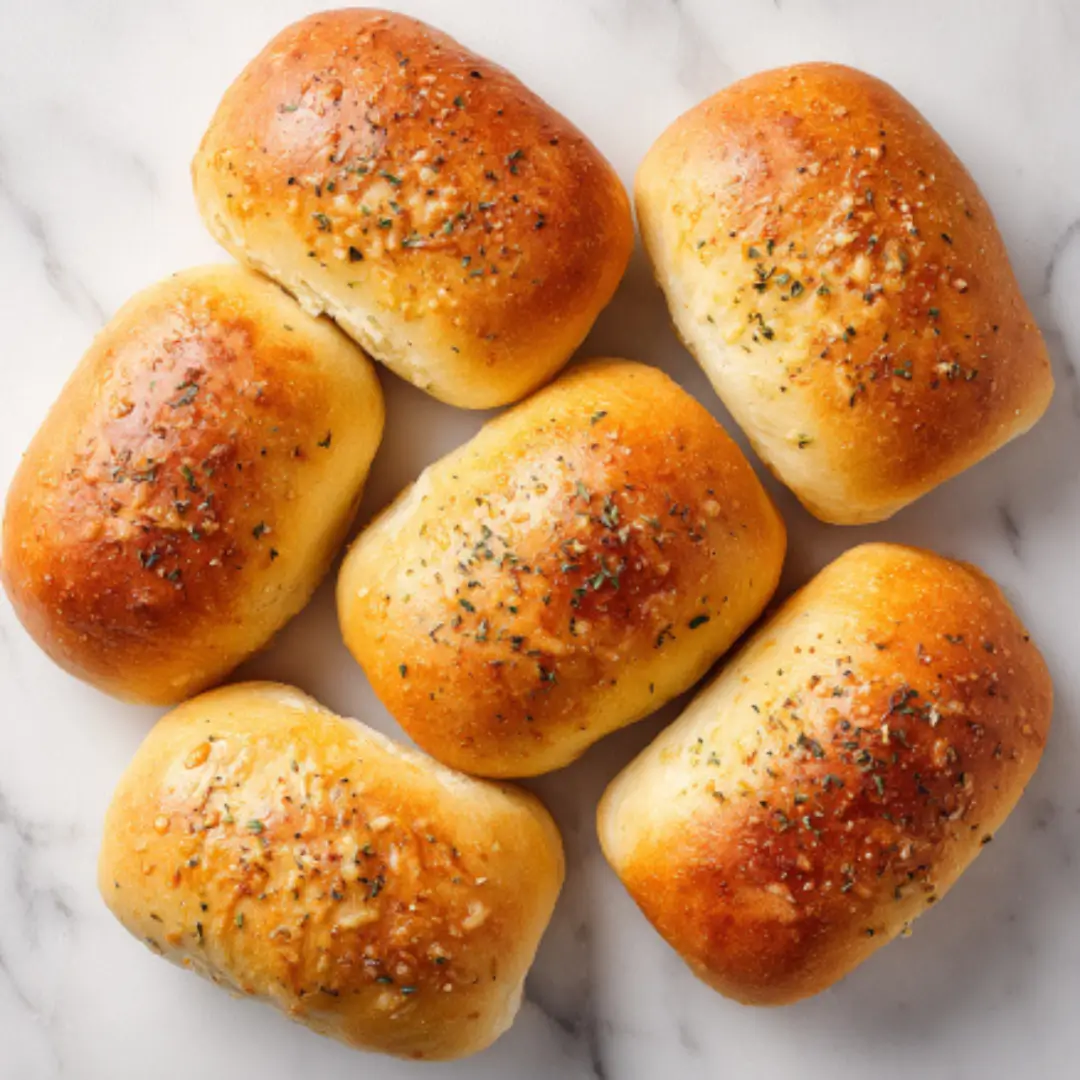
While this recipe closely mimics the classic plain Subway roll, you can customize it to suit your taste or occasion. One easy variation is the Italian-style roll. Before baking, brush the shaped dough with olive oil and sprinkle it generously with a blend of grated cheese and Italian herbs. This adds both flavor and a slightly crispy topping.
You can also incorporate seeds like sesame or poppy for added texture. Simply press them gently into the top after brushing with oil.
If you’re looking for a bit more whole-grain nutrition, substitute half of the white flour with whole wheat flour. Keep in mind that 100% whole wheat can make the bread denser, so a mix gives you a balanced result.
For a garlic version, add a teaspoon of garlic powder to the dough or brush the rolls with garlic-infused olive oil after baking.
Want a little heat? Sprinkle chili flakes into the dough or on top before baking. For a sweet twist, skip the savory toppings and add a little honey or cinnamon to the dough.
This bread is versatile enough to take on many different flavors while keeping its soft, fluffy texture.
FAQ: Subway Bread Recipe
Can I make this bread without a stand mixer?
Yes, you can knead the dough by hand. It will take about 10 to 12 minutes. Just be sure to work on a clean, lightly floured surface and knead until smooth and stretchy.
How do I know when the dough has risen enough?
The dough should double in size. You can test it by gently pressing your finger into the surface—if the dent stays, it’s ready.
What’s the best way to get that soft Subway bread texture?
Use all-purpose flour, lukewarm water, and allow both rises to happen in warm, draft-free places. Brushing the rolls with oil after baking helps keep the crust soft.
Can I add flavors or toppings?
Absolutely. Cheese, herbs, garlic, or sesame seeds all work well. Just apply them before baking, after brushing with olive oil.
Why is my bread dense or flat?
This often happens if the yeast is expired, the dough is under-kneaded, or the rise time wasn’t long enough. Be sure your yeast is fresh and give the dough enough time to rise.
Can I freeze this Subway Bread recipe?
Yes, once cooled, wrap each roll and freeze for up to 2 months. Reheat in the oven for best texture.

Subway Bread
Ingredients
- 2 teaspoons instant yeast
- 1½ teaspoons salt
- 2 tablespoons sugar
- 3 cups all-purpose white flour
- 1 cup lukewarm water
- 4 tablespoons olive oil (plus extra for brushing)
- grated cheese (optional)
- Italian herbs mix or oregano (optional)
Instructions
- In a large bowl, combine instant yeast, salt, sugar, and all-purpose flour. Mix together.
- Add lukewarm water and olive oil to the dry ingredients. Knead the dough using a stand mixer with a dough hook for about 6 minutes, or by hand for 10-12 minutes until smooth and elastic.
- Cover the dough with a damp towel and let it rise in a warm spot until doubled in size, about 1 to 1.5 hours.
- Once risen, punch the dough down and divide it into four equal portions. Shape each piece into a rectangle, roll it lengthwise, and pinch the edges to seal.
- Place the shaped rolls on a baking sheet lined with parchment paper. Let them rise again for about 40 minutes.
- Preheat the oven to 350°F (175°C). Brush the tops of the rolls with olive oil and sprinkle with grated cheese and herbs if desired.
- Bake for 25 to 30 minutes until golden brown. Brush with olive oil or melted butter after baking for a soft crust.
- Let the rolls cool for 20 minutes before slicing and serving.
Send me this recipe!
Just enter your email below and get it sent straight to your inbox!