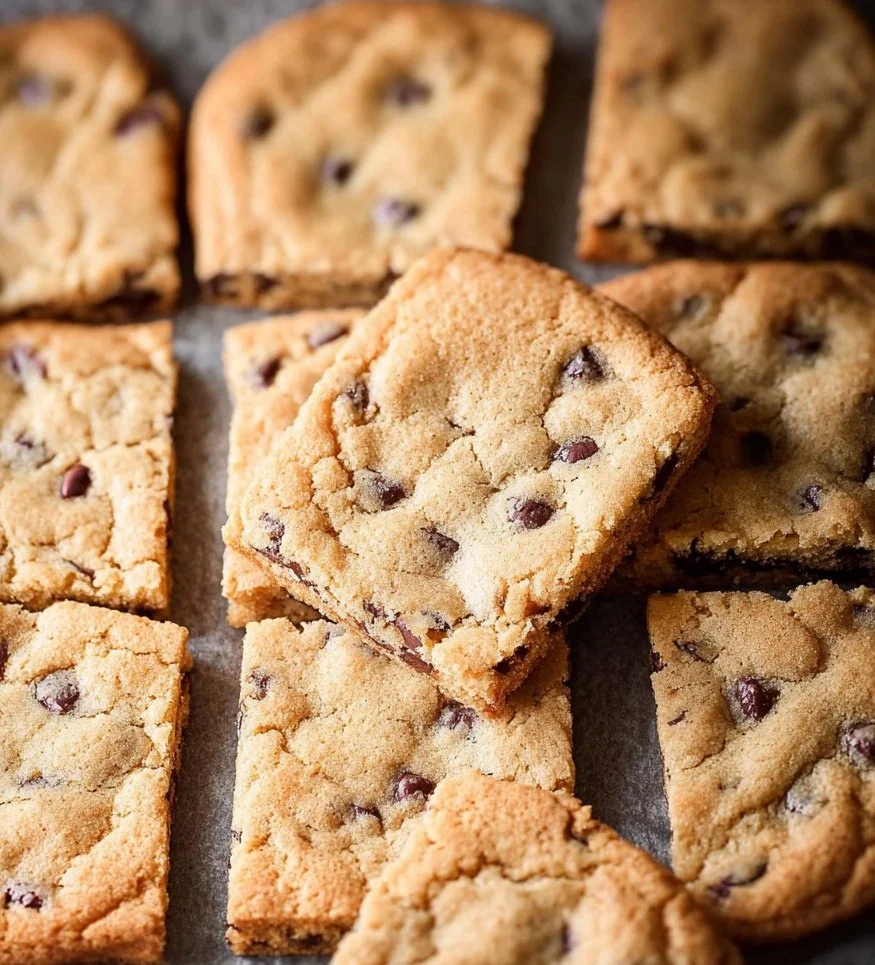
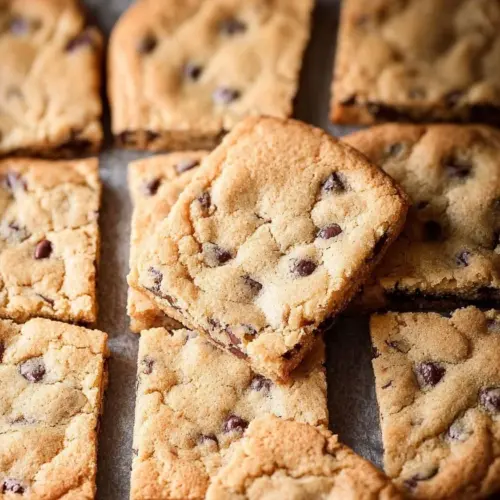
Chocolate chip pan cookies bring together the joy of classic chocolate chip cookies with the ease of baking in a single pan. These delicious treats offer a chewy texture and crispy edges, perfect for sharing or indulging on your own. The simple method means you skip the usual scooping and shaping and dive straight into a plateful of comfort.
Why We Love This Chocolate Chip Pan Cookies
There’s something special about baking chocolate chip pan cookies. First, they combine the beloved classic cookie flavor without the fuss. Just pour, spread, and bake! This method allows for even baking, resulting in that perfect combination of soft, gooey centers and slightly crispy edges. Every bite bursts with rich chocolate goodness, making these cookies an instant favorite for kids and adults alike. Whether you’re hosting a gathering, bringing snacks to a friend, or simply satisfying your sweet tooth, these pan cookies deliver convenience and taste. Furthermore, you can customize them easily, adding nuts, dried fruits, or different types of chocolate for a unique twist. The best part is enjoying warm cookies straight from the oven—they always remind you of home.
Ingredients for Chocolate Chip Pan Cookies
- 2 1/4 cups all-purpose flour
- 1 teaspoon baking soda
- 1/2 teaspoon salt
- 1 cup unsalted butter, softened
- 3/4 cup granulated sugar
- 3/4 cup packed brown sugar
- 1 teaspoon vanilla extract
- 2 large eggs
- 2 cups semi-sweet chocolate chips
Directions
- Preheat your oven to 350°F (175°C). Grease a 13×18-inch baking pan or line it with parchment paper for easy removal.
- In a bowl, whisk together the flour, baking soda, and salt. Set this mixture aside.
- In a large mixing bowl, beat the softened butter, granulated sugar, and brown sugar until the mixture becomes light and fluffy. This usually takes about 2-3 minutes with an electric mixer.
- Add the vanilla extract and eggs, one at a time, continuing to mix until well combined.
- Gradually mix in the dry ingredients, stirring until you no longer see flour. Be careful not to overmix.
- Gently fold in the chocolate chips until they are evenly distributed throughout the dough.
- Spread the dough evenly into the prepared baking pan, smoothing the top with a spatula.
- Bake in the preheated oven for 20-25 minutes, or until the edges are golden brown and a toothpick inserted in the center comes out clean.
- Allow the cookies to cool in the pan for about 10 minutes. Then cut into squares or rectangles and transfer to a wire rack to cool completely.
How to Serve Chocolate Chip Pan Cookies
Serving chocolate chip pan cookies is simple and delightful. You can cut them into squares or rectangles to create easily shareable pieces. Serve them warm for that melty chocolate experience that everyone loves. Pair the cookies with a glass of milk, a scoop of vanilla ice cream, or a dollop of whipped cream for an extra special treat. If you want to elevate your serving option, consider drizzling a bit of melted chocolate over the top or dusting them with powdered sugar for added flair. These cookies also make for excellent dessert platters for gatherings or potlucks. Always remember, you can serve them at room temperature or warm, depending on your and your guests’ preferences.
Expert Tips for Chocolate Chip Pan Cookies
Creating the perfect chocolate chip pan cookies requires some tried-and-true tips. First, be sure to use room temperature butter and eggs, as this helps achieve a better texture. Softening the butter can allow it to blend more easily with the sugars, creating that desired fluffiness. Also, consider chilling the dough for at least 30 minutes if you’d like cookies that maintain a thicker shape during baking. The longer they chill, the less spread they’ll have in the oven. Adjust bake time depending on your oven and preferred texture; for softer cookies, check for doneness a bit earlier. Furthermore, swapping out semi-sweet chocolate chips for dark chocolate or even white chocolate can alter the flavor profile to suit your taste! Finally, keeping an eye on the cookies while baking helps you achieve that perfect golden brown edge without burning them.
How to Store Chocolate Chip Pan Cookies
Storing chocolate chip pan cookies is easy and keeps them fresh for longer. Make sure the cookies have cooled completely before storing to prevent moisture buildup. Place them in an airtight container, separating layers with parchment paper to avoid sticking. The cookies can stay fresh at room temperature for about 3-4 days. If you’d like to extend their shelf life, consider refrigerating them, which can keep them tasty for up to a week. For long-term storage, freeze the cookies by wrapping them in plastic wrap and placing them in a freezer-safe bag or container. They maintain their quality for up to three months. When ready to enjoy, simply thaw or warm them in the oven for a few minutes.
Variations of Chocolate Chip Pan Cookies
Making chocolate chip pan cookies is an opportunity to unleash your creativity! Start by mixing in different types of chocolate chips: try dark chocolate, milk chocolate, or even white chocolate for a unique taste. You can also add chopped nuts like walnuts or pecans for added crunch. If you want a bit of saltiness to balance the sweetness, sprinkle a pinch of sea salt on top before baking. Add in some oatmeal for a wholesome chew, or consider incorporating dried fruits like cranberries or cherries for a sweet-tart contrast. For an extra layer of flavor, experiment with spices like cinnamon, or even a tablespoon of instant coffee granules to enhance the chocolate. You can turn them into stuffed cookies by adding peanut butter or a caramel center. The possibilities are endless, and these choices allow you to create a batch that perfectly aligns with your taste preferences.


FAQ about Chocolate Chip Pan Cookies
One common question about chocolate chip pan cookies is whether they are the same as traditional chocolate chip cookies. While both share similar ingredients and flavors, pan cookies offer a unique approach by baking in a single sheet pan, which yields a softer, chewier texture and makes it easier to serve. People often wonder how to tell when chocolate chip pan cookies are done. Look for golden brown edges, and do the toothpick test in the center to ensure it comes out clean. Another inquiry is about freezing the pan cookies, which is absolutely possible! You can freeze them individually after cutting or freeze the whole pan. Lastly, many ask how to keep the cookies soft after baking. Storing them in an airtight container at room temperature or chilling the dough before baking helps maintain that soft, chewy texture for longer.
Chocolate Chip Pan Cookies
Ingredients
Dry Ingredients
- 2 1/4 cups all-purpose flour
- 1 teaspoon baking soda
- 1/2 teaspoon salt
Wet Ingredients
- 1 cup unsalted butter, softened Use room temperature butter for best texture.
- 3/4 cup granulated sugar
- 3/4 cup packed brown sugar
- 1 teaspoon vanilla extract
- 2 large eggs Add one at a time while mixing.
Mix-ins
- 2 cups semi-sweet chocolate chips Can substitute with dark or white chocolate chips.
Instructions
Preparation
- Preheat your oven to 350°F (175°C). Grease a 13x18-inch baking pan or line it with parchment paper.
- In a bowl, whisk together the flour, baking soda, and salt. Set aside.
Mixing
- In a large mixing bowl, beat the softened butter, granulated sugar, and brown sugar until light and fluffy, about 2-3 minutes.
- Add the vanilla extract and eggs, one at a time, mixing until well combined.
- Gradually mix in the dry ingredients until just combined.
- Gently fold in the chocolate chips.
Baking
- Spread the dough evenly into the prepared baking pan and smooth the top.
- Bake for 20-25 minutes, or until the edges are golden brown and a toothpick inserted in the center comes out clean.
- Allow to cool for about 10 minutes, then cut into squares or rectangles and transfer to a wire rack to cool completely.
Send me this recipe!
Just enter your email below and get it sent straight to your inbox!