When you think of Halloween, images of trick-or-treating, costumes, and of course, delicious treats come to mind. One of the most delightful ways to celebrate this festive season is by creating colorful and tantalizing Halloween Dessert Cups. These cups not only look festive but are also incredibly simple to make, making them the perfect treat for parties, family gatherings, or just a fun night in. With their spooky aesthetic and delicious flavors, these dessert cups promise to be a hit among both kids and adults alike!
Why We Love This Halloween Dessert Cups Recipe
There’s something magical about Halloween that brings out the playful side in all of us. The excitement of dressing up and the joy of indulging in festive treats creates an atmosphere of happiness and celebration. Halloween Dessert Cups are a fantastic embodiment of this spirit. They are not only delicious but also highly customizable, allowing you to unleash your creativity with various toppings and colors.
You can make these dessert cups ahead of time, saving you time during the busy days leading up to Halloween. Plus, they are portable, making them an excellent choice for parties and potlucks. The delightful layers of cookie crumbs, creamy pudding, and vibrant colors are sure to leave a lasting impression on your guests. It’s easy to see why these cups are a favorite for Halloween celebrations!
Ingredients for Halloween Dessert Cups
To create your Halloween Dessert Cups, you’ll need the following ingredients:
- 2 cups (200 g) vanilla sandwich cookie crumbs: These serve as the crunchy base and add a delicious flavor.
- 1/4 cup (57 g) unsalted butter, melted: This binds the cookie crumbs together.
- 1 tbsp (10 g) Halloween sprinkles: These add a festive touch to your treat.
- 3.9 oz (111 g) instant vanilla pudding mix: This forms the creamy layer packed with flavor.
- 1 1/2 cups (366 g) milk: This is mixed with the pudding to achieve the right consistency.
- 1 1/2 cups (357 g) heavy cream: This adds richness and a creamy texture.
- 2-3 drops of green & yellow gel food coloring: To make the mousse look more festive and thematic.
- 1/4 cup (40 g) Halloween sprinkle blend: For topping to enhance the spooky appearance.
How to Make Halloween Dessert Cups Directions
Creating your Halloween Dessert Cups is a straightforward task that anyone can master. Below are the step-by-step instructions to guide you through the process:
- Combine Ingredients for the Base: Start by taking a small bowl and combining the vanilla sandwich cookie crumbs with the melted butter. Mix well until all crumbs are evenly coated with the butter.
- Portion the Crust: Using a small cookie scoop or a spoon, portion out the crumb mixture into 28 plastic cups, each holding about 2 ounces. Press the crumbs into the bottom of the cups firmly using a small cup to ensure it solidifies as a nice base.
- Prepare the Pudding Mixture: In a large mixing bowl, take the instant vanilla pudding mix and add the milk. Whisk them together until fully combined. Allow this mixture to chill in the refrigerator for about 5 minutes to thicken.
- Add Heavy Cream: After the pudding has thickened, pour in the heavy whipping cream. With an electric hand mixer, whip the combination on medium-high speed until it becomes thick and creamy.
- Color the Mousse: To give your mousse a fun Halloween vibe, add two to three drops of green and yellow gel food coloring. Fold the colors into the mousse gently until you achieve a consistent tint.
- Fill the Cups: Now it’s time to fill the cups! Take a piping bag and fill it with the mousse mixture. Pipe the mousse into each cup until they are approximately 3/4 full, ensuring an evenly distributed layer.
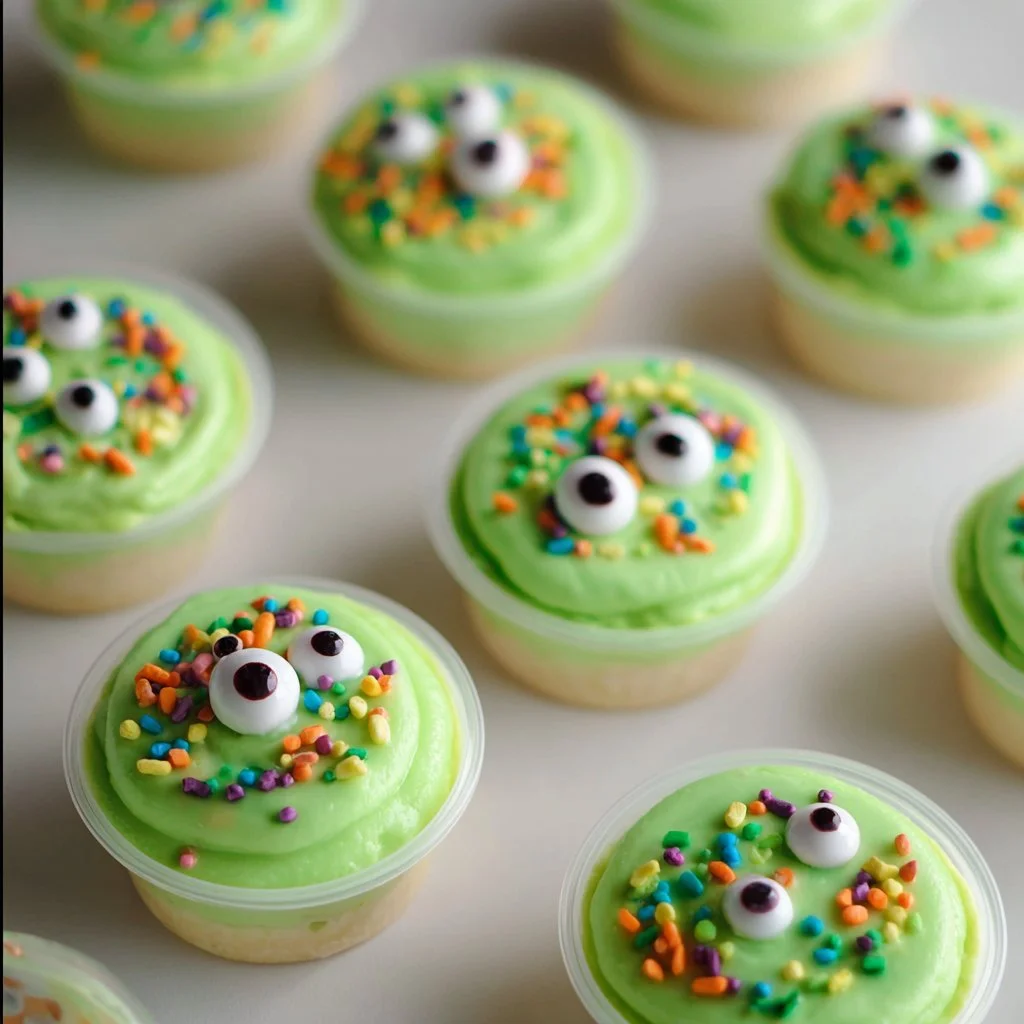
- Decorate: Top each cup with a sprinkle blend to create a fun and festive look. The sprinkles will add a pop of color and make the cups visually appealing.
- Seal and Chill: Finally, seal the cups with lids and chill them in the refrigerator. They can be served immediately or stored for up to 2 to 3 days, allowing the flavors to meld beautifully.
How to Serve Halloween Dessert Cups
When it comes time to serve your perfectly spooky Halloween Dessert Cups, you have several creative options to consider, ensuring your presentation is just as fun as the treat itself. Serving these cups is as easy as opening the lid and placing them on a festive table adorned with Halloween decorations.


Consider placing the cups on a themed platter or using a spooky tablecloth to elevate the aesthetic. For an interactive element, you might provide small spoons alongside each cup so that guests can help themselves. These cups also work wonderfully as party favors; you can prepare them in advance and let guests take them home to enjoy later.
To add an extra touch of charm, you could even label each cup with a fun Halloween name, like “Witch’s Brew” or “Monster Mousse.” This personalizes the experience and adds to the festive atmosphere. These dessert cups are sure to be a crowd-pleaser at any event!
Expert Tips: Halloween Dessert Cups
To ensure your Halloween Dessert Cups turn out perfectly, here are some expert tips to consider:
- Use High-Quality Ingredients: The flavor and texture will greatly depend on the quality of your ingredients. Opt for fresh heavy cream and good-quality cookies for the best results.
- Chill the Pudding: Allowing the pudding to firm up in the refrigerator for a few minutes before adding it to the cups enhances the texture and makes it easier to layer.
- Piping Technique: If you’re not familiar with piping, start with a large opening at the tip of your piping bag. This makes it easier to fill the cups without making a mess.
- Decorate to Impress: Feel free to mix and match your sprinkles or even add small edible decorations like plastic spiders or ghosts for a playful touch.
- Adjust the Coloring: Depending on the look you’re going for, you can adjust the amount of food coloring to create a more vibrant or subtle hue, tailoring it to your party’s theme.
How to Store Halloween Dessert Cups
If you’ve made more Halloween Dessert Cups than you can consume in one sitting, don’t worry! These delicious treats can easily be stored in the refrigerator. Just make sure to keep them sealed with their lids to ensure freshness.
When properly stored, the cups can last for about 2 to 3 days in the fridge. However, the longer they sit, the softer the cookie base might become, so they are best enjoyed fresh. If you’re planning to make these well ahead of time, consider preparing the components separately, assembling them closer to when you intend to serve them.
To ensure the best experience, always check the dessert cups before serving. If they have been stored too long, you may want to make a fresh batch instead.
Variation of Halloween Dessert Cups
While the classic Halloween Dessert Cups are delightful as they are, there’s always room for creativity! Here are some fun variations to consider for making your dessert cups even more exciting:
- Chocolate Cookie Crust: Swap out the vanilla sandwich cookies for chocolate ones to create a rich chocolate crust that pairs perfectly with the vanilla pudding and adds depth to the flavor.
- Layered Flavors: Consider adding a layer of chocolate pudding or even pumpkin spice pudding for a seasonal twist. Layer different flavors for an enticing surprise in every bite.
- Fruity Additions: Incorporate fresh fruit like sliced strawberries or blueberries between layers for a refreshing taste that cuts through the sweetness.
- Themed Toppings: Elevate your decoration game by using themed candies such as gummy worms or candy corn atop the mousse to add texture and visual interest.
- Make It Gluten-Free: If you need a gluten-free option, look for gluten-free cookies to use as your base without losing any flavor or fun.
FAQ: Halloween Dessert Cups
What are Halloween Dessert Cups?
Halloween Dessert Cups are individual servings of layered treats that combine cookie crumbs, creamy pudding, and festive sprinkles, making them a perfect sweet treat for the spooky season.
Can I prepare Halloween Dessert Cups in advance?
Yes! You can make these dessert cups in advance and store them in the refrigerator for up to 2 to 3 days, making them a convenient option for busy party planners.
What kind of food coloring should I use for my Halloween Dessert Cups?
Using gel food coloring is recommended because it provides vibrant colors without altering the consistency of your mousse, making it perfect for achieving that festive Halloween look.
How can I personalize Halloween Dessert Cups?
You can customize your cups with different flavors, themed decorations, and creative names. Personal touches can enhance the experience for your guests.
Are Halloween Dessert Cups suitable for kids?
Absolutely! These dessert cups are family-friendly and fun, making them ideal for children as they enjoy the festive looks and delicious flavors.

Halloween Dessert Cups
Ingredients
- 2 cups vanilla sandwich cookie crumbs
- 1/4 cup unsalted butter, melted
- 1 Tbsp Halloween sprinkles
- 3.9 oz instant vanilla pudding mix
- 1 1/2 cups milk
- 1 1/2 cups heavy cream
- 2-3 drops green & yellow gel food coloring
- 1/4 cup Halloween sprinkle blend (for topping)
Instructions
- Combine the cookie crumbs with melted butter in a small bowl, mixing until evenly coated.
- Portion the crumb mixture into 28 plastic cups, pressing it firmly into the bottom.
- In a large mixing bowl, whisk together the instant pudding mix and milk until fully combined. Chill in the refrigerator for 5 minutes to thicken.
- After thickening, add the heavy cream and whip until thick and creamy.
- Add gel food coloring and fold gently until the desired color is achieved.
- Pipe the mousse into each cup until about 3/4 full.
- Top each cup with a sprinkle blend for decoration.
- Seal the cups with lids and chill in the refrigerator until ready to serve.
Send me this recipe!
Just enter your email below and get it sent straight to your inbox!