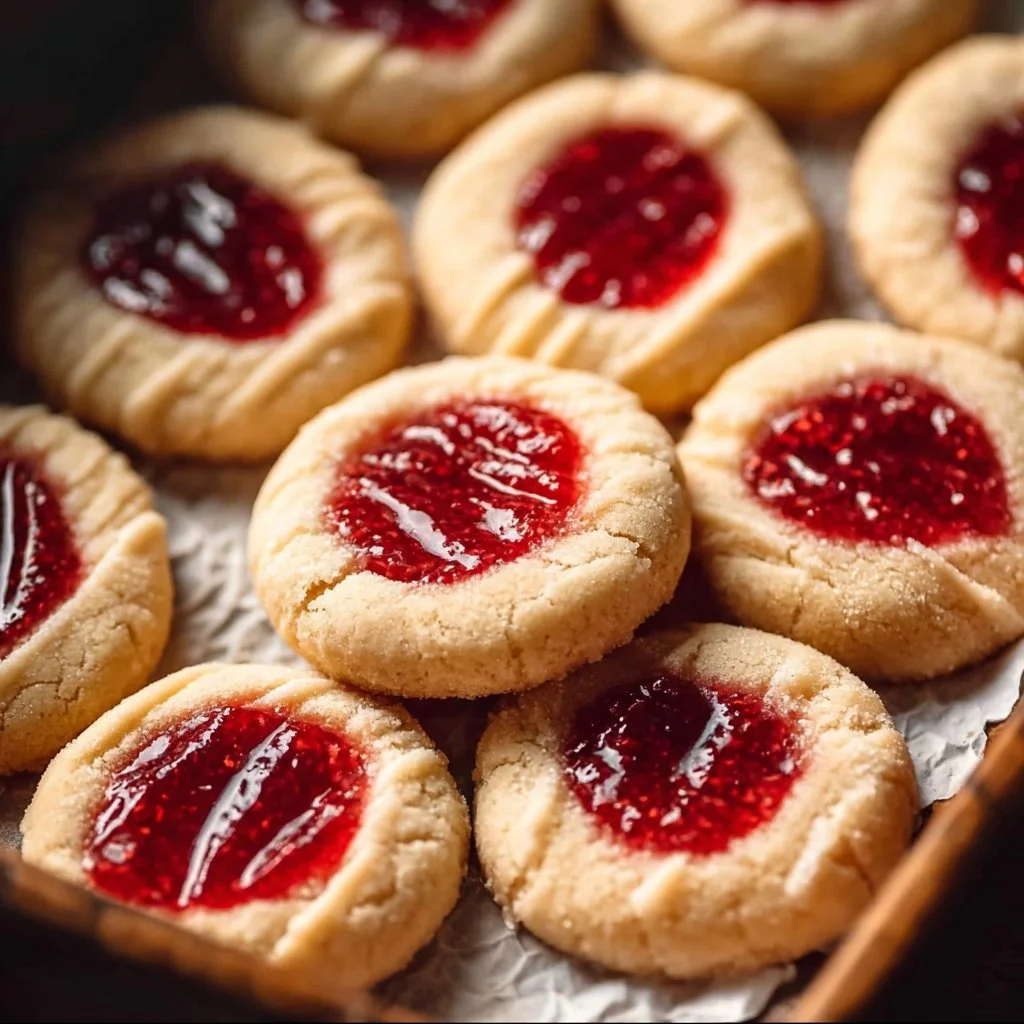
Jam thumbprint cookies bring together the sweet, buttery goodness of classic cookies with a delightful burst of fruity flavor from your favorite jams. These charming treats are easy to make and perfect for any occasion. You can enjoy them as an afternoon snack with tea or coffee, or serve them at parties where they’ll surely impress your guests.
Why We Love This Jam Thumbprint Cookies
These jam thumbprint cookies hold a special place in many hearts for several reasons. Firstly, they are incredibly simple to make, which means you don’t need any fancy baking skills to create something delicious. The combination of a buttery cookie base and the jam center creates a wonderful contrast in taste and texture, making every bite satisfying. Additionally, you can customize them with various jams to suit your personal taste or to match the season. The bright colors and attractive presentation make them a fantastic choice for gift giving or special occasions. Whether you’re baking for yourself or sharing with loved ones, these cookies are sure to bring joy and a touch of nostalgia.
Ingredients for Jam Thumbprint Cookies
- 1 cup unsalted butter, softened
- 1 cup granulated sugar
- 2/3 cup powdered sugar
- 2 large eggs
- 1 teaspoon vanilla extract
- 2 ½ cups all-purpose flour
- 1 teaspoon baking powder
- ½ teaspoon salt
- 1 cup jam or preserves of your choice
Directions
Begin by preheating your oven to 350°F (175°C). Line two baking sheets with parchment paper for easy cleanup.
In a large mixing bowl, cream together the softened butter, granulated sugar, and powdered sugar until the mixture becomes light and fluffy.
Beat in the eggs, one at a time, followed by the vanilla extract, making sure everything is well combined.
In a separate bowl, sift together the flour, baking powder, and salt. Gradually add this dry mixture to the wet ingredients, mixing just until combined. Avoid overmixing to keep the cookies tender.
Scoop tablespoon-sized portions of dough and roll them into balls. Place them on the prepared baking sheets, spacing them about two inches apart.
Use your thumb or the back of a small spoon to make an indentation in the center of each ball. Be careful not to press all the way through.
Fill each indentation with about a teaspoon of your chosen jam. Don’t overfill, as the jam may bubble over while baking.
Bake the cookies in the preheated oven for about 12-15 minutes or until the edges are lightly golden, and the centers are set.
Once baked, remove them from the oven and allow them to cool on the baking sheets for a few minutes before transferring them to a wire rack to cool completely.
Enjoy your jam thumbprint cookies once they have cooled, storing any leftovers in an airtight container.


How to Serve Jam Thumbprint Cookies
Serving jam thumbprint cookies can be just as enjoyable as making them. For an impressive presentation, consider placing them on a decorative platter or cake stand. You can dust the cookies with a light sprinkle of powdered sugar for a touch of elegance. Their colorful jam centers will catch everyone’s eye, making them a beautiful addition to any dessert table.
These cookies pair wonderfully with coffee, tea, or milk, creating an ideal afternoon treat for you and your friends. For a fun twist, serve them alongside some fresh fruit or a scoop of ice cream, allowing guests to mix and match flavors. You can also package them in clear cellophane bags tied with a ribbon if you’re gifting them. These small touches will enhance the experience and make your jam thumbprint cookies the star of any gathering.
Expert Tips for Jam Thumbprint Cookies
To ensure that your jam thumbprint cookies turn out perfectly every time, keep these expert tips in mind. First, make sure your butter is softened but not melted, as melted butter can lead to a greasy texture in your cookies. If you forget to take the butter out ahead of time, you can cut it into smaller pieces to speed up the softening process.
Next, don’t be tempted to skip chilling the dough. Chilling the dough for at least 30 minutes can help prevent the cookies from spreading too much in the oven, giving you a thicker, chewier cookie. Also, your thumbprint should be deep enough to hold a good amount of jam but not so deep that it goes all the way to the bottom.
When selecting jams, feel free to mix and match flavors for a creative twist. From raspberry to peach or blackberry, use what you love best. To add a fun texture, consider adding nuts to the dough or sprinkling them lightly atop the jam before baking. Lastly, keep an eye on your cookies towards the end of the baking time, as ovens can vary, and you want to catch them before they over-bake.
How to Store Jam Thumbprint Cookies
Storing your jam thumbprint cookies properly will keep them fresh for longer. Allow the cookies to cool completely before transferring them to an airtight container. This prevents moisture from building up and making the cookies soft. If you plan to store them for more than a few days, consider placing parchment paper between layers of cookies to prevent them from sticking together.
You can keep these cookies at room temperature for about one week. If you’d like them to last longer, you can also freeze them. To freeze, place the cookies in a single layer on a baking sheet and freeze until solid. Once frozen, transfer them to a freezer-safe bag or container. They can last for up to three months in the freezer. When you’re ready to enjoy them again, simply thaw at room temperature, and they will taste just as delightful.
Variations of Jam Thumbprint Cookies
There are countless ways to mix up jam thumbprint cookies to keep things exciting. Start by experimenting with your choice of jams. Instead of traditional fruit flavors, try unique spreads like lemon curd or chocolate spread for a decadent twist. Incorporating different spices can also change up the flavor profile; consider adding a pinch of cinnamon or nutmeg to the dough for an extra layer of warmth.
You can also change the base of the cookies. For a healthier option, substitute a portion of the all-purpose flour with whole wheat flour or almond flour. This adds a nutty flavor and boosts the nutritional value. If you want a gluten-free version, use a gluten-free flour blend.
Another fun variation is to coat the edges of the cookies with chopped nuts or shredded coconut before baking. This adds both flavor and texture. Finally, consider creating themed cookie designs for holidays or celebrations by using food coloring in the dough or icing to decorate the cookies after baking. The possibilities are endless, allowing you to customize your jam thumbprint cookies in fun and delicious ways.
FAQ about Jam Thumbprint Cookies
If you still have questions about jam thumbprint cookies, you’re not alone. Many bakers wonder about the best types of jams to use. While smoother jams work best for filling the thumbprint, feel free to get creative with any of your favorite flavors. Some people even enjoy using homemade preserves for a personal touch.
Another common question is how to achieve the ideal texture. The key is to cream the butter and sugars well to incorporate air and create a light dough. It’s also important not to overbake them; slightly underbaked cookies will continue to set as they cool, keeping them soft.
You might be curious about shelf life. Properly stored, these cookies can last about one week at room temperature. If you’ve frozen them, after thawing, they should be consumed within a few days to ensure the best quality. Lastly, when it comes to making them in advance, you can prepare the dough and keep it in the fridge for a couple of days or even freeze it for longer storage. Just roll and bake when you’re ready to enjoy fresh cookies!

Jam Thumbprint Cookies
Ingredients
Cookie Base
- 1 cup unsalted butter, softened Make sure it is softened, not melted.
- 1 cup granulated sugar
- 2/3 cup powdered sugar
- 2 large eggs Add one at a time.
- 1 teaspoon vanilla extract
- 2 1/2 cups all-purpose flour Sifted with baking powder and salt.
- 1 teaspoon baking powder
- 1/2 teaspoon salt
Jam Filling
- 1 cup jam or preserves of your choice Feel free to mix and match flavors.
Instructions
Preparation
- Preheat your oven to 350°F (175°C) and line two baking sheets with parchment paper.
- In a large bowl, cream together the softened butter, granulated sugar, and powdered sugar until light and fluffy.
- Beat in the eggs one at a time, then mix in the vanilla extract.
- In a separate bowl, sift together the flour, baking powder, and salt. Gradually add the dry mixture to the wet ingredients without overmixing.
- Scoop tablespoon-sized portions of dough, roll into balls, and place on the prepared baking sheets.
- Make an indentation in the center of each ball with your thumb or the back of a small spoon.
- Fill each indentation with about a teaspoon of jam, being careful not to overfill.
Baking
- Bake the cookies for about 12-15 minutes until the edges are lightly golden and the centers are set.
- Allow to cool on the baking sheets for a few minutes, then transfer to a wire rack to cool completely.
Send me this recipe!
Just enter your email below and get it sent straight to your inbox!