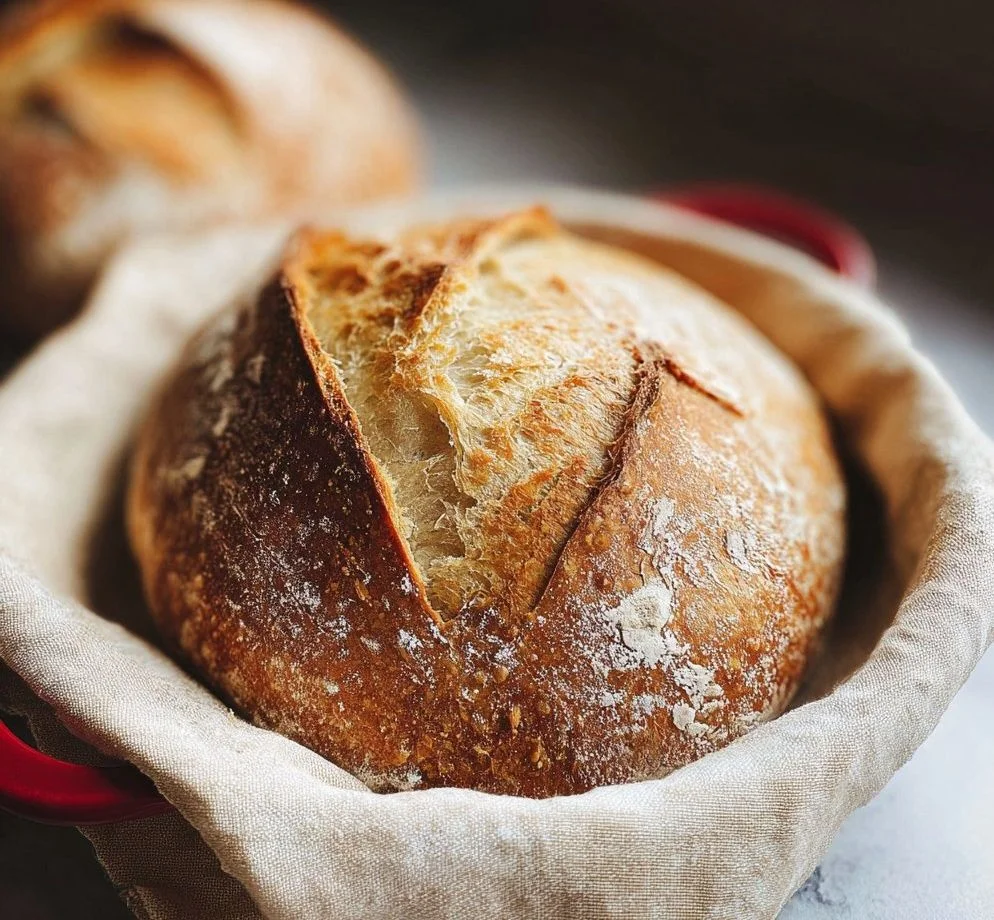
When it comes to baking bread, the thought of kneading dough often causes many to shy away from trying it themselves. Luckily, the Miracle No Knead Bread recipe comes to your rescue! This simple and straightforward method allows you to create a beautiful loaf without the hassle of traditional bread-making techniques.
Why We Love This Miracle No Knead Bread Recipe
There’s something incredibly satisfying about baking your own bread. With the Miracle No Knead Bread recipe, you get all the benefits without the typical stress involved in bread-making. One of the main reasons this recipe is so beloved is its simplicity. You don’t need a mixer or any specialized equipment; just a bowl and a spatula will do. The long resting time allows the yeast to work its magic, resulting in a crusty exterior and soft, flavorful interior.
What sets this recipe apart is the flexibility it offers. You can easily incorporate various flavors or tweak the ingredients to suit your preferences. Plus, the no-knead technique lets you spend more time enjoying your day and less time working at the counter. All these qualities make Miracle No Knead Bread a staple in your kitchen!
Ingredients for Miracle No Knead Bread
To create your own miracle loaf, you’ll need just a few basic ingredients. Here’s what you will require:
- 3 cups all-purpose flour
- 1 ½ teaspoons salt
- ½ teaspoon instant yeast
- 1 ½ cups room temperature water
These simple ingredients come together to create a deliciously crusty bread that you can be proud of baking.
How to Make Miracle No Knead Bread Directions
Embarking on the journey of making your own Miracle No Knead Bread requires just a few straightforward steps. Let’s dive right into the method that will leave you with a loaf that’s bursting with flavor and a delightful texture.


Mix the dry ingredients: Begin by taking a large mixing bowl and whisking together the all-purpose flour, salt, and instant yeast. Be sure to mix them well to evenly distribute the yeast and salt throughout the flour.
Incorporate the water: Next, pour in the 1 ½ cups of room temperature water. Using a spatula or your hands, stir until a thick, chunky dough forms. If the dough seems too dry, don’t hesitate to add a few more tablespoons of water until it’s evenly moist but not overly sticky.
Let it rest: Cover the mixing bowl tightly with plastic wrap and set it aside at room temperature for 12 to 18 hours. Patience is key here; this long resting period lets the yeast work, achieving that wonderful texture and flavor.
Preheat your oven: When you’re ready to bake, preheat your oven to 450°F (232°C). It’s important to get the oven nice and hot before placing your loaf inside.
Prepare the Dutch oven: Place a 6-quart enamel-coated cast iron Dutch oven in the oven as it preheats. This step helps achieve that perfect crust you crave.
Shape the dough: After the resting period, sprinkle some flour on a clean surface and gently scrape the dough out of the bowl onto it. Use your hands to shape it into a ball, being careful not to deflate it too much. Once formed, place the dough on a piece of parchment paper and cover it with plastic wrap. Allow it to rest while your pan continues to heat up.
Transfer to the Dutch oven: When the pan is hot, remove it from the oven and carefully lift the dough using the parchment paper. Place it directly into the hot Dutch oven.
Bake the bread: Cover the Dutch oven with its lid and bake the bread for 30 minutes. After this time, remove the lid and bake for an additional 10-15 minutes, or until the loaf is gloriously golden brown and the crust is crusty to your liking.
Cool and enjoy: Once your Miracle No Knead Bread is baked to perfection, remove it from the oven and let it cool on a wire rack. Once cooled, grab your favorite butter or topping, and enjoy a slice of your freshly baked creation!
How to Serve Miracle No Knead Bread
Once your Miracle No Knead Bread has completed its cooling, you’re ready to serve up some goodness. This bread is incredibly versatile and can be enjoyed in numerous ways. Here are a few suggestions for serving it:
With butter: There’s nothing quite like spreading a generous layer of butter on a warm slice of bread. The heat will melt the butter, creating an indulgent treat.
As a sandwich base: Use your freshly baked loaf as the foundation for delicious sandwiches. Whether you prefer classic turkey and cheese or fresh veggies with hummus, the crusty exterior and soft interior make it perfect.
With soups and salads: Pair your bread with a warm bowl of soup or a fresh garden salad. The crusty bread is perfect for dipping, enhancing every bite of your meal.
For breakfast: Try toasting slices of your no knead bread and topping them with avocado for a healthy breakfast option. You can also combine it with fresh fruits or spreads for a delightful morning meal.
With cheese: Serve your miracle bread alongside a cheese board. The bread’s flavor complements a variety of cheeses, making it a great addition to any gathering.
Expert Tips: Miracle No Knead Bread
To help you achieve the best possible results with your Miracle No Knead Bread, here are some expert tips to keep in mind:
Use quality ingredients: The quality of your flour and yeast can significantly affect the final product. Opt for high-quality all-purpose flour and fresh instant yeast for the best results.
Don’t rush the resting time: The long resting period is crucial for developing flavor and texture. Try to allow the dough to rest a full 18 hours if possible.
Experiment with flavors: Feel free to add in herbs, spices, or even cheese to elevate the flavor of your bread. Dried herbs like rosemary or thyme can add a lovely aroma and taste.
Use parchment paper for easy transfer: Lifting the dough with parchment paper makes it much easier to get it into the hot Dutch oven without any mess.
Allow proper cooling: Be patient and let the bread cool properly on a wire rack before slicing. This will help maintain the texture and flavor of your loaf.
How to Store Miracle No Knead Bread
After all your hard work in making delicious bread, it’s essential to store it correctly to maintain its freshness. Here’s how you can do that:
At room temperature: If you plan to consume your bread within a few days, simply store it at room temperature. Place it in a paper bag or wrap it in a clean kitchen towel to keep the crust crispy while guarding against overly dry air.
In the refrigerator: If you think you won’t consume the bread quickly, consider storing it in the refrigerator. Just be aware that refrigeration may affect the bread’s texture, making it slightly less crusty.
For long-term storage: For longer preservation, slice your loaf and place it in a zip-top plastic bag, removing as much air as possible. You can then store it in the freezer for up to three months. When you’re ready to enjoy it again, simply toast or warm it in the oven for that freshly baked experience.
Variations of Miracle No Knead Bread
While the basic Miracle No Knead Bread is utterly delicious on its own, you can easily mix things up with some fun variations. Here are a few ideas:
Herbed version: Incorporate herbs like rosemary, oregano, or thyme right into the flour mixture for a fragrant and savory loaf.
Cheese and garlic: Add grated cheese like cheddar or parmesan along with minced garlic for a decadent twist.
Seeds and grains: Fold in seeds such as sunflower or sesame seeds for added texture and flavor. You can also use whole wheat or a blend of flour for added nutrition.
Sweet bread: For a sweeter option, incorporate a little sugar, cinnamon, and dried fruits like cranberries or raisins into the dough before the resting period.
Spiced variations: Experiment with spices like nutmeg or cardamom for a unique flavor profile that can transform your bread experience.
Frequently Asked Questions about Miracle No Knead Bread
What makes Miracle No Knead Bread so easy to make?
The key to its simplicity lies in the no-knead method. By allowing the dough to rest for an extended period, the buildup of gluten occurs naturally, which eliminates the need for kneading.
Can I use whole wheat flour instead?
Absolutely! While all-purpose flour is the traditional choice, you can substitute part or all of it with whole wheat flour. Just keep in mind that the texture and flavor may slightly differ.
How do I know when the dough is ready to bake?
Look for bubbles and a readily spreadable consistency in your dough. It should appear puffy and have a slightly shaggy texture, indicating that the yeast has done its job.
What if my bread doesn’t rise?
If your dough hasn’t risen properly, it may be due to inactive yeast. Ensure your yeast is fresh, and keep an eye on temperature; dough should rest in a warm, draft-free area.
Can I double the recipe?
You can certainly double the ingredients to make two loaves. Just remember to use a larger mixing bowl for easy handling!
Miracle No Knead Bread
Equipment
- Mixing Bowl
- Dutch Oven
- Plastic Wrap
Ingredients
- 3 cups all-purpose flour
- 1 1/2 tsp. salt
- 1/2 tsp. instant yeast
- 1 1/2 cups room temperature water
Instructions
- In a large mixing bowl, whisk together the all-purpose flour, salt, and instant yeast.
- Pour in 1 1/2 cups of room temperature water and stir until a thick, chunky dough forms.
- Cover the bowl tightly with plastic wrap and let it rest at room temperature for 12 to 18 hours.
- Preheat your oven to 450°F (232°C) and place a 6-quart Dutch oven inside to heat.
- After the dough has rested, sprinkle some flour on a clean surface and gently scrape the dough out onto it. Shape it into a ball.
- Transfer the dough on parchment paper into the hot Dutch oven.
- Cover the Dutch oven with its lid and bake for 30 minutes. Remove the lid and bake for an additional 10-15 minutes.
- Let the bread cool on a wire rack for at least 10 minutes before slicing.
Send me this recipe!
Just enter your email below and get it sent straight to your inbox!