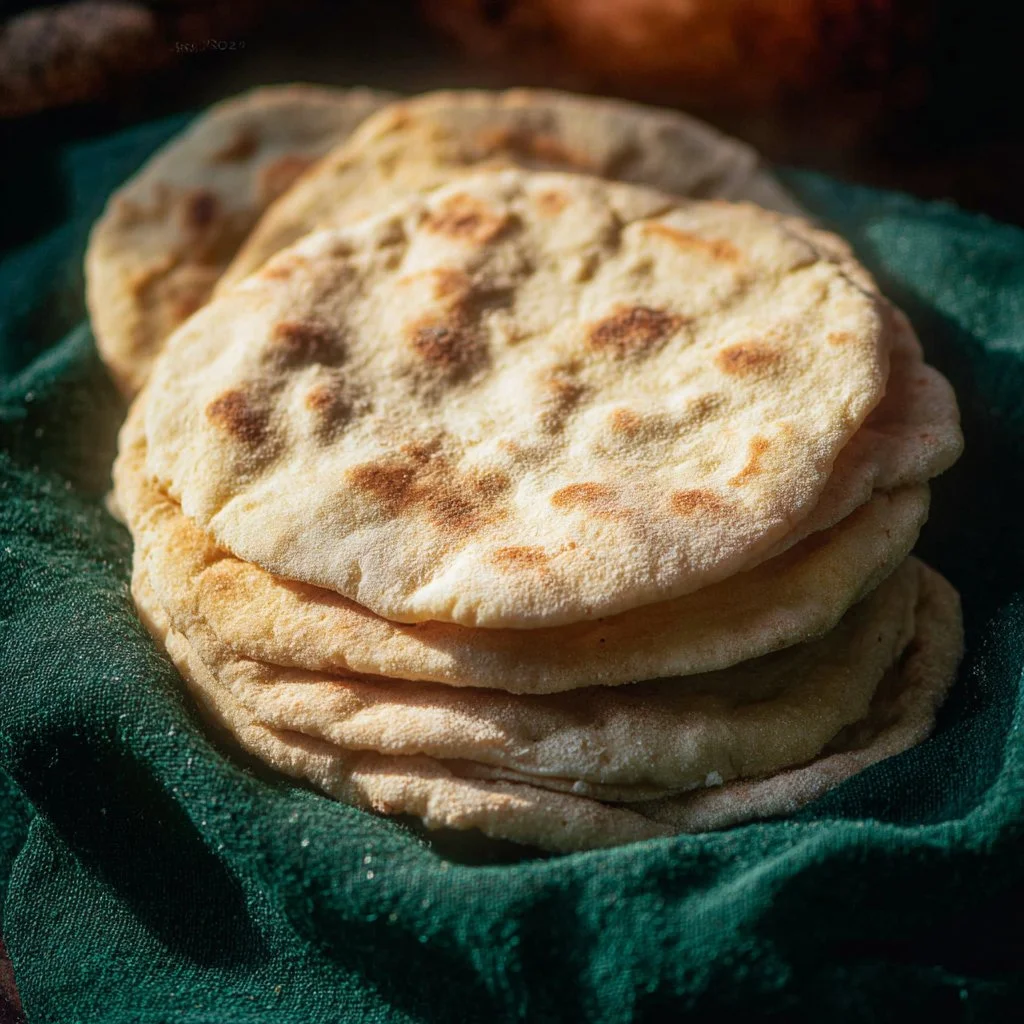
Pita bread is one of those delightful staples in kitchens around the globe. This versatile flatbread has been enjoyed for generations, holding the promise of delicious meals and snacks. If you’re looking to elevate your cooking skills and add a homemade touch to your meals, making pita bread from scratch is an adventure you shouldn’t miss out on. This guide walks you through making delectable pita bread, perfect for sandwiches, dips, or just enjoying warm.
Why We Love This Pita Bread Recipe
What’s not to love about pita bread? It’s not only easy to make, but it also offers a comforting, chewy texture that enhances any meal. This recipe provides the ideal foundation for various toppings, fillings, or dips. When you make pita from home, you get a fresh product that surpasses store-bought options in taste and quality. Plus, the satisfaction of watching those pitas puff up beautifully in the oven is an experience you will cherish. Whether you’re enjoying them alongside a flavorful dip like hummus, stuffing them with savory vegetables, or simply grabbing one for a snack, homemade pita bread quickly becomes a beloved part of your culinary repertoire.
Ingredients about Pita Bread
To create your own pita bread, you’ll need a handful of basic ingredients that are likely already in your kitchen. Here’s what you’ll need:
- 1 cup lukewarm water
- 2 tsp active dry yeast
- 1/2 tsp sugar
- 3 cups all-purpose flour (or 1 1/2 cups all-purpose flour and 1 1/2 cups whole wheat flour)
- 1 to 2 tsp kosher salt
- 2 tbsp extra virgin olive oil (plus more for greasing)
These simple ingredients come together to create a dough that transforms into beautifully fluffy pita bread.
How to Make Pita Bread Directions
Creating pita bread is a straightforward process that yields wonderful results. Let’s break down the steps into easy-to-follow directions.
Make the Sponge: Begin by combining 1 cup of lukewarm water, 2 teaspoons of active dry yeast, and 1/2 teaspoon of sugar in a large mixing bowl. Stir gently until the yeast and sugar dissolve thoroughly. Once mixed, add 1/2 cup of flour and whisk until fully combined. Leave this mixture alone for about 15 minutes, allowing it to bubble and froth. This process activates the yeast, kickstarting your dough-making adventure.
Form the Pita Dough: After 15 minutes, it’s time to create the dough. Add 1 to 2 teaspoons of kosher salt and 2 tablespoons of extra virgin olive oil to the bubbly mixture. Gradually add nearly all of the remaining flour (keeping about 1/2 cup aside for dusting). Stir until a shaggy dough forms in the bowl, then use your hands to knead it lightly for about a minute.
Knead the Dough: Transfer your shaggy dough onto a floured surface. Knead the dough for about 5 to 7 minutes, or until it achieves a smooth and elastic consistency. After kneading, let the dough rest for approximately 10 minutes; this step allows the gluten to relax, making it easier to shape later on.
Let the Dough Rise: Grease a clean bowl with extra virgin olive oil and place your kneaded dough inside. Cover the bowl with plastic wrap and a kitchen towel to keep the warmth in. Let the dough rise in a warm place for about 1 hour or until it has doubled in size.
Divide the Dough: Once your dough has risen magnificently, gently deflate it to release air. Divide it into 7 to 8 equal balls. These balls will become your individual pitas. Cover the balls with a towel and allow them to rest for another 10 minutes.
Shape the Pitas: On a floured surface, take each ball and flatten it into a circle about 8-9 inches wide. You can roll them out with a rolling pin or use your hands to gently shape them.
Bake: Preheat your oven to 475°F (245°C). Place a baking sheet in the oven to heat up. Once preheated, place the shaped pitas on the hot baking sheet. Bake them for about 2 minutes on one side, then flip them for another minute until they puff up and get a slight golden color.
Cook Stovetop (Alternative): If you don’t have access to an oven or prefer stovetop cooking, heat a cast-iron skillet over medium-high heat. Cook each rolled-out pita for about 30 seconds on one side, then flip and cook for 1 to 2 minutes until they are lightly toasted.
Keep Warm: As you cook each pita, stack them up and cover them with a kitchen towel to keep them warm and soft until you are ready to serve.
How to Serve Pita Bread
Pita bread is incredibly versatile. You can serve it as a side for your favorite dips like hummus or tzatziki. It works wonderfully as a wrap for grilled chicken, roasted vegetables, or even falafel. You can also cut the pitas into wedges and serve them with salads for an added crunch. If you are feeling adventurous, you could use it to create pita pizzas by adding your favorite toppings, sprinkling cheese, and baking them until bubbly.
Additionally, pita bread can often be enjoyed on its own. Just warm them up and dip into olive oil or spice blends for a delicious snack. The best part is that homemade pita bread shines on its own thanks to its delightful texture and flavor.
Expert Tips: Pita Bread
Creating the perfect pita bread is all about attention to detail, and these tips can help you achieve the best results:
- Ensure your water is lukewarm. If it’s too hot, it can kill the yeast, and if it’s too cold, it will not activate properly.
- When kneading, make sure to incorporate enough flour to prevent sticking, but don’t overdo it as too much flour can lead to dense pitas.
- Letting the dough rise in a warm area is crucial. If your kitchen is cool, consider turning on the oven for a few minutes to warm it up, then turning it off before placing the dough inside to rise.
- If your pitas don’t puff up, your oven may not be hot enough, or the dough could be over-kneaded. Don’t be disheartened. Every attempt brings you closer to perfecting your technique!
- Storing cooked pitas in a sealed bag or container allows them to maintain their softness for later use.
How to Store Pita Bread
To keep your homemade pita bread fresh, store it at room temperature in a sealed bag or airtight container. This method helps prevent them from drying out. If you plan on keeping them longer, consider freezing your pitas. Place them in freezer-safe bags and separate each pita with parchment paper to prevent sticking. When you’re ready to use them, simply allow them to thaw at room temperature or warm them slightly in the oven.
Variation of Pita Bread
While classic pita bread is delightful, you can play around with your recipe to try variations. Here are a few ideas to spice things up:
- Herbed Pita: Add dried herbs like oregano, rosemary, or thyme to your dough for a fragrant twist.
- Whole Wheat Pita: Substitute whole wheat flour entirely; this option is healthier and adds a nutty flavor.
- Spiced Pita: Mix spices like cumin, coriander, or even chili powder into the dough for an exciting flavor profile.
- Stuffed Pita: Before baking, stuff each pita with your choice of savory fillings such as cheese, vegetables, or seasoned meat for a quick meal.
By experimenting, you’ll discover countless options to make your pita bread uniquely yours.
FAQ about Pita Bread
Can I make pita bread without yeast?
While traditional pita bread requires yeast for that signature puffiness, you can experiment with baking soda as a leavening agent. However, the texture may differ from the classic version.
What is the ideal thickness for pita bread?
Typically, pita bread should be about 1/4 inch thick. This thickness allows the bread to puff up beautifully while still being thick enough to hold fillings.
How can I tell if my pita is cooked properly?
When baked correctly, you should notice a beautiful puff and a slight golden color. The pitas should also feel soft to touch. If your pita is hard or doesn’t puff, it may have been overcooked or the oven wasn’t hot enough.

Pita Bread
Ingredients
For the Dough
- 1 cup lukewarm water Ensure the water is lukewarm, not too hot or cold.
- 2 tsp active dry yeast
- 1/2 tsp sugar
- 3 cups all-purpose flour Alternately, use 1 1/2 cups all-purpose and 1 1/2 cups whole wheat flour.
- 1 to 2 tsp kosher salt
- 2 tbsp extra virgin olive oil Plus more for greasing.
Instructions
Prepare the Sponge
- Combine lukewarm water, active dry yeast, and sugar in a mixing bowl. Stir gently until dissolved. Add 1/2 cup of flour and whisk until fully combined. Let sit for 15 minutes.
Form and Knead the Dough
- Add kosher salt and extra virgin olive oil to the mixture. Gradually add remaining flour, stirring until a shaggy dough forms. Knead lightly by hand for about 1 minute.
- Transfer to a floured surface and knead for 5 to 7 minutes until smooth. Let rest for 10 minutes.
Let the Dough Rise
- Grease a bowl with olive oil, place the dough inside, and cover with plastic wrap and a towel. Let rise in a warm place for about 1 hour, or until doubled in size.
Divide and Shape the Pitas
- Gently deflate the dough and divide it into 7 to 8 equal balls. Let rest for 10 minutes, then flatten each ball into a circle about 8-9 inches wide.
Bake the Pitas
- Preheat the oven to 475°F (245°C) with a baking sheet inside. Bake the shaped pitas for about 2 minutes on one side, flip, then bake for another minute until puffed and golden.
- Alternatively, cook on a heated skillet over medium-high heat for 30 seconds per side.
Serve
- Stack cooked pitas and cover with a kitchen towel to keep warm. Serve with dips or fill with your favorite fillings.
Send me this recipe!
Just enter your email below and get it sent straight to your inbox!


