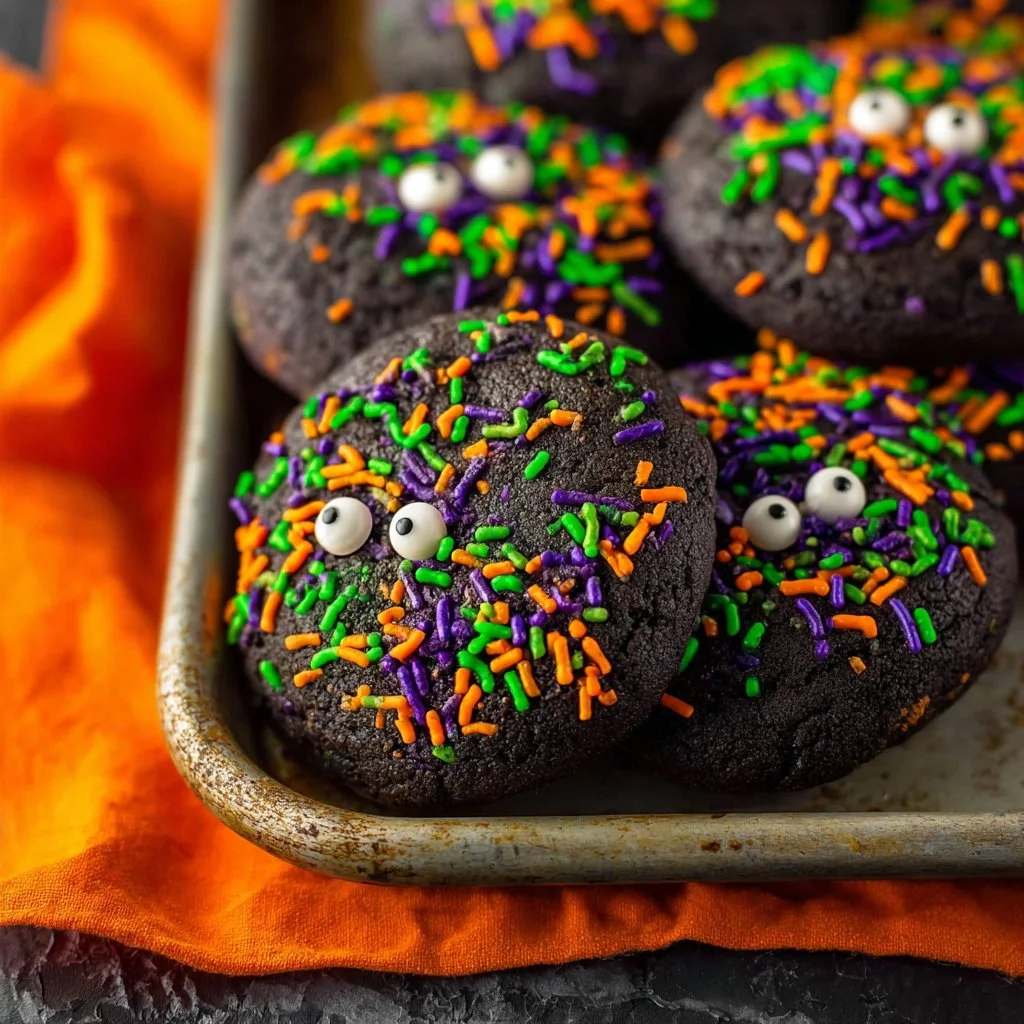
Halloween is the perfect time for culinary creativity to shine, and what better way to celebrate than with Slime Filled Halloween Cookies? These cookies are not only visually stunning but are also packed with a delicious cream cheese filling that oozes out when you take a bite. It’s a fun and slightly spooky treat that makes for an unforgettable addition to any Halloween gathering. With their rich, dark color and vibrant green gooey filling, these cookies are sure to delight both kids and adults alike. Let’s dive into the world of slime-filled goodness!
Why We Love This Slime Filled Halloween Cookies Recipe
What’s not to love about these amazing Slime Filled Halloween Cookies? The combination of flavors, colors, and textures creates an enchanting experience for your taste buds. The rich, dark chocolate cookie provides a perfect base for the sweet and creamy filling, reminiscent of the classic cheesecake. Moreover, the vibrant green color of the filling is sure to garner attention and ignite excitement at your Halloween festivities.
These spooky cookies not only taste incredible, but they also offer an element of surprise. The cream cheese filling adds a delightful contrast to the chocolate cookie, enhancing the overall flavor profile and making each bite a multifaceted experience. Additionally, they are versatile; you can customize the color of the filling or add various toppings to suit your party theme. Kids and adults alike will relish digging into these creative confections, making them a perfect treat for any Halloween celebration.
Ingredients for Slime Filled Halloween Cookies
To create your own batch of Slime Filled Halloween Cookies, you’ll need the following components that are easy to find:
For the filling:
- 4 ounces cream cheese, softened
- 2 cups confectioners’ sugar
- 1 1/2 tablespoons all-purpose flour
- 1 teaspoon vanilla extract
- Neon green food coloring
For the cookies:
- 1/2 cup salted butter, room temperature
- 1/2 cup light brown sugar, packed
- 1/2 cup granulated sugar
- 1 large egg, room temperature
- 1 tablespoon milk
- 1 teaspoon baking soda
- 2 teaspoons vanilla extract
- 1/4 cup dark chocolate cocoa powder
- Black gel food coloring
- 1 2/3 cups all-purpose flour
- Halloween sprinkles


How to Make Slime Filled Halloween Cookies
Making Slime Filled Halloween Cookies is an enjoyable process that allows you to unleash your inner baker. Here’s a step-by-step guide to achieve the perfect cookies:
Prepare the Filling:
Start by whipping up the cream cheese filling. In a medium-sized mixing bowl, combine the softened cream cheese, confectioners’ sugar, all-purpose flour, vanilla extract, and enough neon green food coloring to achieve your desired shade. Blend these ingredients together using an electric mixer until smooth and well combined.Scoop and Freeze:
Line a baking sheet with parchment paper. Using a measuring spoon, scoop out about 1 1/2 teaspoons of the green filling and place them onto the lined baking sheet. Repeat this process until you have scooped all the cream cheese filling. To ensure that the filling holds its shape, freeze the scooped filling for at least 2 hours.Make the Cookie Dough:
While the filling is chilling, it’s time to make the cookie dough. In a large mixing bowl, beat together the room temperature butter, light brown sugar, and granulated sugar until the mixture is creamy and well-combined. Mix in the egg, milk, vanilla extract, and enough black gel food coloring until your dough reaches a rich, dark color.Combine Dry Ingredients:
In a separate medium bowl, whisk together the baking soda, cocoa powder, and all-purpose flour. Gradually stir the dry ingredient mixture into the wet ingredients, mixing until everything is just combined. It’s important to avoid overmixing the dough, as this can lead to dense cookies.Chill the Dough:
Once the dough is prepared, cover the bowl with plastic wrap and chill the dough in the refrigerator for a minimum of 2 hours. This will make it easier to handle when forming the cookies.Shape the Cookies:
After the dough has chilled, preheat your oven to 350°F (175°C) and line two cookie sheets with parchment paper. Roll about 1 tablespoon of the chilled dough into a ball, then slightly flatten it and place it on the prepared baking sheet. Repeat this process until you’ve used up half of the black dough, ensuring to space the dough balls about 2 inches apart.Fill and Seal:
Take a frozen cream cheese ball and place it in the center of each dough ball. Roll another tablespoon of cookie dough into a ball, slightly flatten it, and place it on top of each cookie, covering the filling. Gently press the edges of the two layers of cookie dough together to seal the filling inside.Add Sprinkles:
Generously sprinkle Halloween-themed sprinkles on top of the cookies, gently pressing them into the dough to prevent them from falling off during baking.Bake:
Chill the assembled cookies in the refrigerator for 30 minutes before placing them in the preheated oven. Bake for 12-15 minutes, keeping an eye on them to ensure they don’t overbake. Once they are done, let the cookies cool on the baking sheet for about 10 minutes before transferring them to a wire rack to cool completely.
How to Serve Slime Filled Halloween Cookies
Presenting your Slime Filled Halloween Cookies is part of the fun! Arrange the cookies on a festive platter to showcase their spooky charm. You might consider placing them on Halloween-themed serving trays or using decorative cupcake liners for added flair. When serving, consider pairing these cookies with a glass of cold milk or a fun Halloween-themed beverage to complement the rich chocolate flavor.
Feel free to create a little surrounding ambiance by adding ghostly decorations or props that match your Halloween theme. You may even want to label them with spooky names to excite your guests and spark conversations. As your friends and family bite into these delightful creatures, the oozy green filling makes for an unexpected and highly entertaining surprise!
Expert Tips for Making Slime Filled Halloween Cookies
Creating the perfect Slime Filled Halloween Cookies is easier with some expert insight. Here are some top tips to ensure your Halloween treats turn out perfectly:
Temperature Matters: Ensure your cream cheese is at room temperature before mixing it with other filling ingredients. This guarantees a smooth consistency when blending.
Adjusting Colors: When using food coloring, start small. You can always add more to achieve a deeper, richer color without overdoing it initially. This applies to both the filling and the cookie dough.
Practice Patience: Chilling the dough and filling may seem tedious, but it’s crucial. Thorough chilling ensures that the cookies hold their shape and prevent spreading during baking.
Watch the Baking Time: Every oven is different, so start checking the cookies a minute or two before the recommended baking time to prevent overcooking.
Experiment with Fillings: While the cream cheese filling adds a delicious twist, feel free to experiment with flavored fillings, such as pumpkin or lime, to customize your cookies further.
How to Store Slime Filled Halloween Cookies
After preparing your batch of Slime Filled Halloween Cookies, proper storage will keep them fresh and delicious for days. To store the cookies, place them in an airtight container. Make sure to layer parchment paper between the cookies to prevent them from sticking together. Store the container in a cool, dry place. These cookies can typically last for up to five days at room temperature.
If you want to extend their shelf life, you can store the cookies in the refrigerator for up to a week. Alternatively, freeze them for longer storage. Wrap each cookie individually in plastic wrap and place them in a freezer bag or an airtight container. When you’re ready to enjoy them, simply thaw them at room temperature for a couple of hours.
Variation of Slime Filled Halloween Cookies
These Slime Filled Halloween Cookies can serve as a fantastic base for various creative variations. Here are some fun ideas to inspire your culinary creativity:
Different Fillings: While the cream cheese filling is iconic, consider trying other flavors. A fruity filling using raspberry or strawberry preserves can add a refreshing twist, while a pumpkin spice cream cheese filling can give a seasonal spin that caters to fall flavors.
Cookie Dough Alternatives: Swap out the chocolate dough for oatmeal or sugar cookie dough to create a different flavor experience. A simple sugar cookie dough can complement the sweet creamy filling beautifully.
Alternative Colors: Instead of neon green coloring, try using other colors that fit your Halloween theme, like purple or orange. The filling can be color-customized according to the occasion, whether it’s a Halloween party, a birthday, or other themed events.
Toppings and Add-ins: Consider adding in various mix-ins into the cookie dough, such as mini chocolate chips or crushed candy corn, to amp up the visual appeal and add delightful surprises in every bite.
Miniature Cookies: Create smaller versions of these cookies for a fun party treat. Adjust the baking time accordingly to ensure they’re cooked through but still soft and chewy.
FAQ about Slime Filled Halloween Cookies
What are Slime Filled Halloween Cookies?
Slime Filled Halloween Cookies are dark chocolate cookies that are filled with a vibrant green cream cheese filling that resembles slime when bitten into. They are a fun and spooky treat perfect for Halloween parties.
How do you make the filling for Slime Filled Halloween Cookies?
To create the slime filling, mix softened cream cheese with confectioners’ sugar, all-purpose flour, vanilla extract, and neon green food coloring until you achieve a smooth and vibrant filling.
How can I make Slime Filled Halloween Cookies look festive?
You can elevate the presentation of your cookies by using Halloween-themed sprinkles, serving them on decorated trays, or adding spooky labels. The visual aspect of these cookies makes them particularly exciting for festivities.
Can I make Slime Filled Halloween Cookies ahead of time?
Yes! You can prepare and freeze the filling ahead of time, or make the cookies in advance and store them. Just ensure to keep them in an airtight container to maintain freshness.
What’s the secret to keeping Slime Filled Halloween Cookies soft?
Chilling the dough and not overbaking are both key factors in ensuring your cookies remain soft and chewy. Baking them until just set will help maintain the perfect texture.

Slime Filled Halloween Cookies
Equipment
- Mixing Bowls
- Baking Sheets
- Oven
- Parchment Paper
- Electric Mixer
Ingredients
- 4 oz cream cheese softened
- 2 cups confectioners’ sugar
- 1 1/2 tablespoons all-purpose flour
- 1 teaspoon vanilla extract
- neon green food coloring to taste
- 1/2 cup salted butter room temperature
- 1/2 cup light brown sugar packed
- 1/2 cup granulated sugar
- 1 large egg room temperature
- 1 tablespoon milk
- 1 teaspoon baking soda
- 2 teaspoons vanilla extract
- 1/4 cup dark chocolate cocoa powder
- black gel food coloring to taste
- 1 2/3 cups all-purpose flour
- Halloween sprinkles for decoration
Instructions
- In a medium bowl, combine cream cheese, confectioners’ sugar, flour, vanilla extract, and neon green food coloring. Mix until smooth and well combined.
- Scoop out about 1 1/2 teaspoons of the green filling onto a lined baking sheet. Freeze for at least 2 hours.
- In a large mixing bowl, beat together the softened butter, light brown sugar, and granulated sugar until creamy.
- Add the egg, milk, vanilla extract, and black gel food coloring. Mix until well combined.
- In a separate bowl, whisk together baking soda, cocoa powder, and flour. Gradually add to the wet ingredients, mixing until just combined.
- Chill the dough in the refrigerator for at least 2 hours.
- Preheat your oven to 350°F (175°C) and line baking sheets with parchment paper.
- Roll about 1 tablespoon of dough into a ball, flatten it, and place it on the prepared baking sheet. Repeat until you use half the dough.
- Place a frozen cream cheese ball in the center of each dough ball. Roll another tablespoon of dough, flatten it, and cover the filling. Seal the edges.
- Add Halloween sprinkles on top, gently pressing them into the dough.
- Chill the assembled cookies for 30 minutes before baking.
- Bake for 12-15 minutes. Allow to cool on the baking sheet for 10 minutes before transferring to a wire rack.
Send me this recipe!
Just enter your email below and get it sent straight to your inbox!