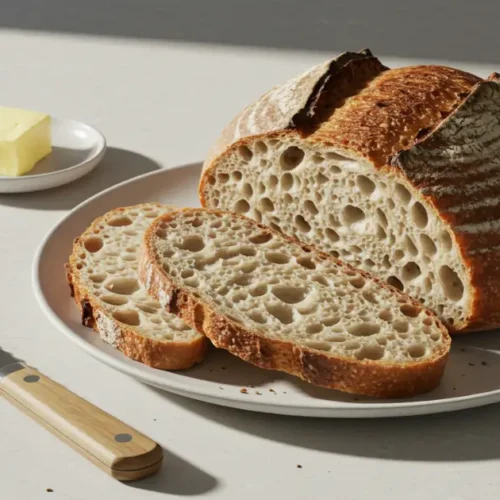
sourdough bread
This homemade sourdough bread is easy to make with just a few simple ingredients. It has a crisp crust, soft interior, and a delicious tangy flavor from natural fermentation. Perfect for sandwiches, toast, or enjoying on its own!
Ingredients
- Sourdough starter: 1/2 cup active and bubbly
- Bread flour: 3 1/2 cups you can substitute with all-purpose flour if preferred
- Water: 1 1/2 cups filtered or non-chlorinated
- Salt: 1 1/2 teaspoons


Instructions
Step 1: Mix the Dough
- In a large mixing bowl, combine the sourdough starter, bread flour, and water. Stir with a wooden spoon or your hands until the dough begins to come together. You’ll have a shaggy, sticky dough at this point—don’t worry, that’s normal!
- Let the dough rest for about 30 minutes. This is called the autolyse phase and allows the flour to fully hydrate, making it easier to knead later.
Step 2: Add the Salt
- Sprinkle the salt over the dough and mix it in thoroughly. You can do this by folding the dough over itself several times or using your hands to work it in. The salt is key to enhancing the flavor and controlling the fermentation process.
Step 3: Knead the Dough
- Transfer the dough to a lightly floured surface. Gently knead the dough for 8–10 minutes or until it becomes smooth and elastic. If it’s too sticky, add a little extra flour, but be careful not to overdo it. You want a soft, slightly tacky dough, not a dry one.
- Alternatively, you can use the stretch and fold method: pull the dough up, stretch it, and fold it over itself. Repeat for about 10 minutes.
Step 4: First Rise
- Once the dough is kneaded, place it in a lightly greased bowl and cover it with a damp cloth or plastic wrap. Let it rise at room temperature for about 4-6 hours or until it has doubled in size.
- During this time, you can perform a few “stretch and folds” every 30 minutes to strengthen the dough and improve the texture.
Step 5: Shape the Dough
- After the first rise, gently punch down the dough to release any air bubbles. Turn it out onto a floured surface and shape it into a round or oval loaf, depending on your preference.
- If you’re using a proofing basket (or banneton), dust it with flour and place the dough inside, seam side up. Otherwise, place it on a baking sheet lined with parchment paper.
Step 6: Second Rise
- Cover the dough and let it rise again for 2-3 hours, or until it’s puffy and has increased in size. If you’re short on time, you can let the dough rise in the fridge overnight for a slower, more flavorful fermentation.
Step 7: Bake
- Preheat your oven to 450°F (230°C) with a Dutch oven or a baking stone inside. Once the oven is hot, carefully place the dough in the preheated Dutch oven or on the stone.
- If using a Dutch oven, cover it with the lid. This will help trap steam and create that perfect, crispy crust.
- Bake for 30 minutes with the lid on, then remove the lid and bake for an additional 20-30 minutes, or until the bread is golden brown and sounds hollow when tapped on the bottom.
Step 8: Cool
- Let the bread cool completely on a wire rack before slicing. This will allow the crumb to set and develop its full flavor.
Send me this recipe!
Just enter your email below and get it sent straight to your inbox!